Activ provides you with the option to:
- create a one-off ad-hoc Job; OR
- create a repeating Job schedule.
In most cases, it is likely that you will need to repeat the same Job for the same Asset at regular intervals to ensure that the Asset remains in good condition. Where this is the case, it is advisable to create a repeating Job Schedule for the Job (see Create a Schedule from an Existing Job and Create a Job Schedule), as this will allow Activ to copy the Job’s details to a series of future Jobs automatically. However, there may be times when you need to schedule an ad-hoc Job that only needs to be completed on one occasion (e.g. if emergency maintenance is required, or if the Job is expected to be a one-off occurrence). For this reason, Activ allows you to create standalone Jobs as well as repeating schedules.
To create a new ad-hoc Job, open the Asset Manager and click on its Jobs tab. This will open the main Jobs register, where all open Jobs are recorded. Click on Add.
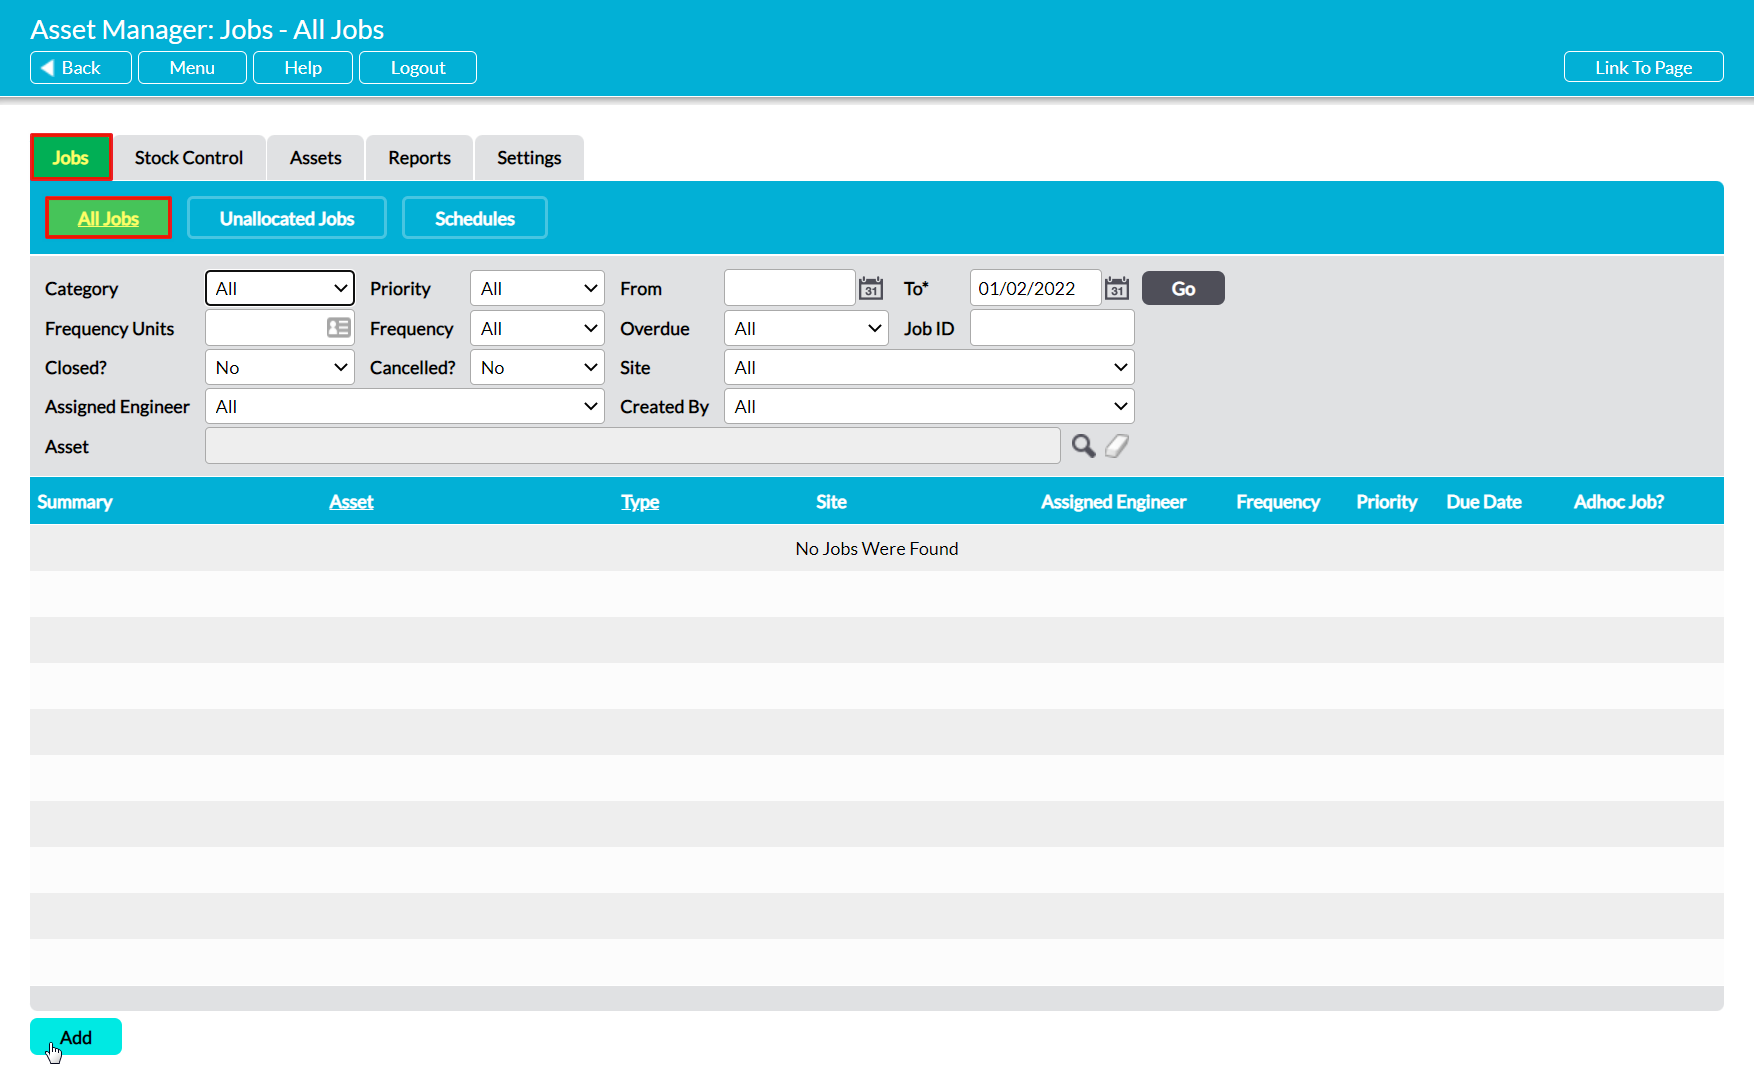
This will open a blank Details form ready for you to populate. This form contains up to five sections:
- an unnamed top section, which contains the Job’s key information.
- the Parts Used section, which is used to record the parts (Stock Items) that are required to complete the Job. Note that this is only relevant if you are using the Stock Control
- the Skills Used section, which is used to record the Skills that are required to complete the Job.
- the Engineers Assigned section, which can be used to assign multiple Engineers to the Job if required.
- the Contractors Assigned section, which can be used to assign one or more Contractors (i.e. third party companies) to the Job if required. Note that this section is only available if your system includes the Customers and Suppliers
The named sections are optional, and are typically completed when a Job is being closed (see Close a Job). However, the fields within the top section of the form contain the details that are required to describe and schedule the Job, and should be completed at the time of creation.
Up to thirteen fields are available for you to complete within the top section of the form:
Asset* – use the magnifying glass to select the Asset that the Job relates to. Note that the Asset must be recorded within your Asset Manager before you can select it (see Add an Asset).
Job ID – automatically generated unique identifier for each new Job that is added to your system. Job IDs are generated sequentially and cannot be changed.
Component – use the dropdown menu to select the specific component of an Asset that the Job relates to. Note that the Component must already have been recorded against the relevant Asset (see Add a Component to an Asset), and that options will only appear within this field once an Asset has been selected.
Site – automatically filled with the Site that is associated with the Asset that has been selected within the Asset field.
Summary* – enter a short title for the Job.
Categories* – use the checkboxes to select the categories that apply to the Job. Note that these options are configured within the Settings tab (see Configure Jobs).
Priority* – use the dropdown to select the priority level of the Job. Note that these options are configured within the Settings tab (see Configure Jobs).
Due Date* – use the calendar icon to select the date that the Job is to be completed by. This will default to the day that the Job is created on if the field is not changed.
Change Control Form Required* – use the dropdown menu to specify whether a Change Control Form is required for the Job. Note that if a form is required, the engineer will need to upload it to the Job using the Linked Documents feature.
Assigned Engineer – use the dropdown menu to assign an Engineer to the Job. Note that individuals must be recorded as an Engineer within your Asset Manager before they will appear within this menu (see Manage Engineers). Note that you can leave this blank until a later date if necessary.
Created By – automatically populated with the name of the person who created the Job.
Description – enter a description of the Job, and any other relevant notes required to complete the Job.
Permits Required – use the checkboxes to select any permits that are required to complete the Job. Note that these options are configured in the Settings tab (see Configure Jobs).
Enter the necessary details, and then click Save.

You will be returned to the new Job’s Details tab, from which you can review the information you have just entered.
