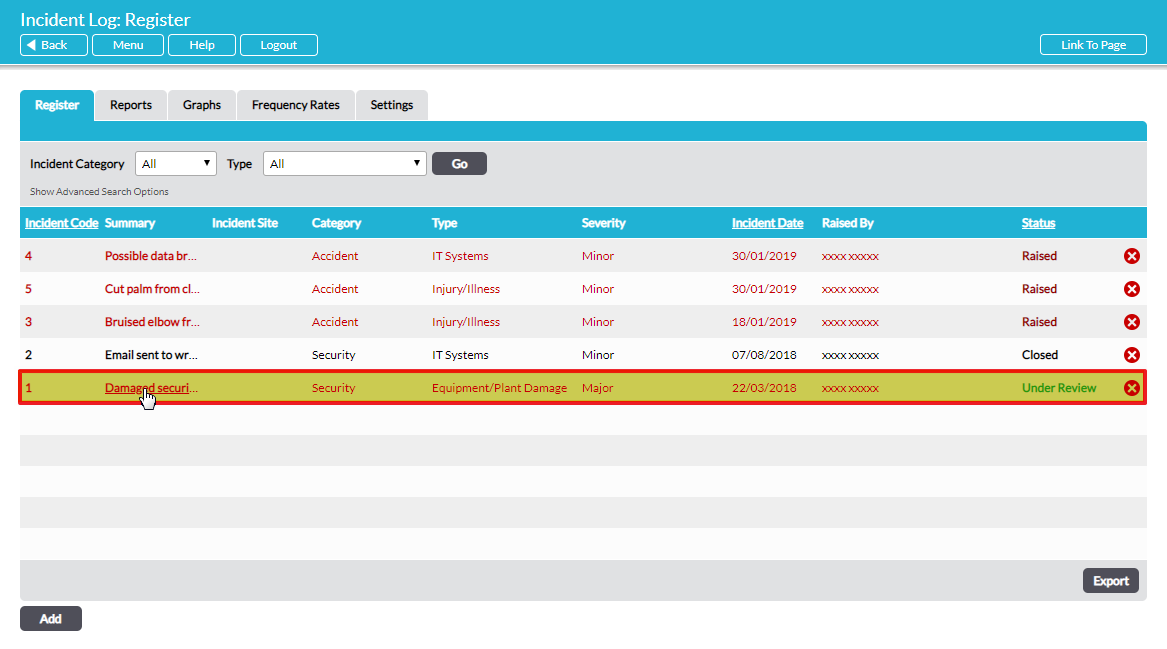
To view photos in an Incident Log, open the relevant incident by clicking on it in the list on the Register tab of the Incident Log module:
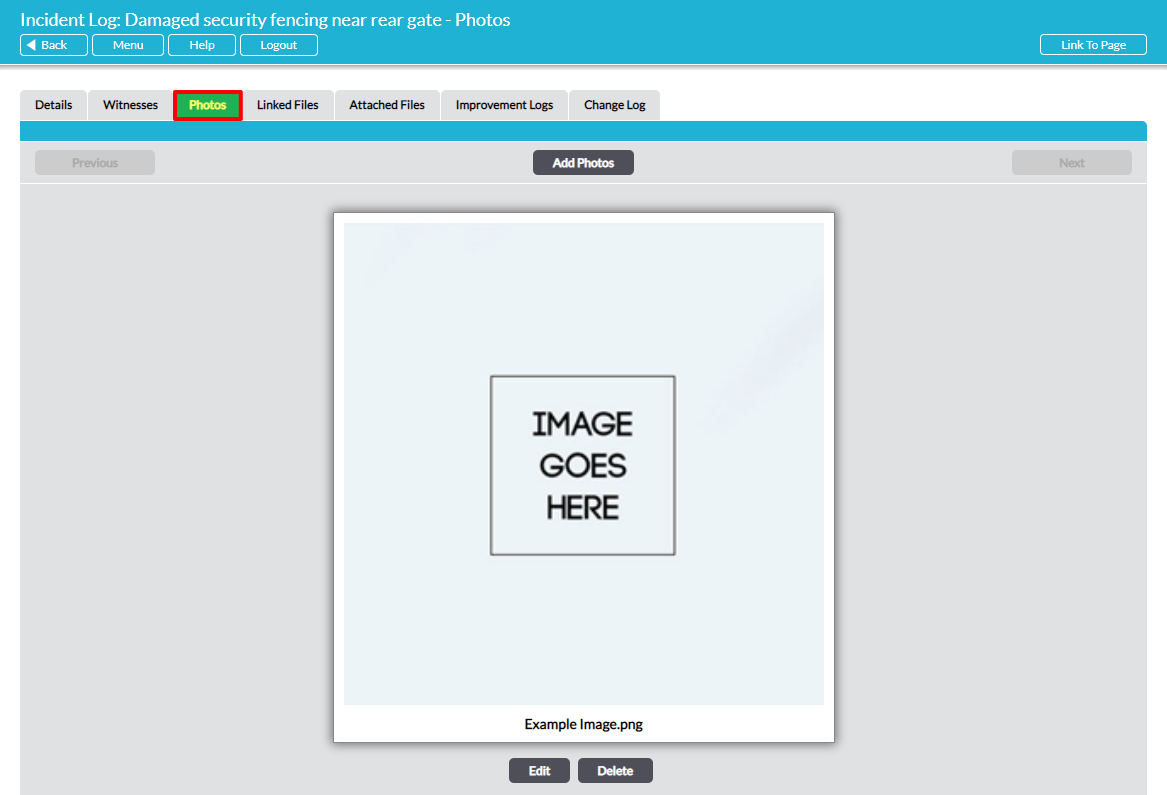
The Incident Log opens on its Details tab. Select the Photos tab:
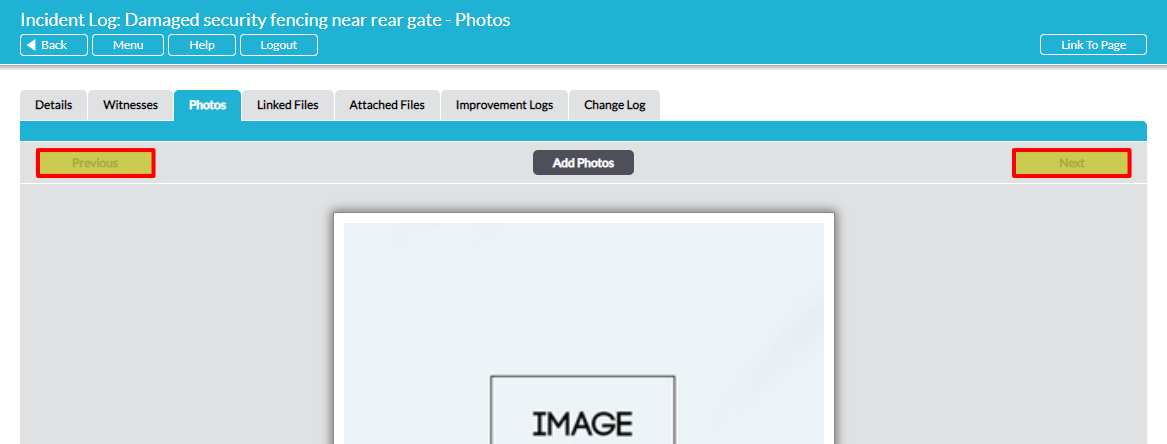
The screen displays one photo at a time. To navigate to the next photo, click on the Next button at the top right of the screen. To navigate to the previous photo, click on the Previous button at the top left of the screen.
You can edit the name of any photo or replace it with a different one, if required, by clicking on Edit under the relevant photo:

This opens the photo for editing.
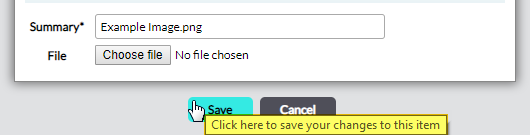
To change the name of a photo, type in the new name for the photo in the Summary* field.
To replace the photo with a different one, click on Choose File to navigate to the location outside Activ where the new photo is stored (e.g. on your computer’s hard drive or on a memory stick) and select the photo file. You will be returned to the Photos tab where you will still see the old photo displayed.
Click on Save to make your changes take effect.
If you have chosen a replacement photo, the new photo will now begin to upload. When the uploading process is complete the new photo will be displayed instead of the old one.
You can delete any photo by clicking on the Delete button at the bottom of the screen.
