There are two steps involved in authenticating your access to an MFA-protected account. These are:
During day-to-day use of the Activ system you will only need to complete step two, and then only when you have met the conditions to trigger the re-authentication process. However, you will need to complete both steps when MFA is initially enabled for your account, and whenever you change your mobile number.
*****
Step One: Validate MFA
Activ will automatically prompt you to validate your chosen MFA Authentication method when:
- MFA is first enabled for your account; and
- When the Mobile Number recorded in your Login Permissions is changed.
This prompt will appear the next time you login to Activ – i.e. if you enable MFA or change your mobile number yourself (or an administrator does so whilst you are logged in), then you will be able to use your current session without validating, but will be required to validate when you next login.
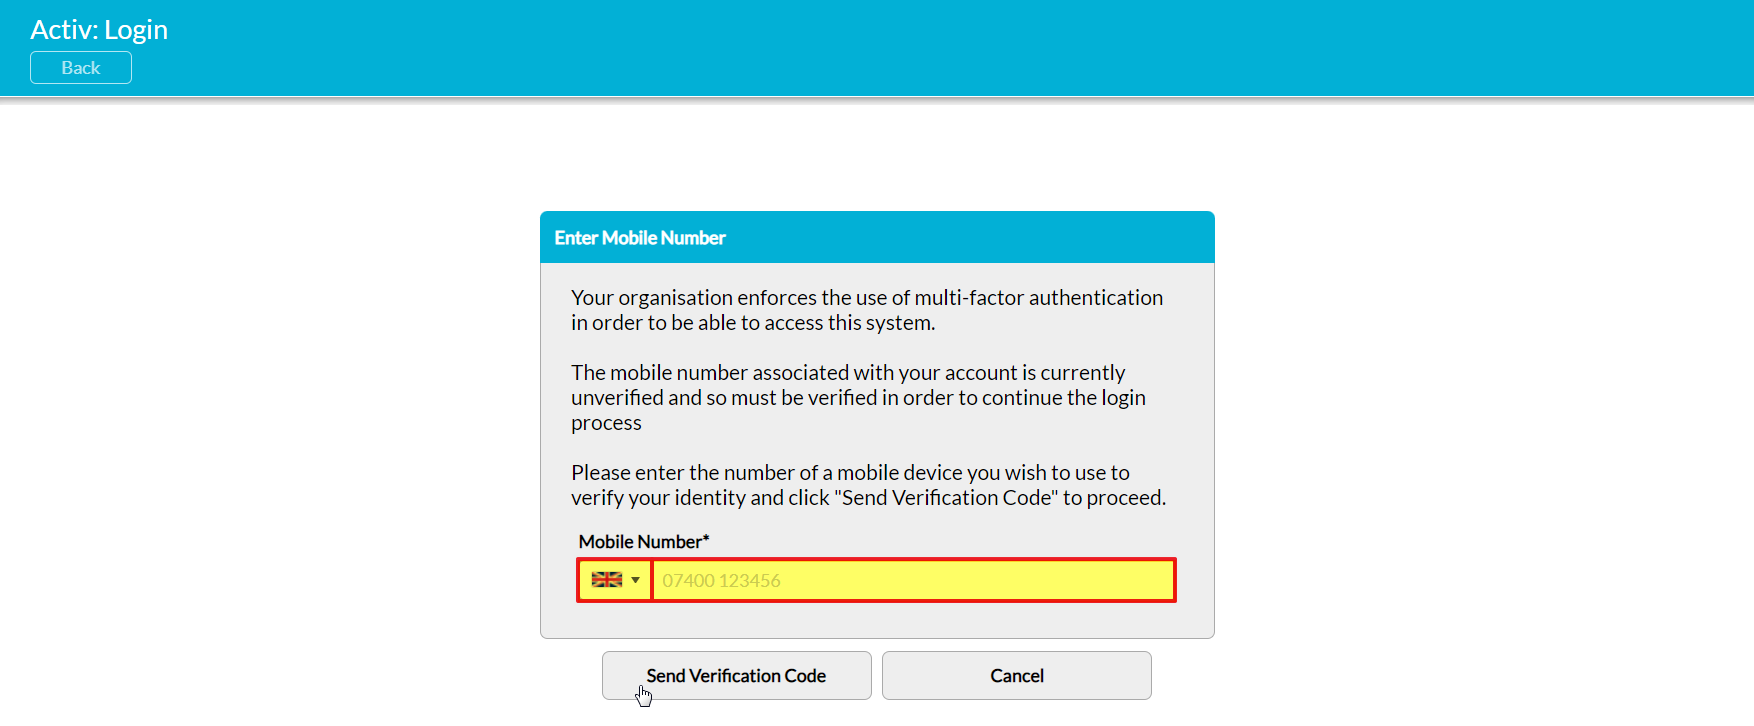
If a mobile number has already been entered against your account (either by yourself or another member of your company), then Activ will automatically display the number that is held within your record when it prompts you to validate your mobile. Otherwise, the Mobile Number field will be blank as in the example below. Note that the Mobile Number field contains two components which must be completed:
Country Code – this is represented by a flag icon to the far left of the Mobile Number field. In most cases, Activ will use the Local that is set within your Login Permissions to determine which Country Code should be selected, but you can switch to an alternate code by clicking on the flag and then selecting the appropriate country from the dropdown menu.
Field – enter the mobile number that you want your authentication codes to be sent to. Note that you do not need to enter your Country Code (i.e. the +44, +1, +27, etc) as this is automatically entered based on your selection within the field’s Country Code component.
Confirm that your mobile number (and Country Code) are correct, and then click Send Verification Code to validate your mobile for MFA.
Activ will send an authentication code to the mobile number that you have just verified.
*****
Step Two: Authenticate your Access
Once MFA has been enabled and your have validated your authentication method, you will be prompted to authenticate your access to your account when:
- MFA is first enabled for your account;
- You use a device and/or browser that has not yet been authenticated;
- Your last authentication for a device and/or browser has timed out;
- A device/browser’s last authentication has been overwritten by the authentication for another account;
- The mobile number listed in your Login Permissions has been changed;
- Your device/browser’s cache/cookies have been cleared; or
- Your ‘Trusted Devices’ have been cleared.
Your system will automatically prompt you to enter a new authentication code whenever one of the above conditions has been met, and the prompt will appear when you next login to Activ – i.e. if you trigger one of the above conditions yourself (or an administrator does so whilst you are logged in), then you will be able to use your current session without validating, but will be required to validate when you next login. The text containing your code will automatically be sent to your MFA mobile number after you have entered your username and password.
To authenticate your access, enter your new authentication code into the Verification Code field, and then click Verify Code and Login.
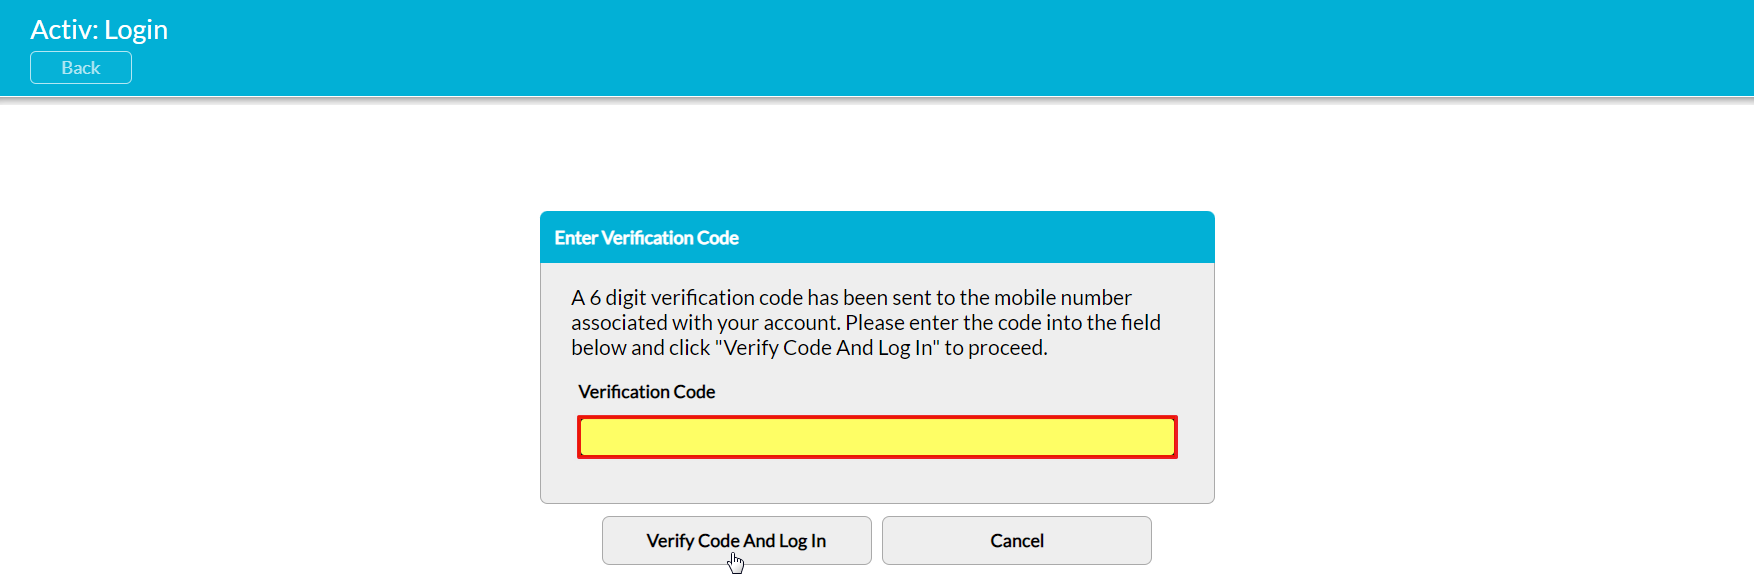
If the code you have entered is correct, Activ will automatically log you into your system and you will be able to continue using it as normal. You will not be required to re-authenticate your access until the next time one of the above conditions has been met.
