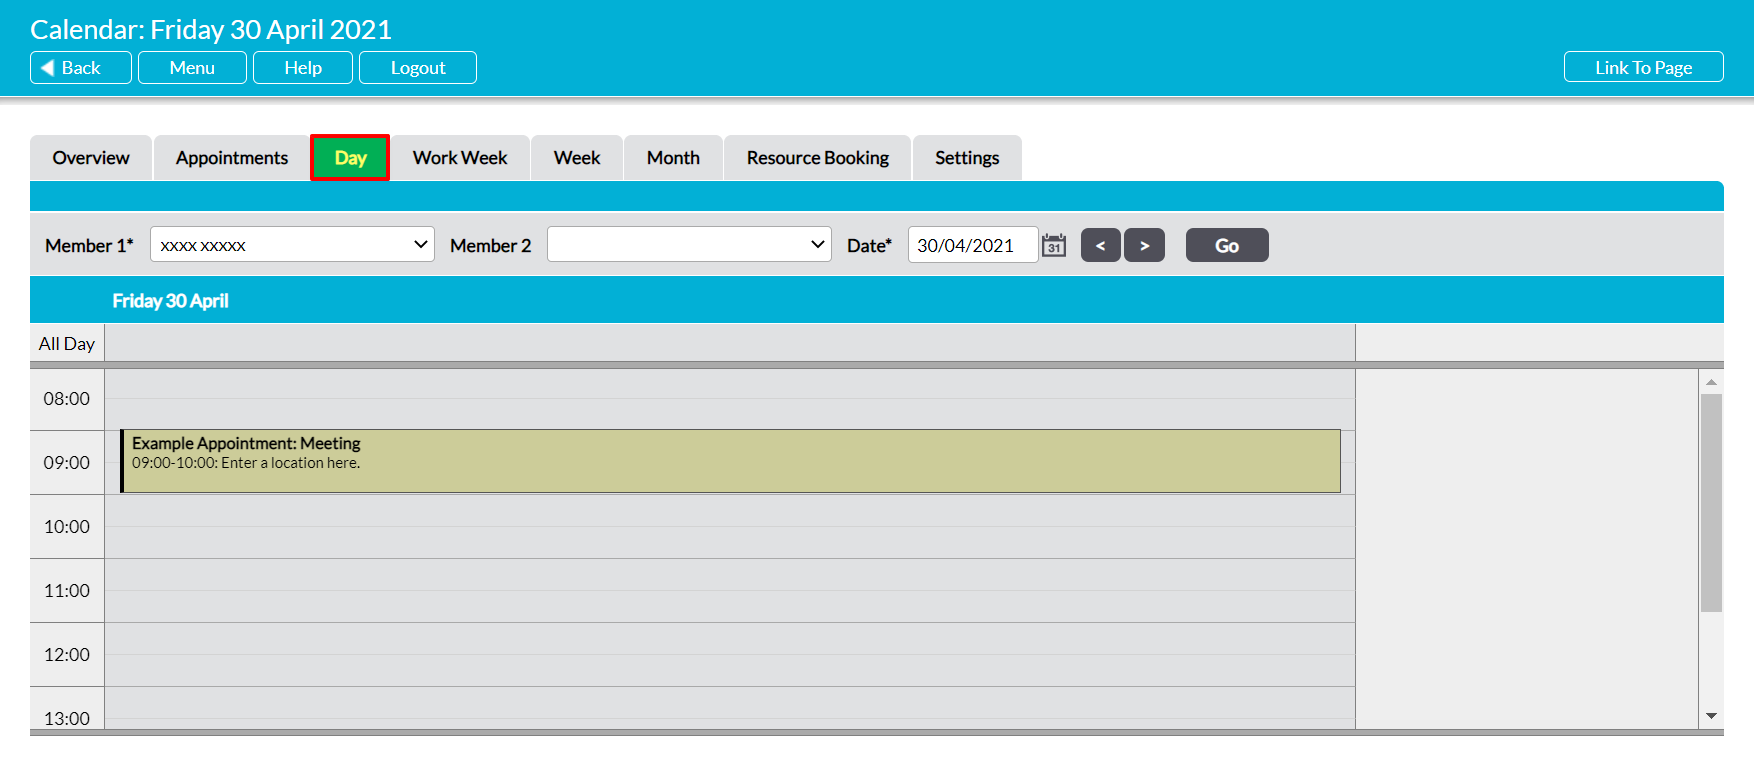
The Day tab provides you with a view that summarises your day’s work schedule. It displays a single day’s view at any one time, allowing you to quickly identify the Appointments you have scheduled for that day. The schedule is divided into half-hourly slots to help you track the times for your Appointments, and its start and end times can be customised to correspond to your own working hours (see Configure the Overview Tab). In addition, Activ provides a dedicated row at the top of the schedule that is used to identify all-day Appointments, helping you to distinguish between (e.g.) a single all-day event and the individual Appointments included within that event.
By default the tab will open on the current day, but you can view an alternate day’s schedule using the calendar or arrow icons at the top of the screen. In addition, the default view will display your own schedule, but Activ also provides you with the option to cycle between other users’ schedules, or to display multiple other user’s schedules alongside your own. When you initially open the tab, two fields will be available to allow you to select the user(s) that should be displayed:
- Member 1 – use this to select the first user whose schedule should be displayed. This field defaults to you.
- Member 2 – user this to select a second user’s schedule. If a user is selected in this field, their schedule will be displayed alongside your own.
If you enter a user into the Member 2 field, Activ will automatically open three further fields in the row below to allow you to add further users to your view. If you also select users within all of these fields, then an additional row will be opened – and so on until you have selected all the users that you require. Note that each user’s schedule will be displayed in its own column within the main schedule panel, and that the maximum number you can view on the page will vary depending on your screen size. If you are trying to schedule an appointment and need to compare a large number of schedules at once, then we recommend that you use the Scheduling tab in place of this view (see Avoiding Appointment Clashes – The Scheduling Tab).


