Stock Locations are specific locations at a given Site that are used to store Stock, and are a required field when adding new items to your organisation’s Stock List. They must be assigned to an existing site, and cannot be created unless at least one site has been configured within your Asset Manager (see Manage the Asset Manager’s Sites).
There are six options available when managing your Asset Manager’s Stock Locations. These are:
- Create Stock Locations
- View Stock Locations
- Edit Stock Locations
- Delete Stock Locations
- Disable / Re-enable Stock Locations
- Export Stock Locations
*****
Create a Stock Location
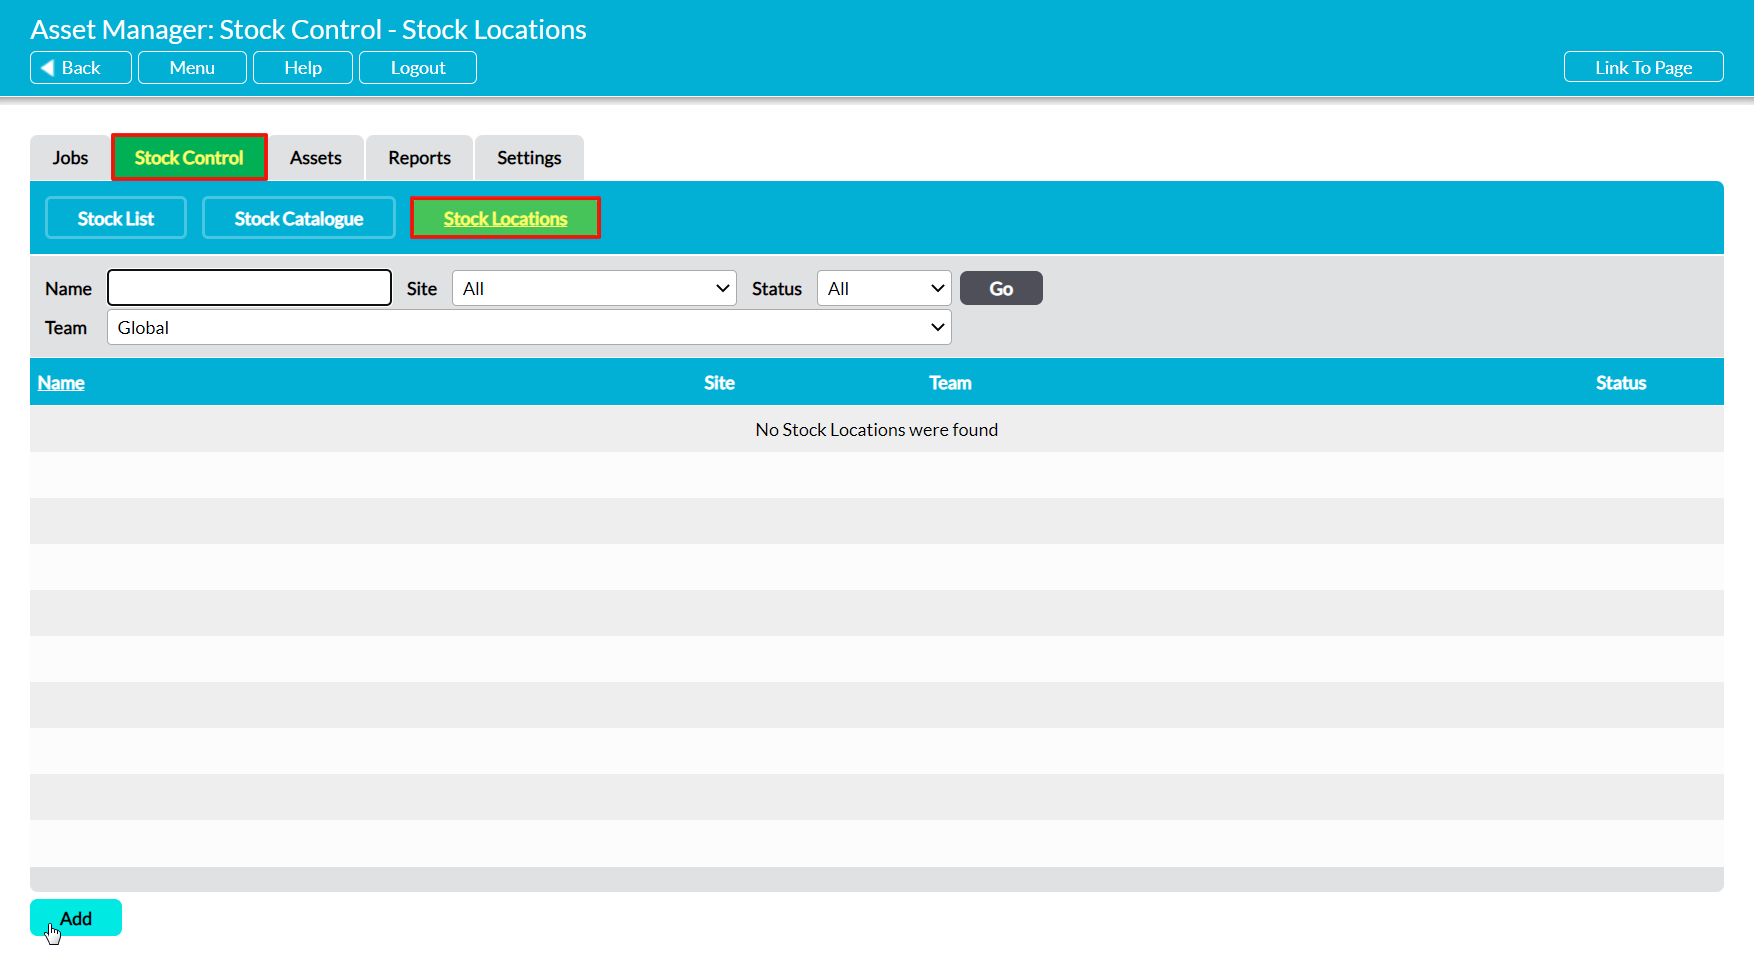
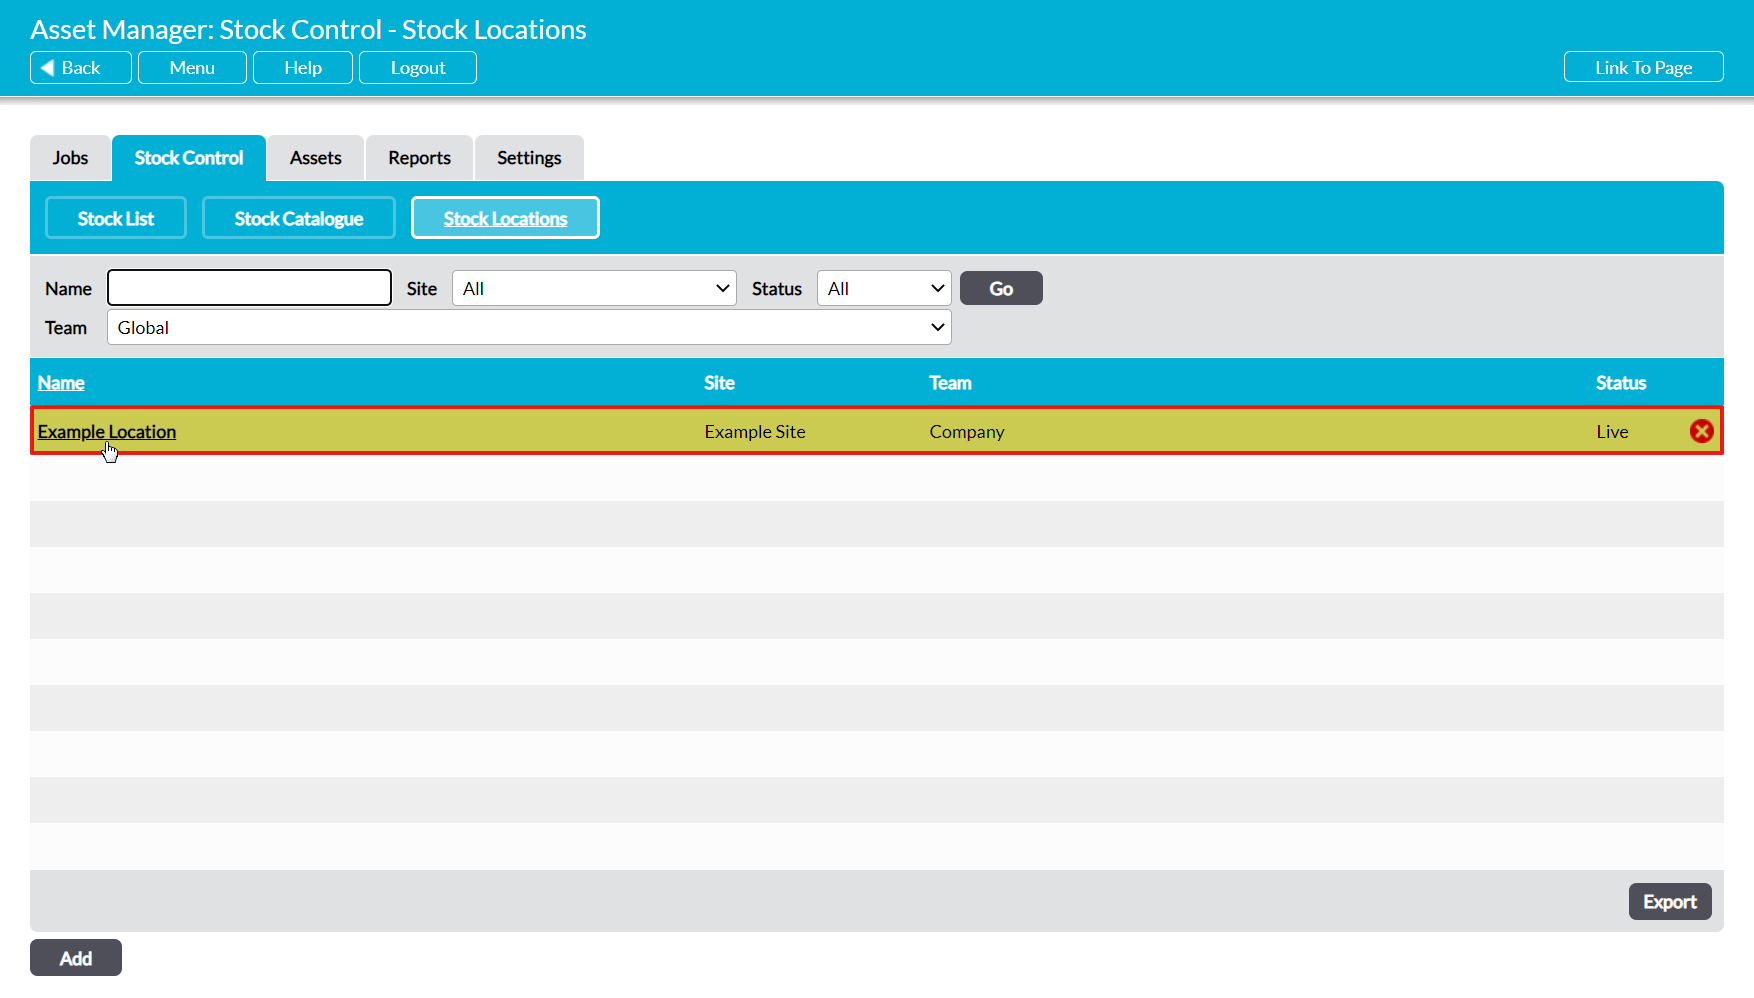
To add a new Stock Location, open the Asset Manager on its Stock Control tab, and then click on the Stock Locations button. This will open a register of all Stock Locations that have previously been added to your system. Click on Add.
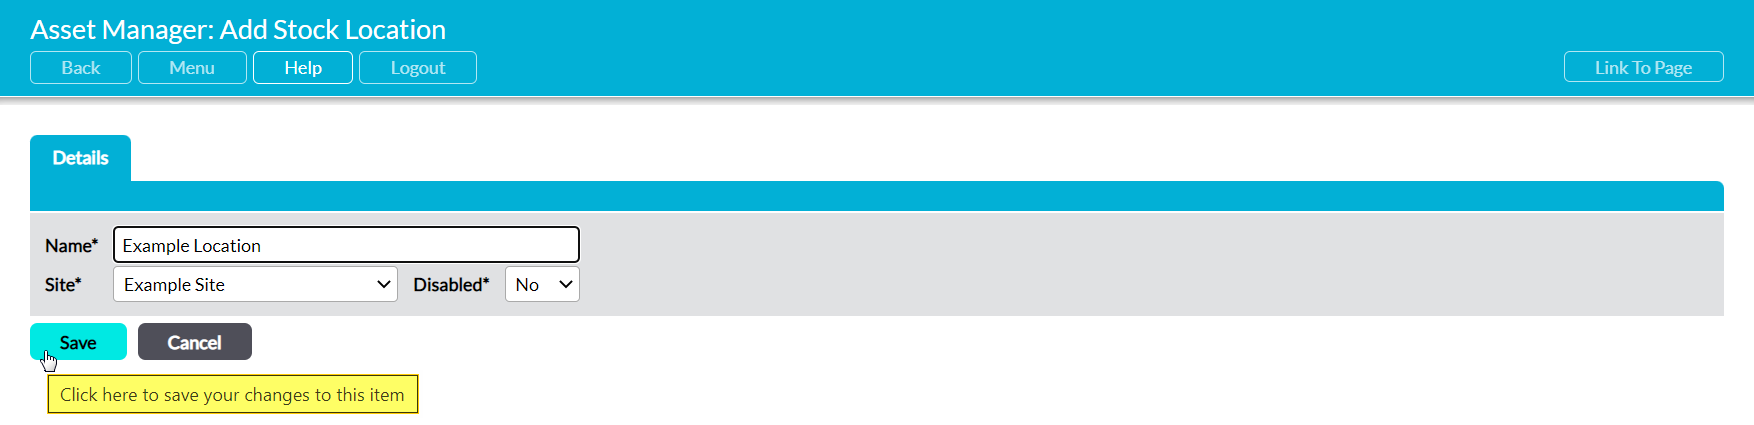
A blank Details form will open for you to populate. Three fields are available for you to complete:
Name* – enter a name for the Stock Location.
Site* – use the dropdown menu to select the site that the Stock Location is associated with.
Disabled?* – use the dropdown menu to specify whether the Stock Location is disabled (not available for selection).
Enter the necessary details, and then click Save.
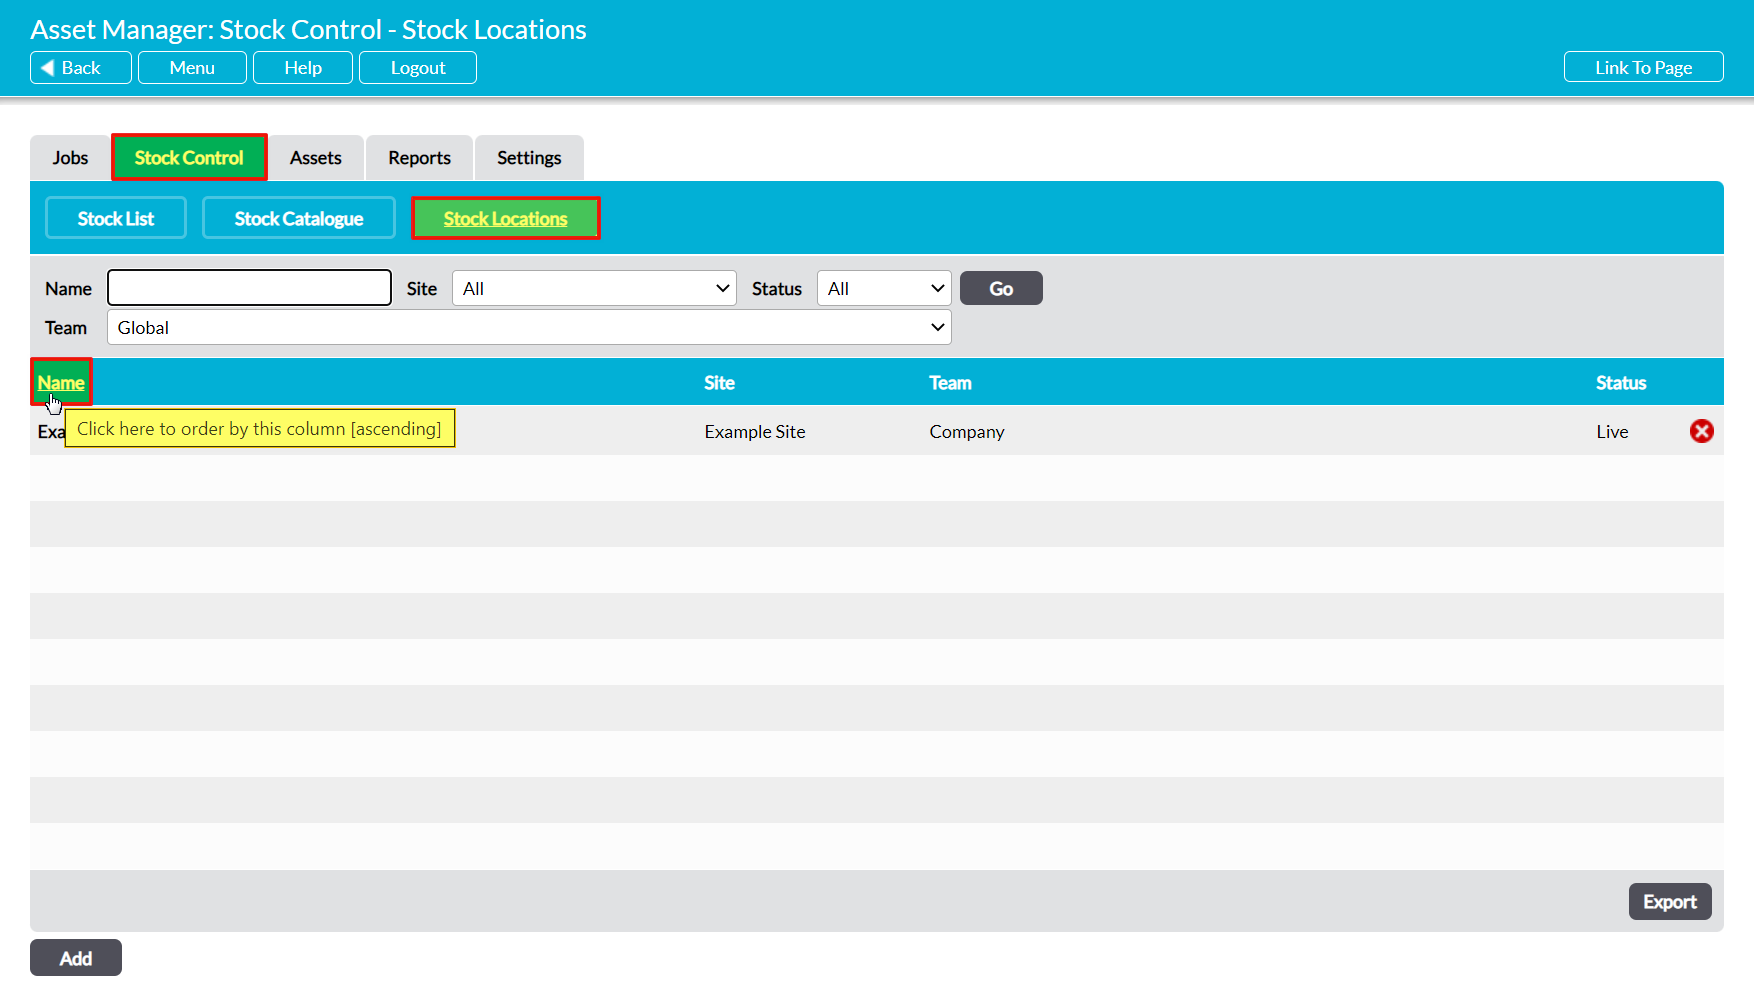
You will be returned to the Stock Locations register, where you can continue adding your organisation’s Stock Locations. If there are no other Stock Locations in your register, the new Location will be displayed at the top of the register. Otherwise, Stock Locations are listed alphabetically by their Name.
*****
View a Stock Location
To view a Stock Location, open the Asset Manager on its Stock Control tab, and then click on the Stock Locations button. This will open a register of all Stock Locations that have previously been added to your system. By default, Stock Locations are listed alphabetically by their Name, but you also have the option to sort them in reverse order by clicking on the corresponding column heading.
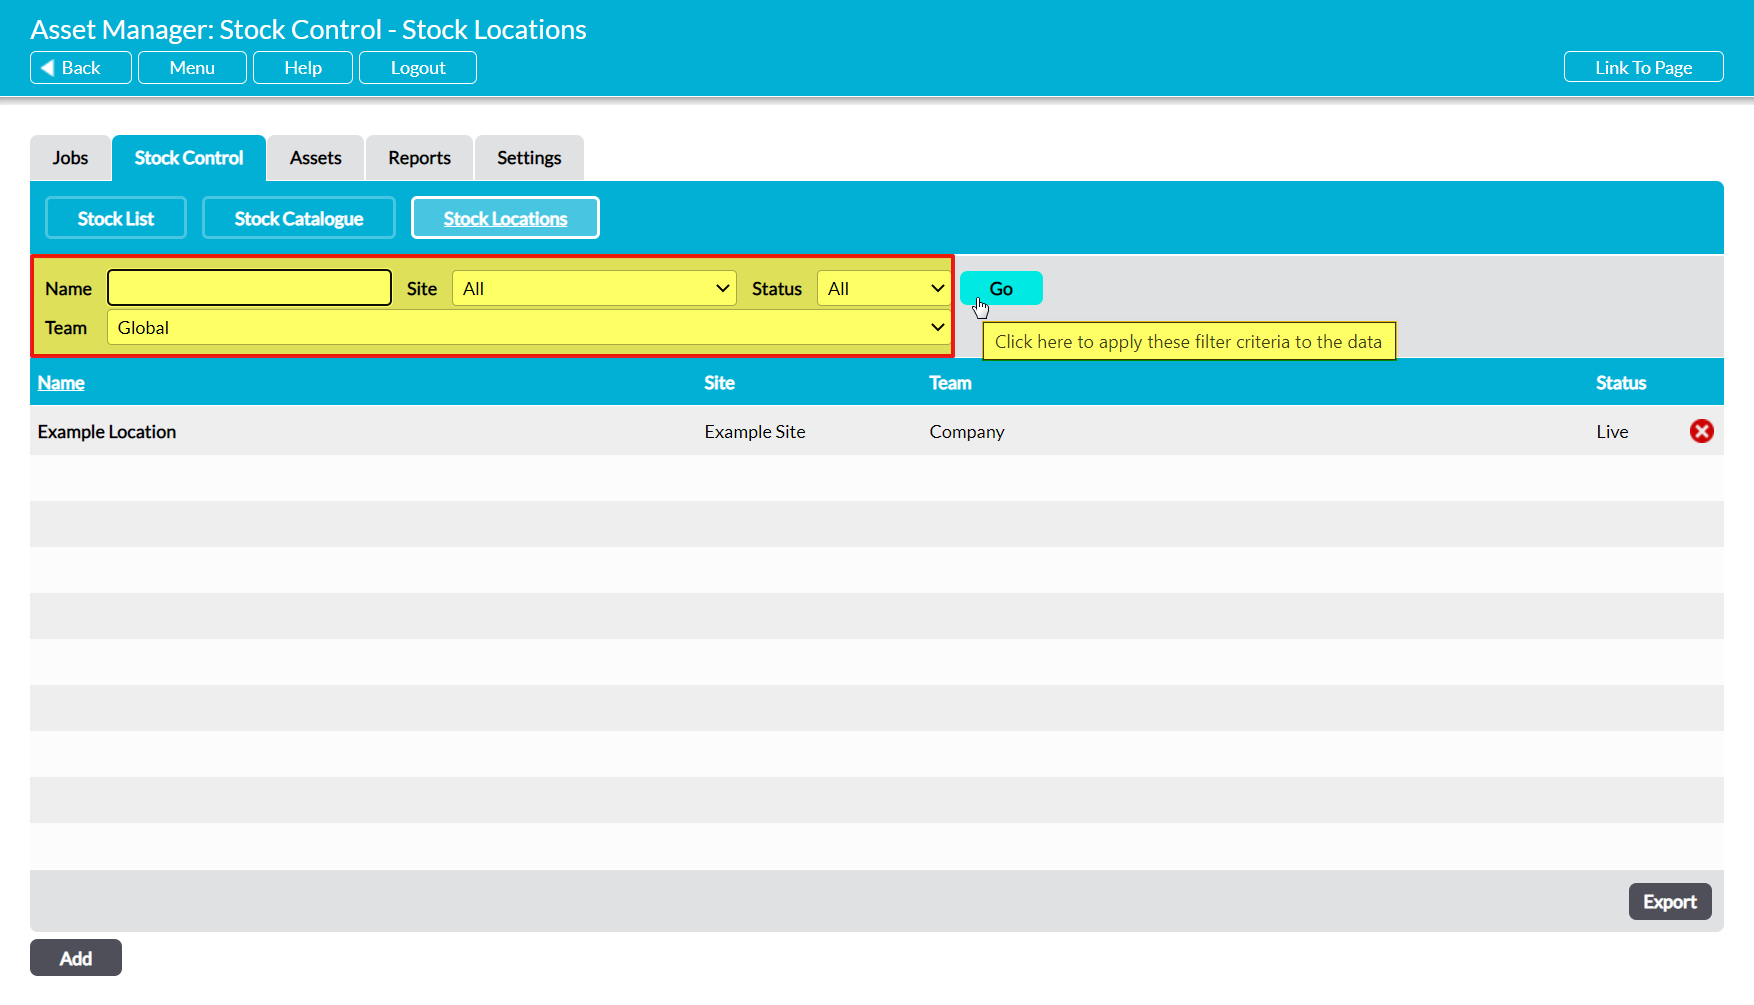
In addition, you can narrow down the list of Locations shown within the register using the search options at the top of the screen.
To view a Stock Location, click on its Name.
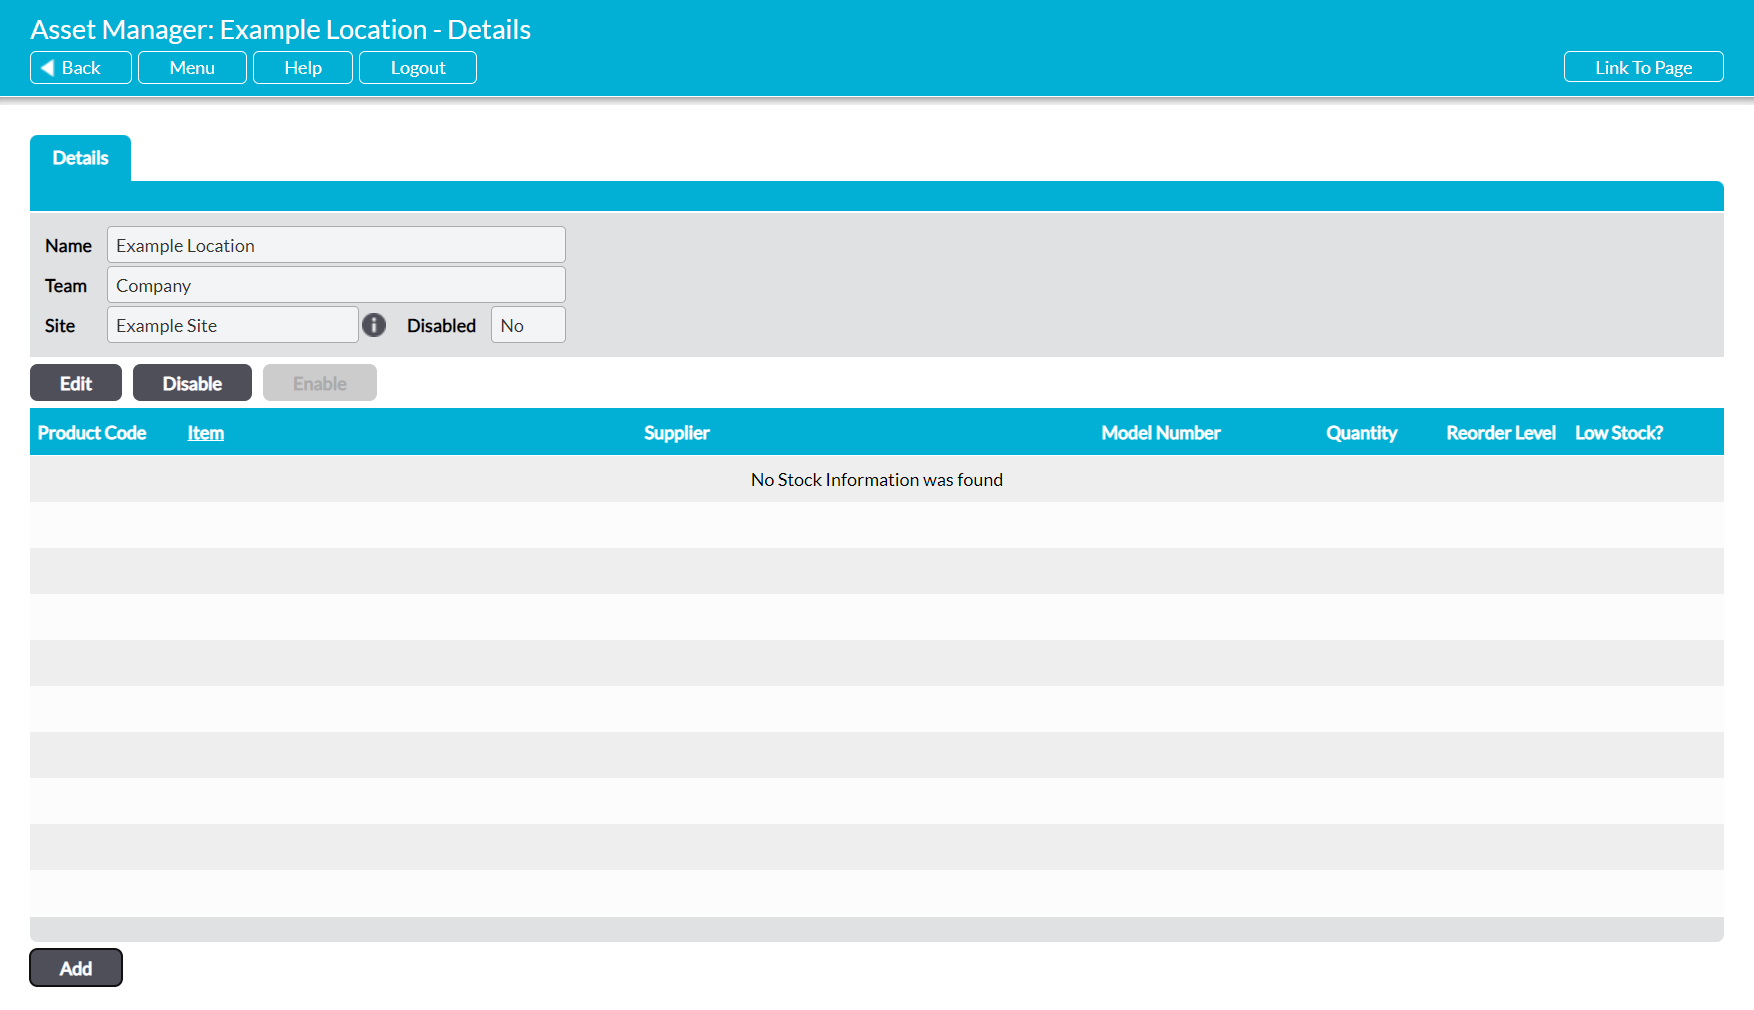
The Stock Location will open on its Details tab, which will include a log of any Catalogued Stock items that are associated with the Location (bottom half of the screen). Clicking on any Catalogued Item will open that Item, enabling you to view its details.
*****
Edit a Stock Location
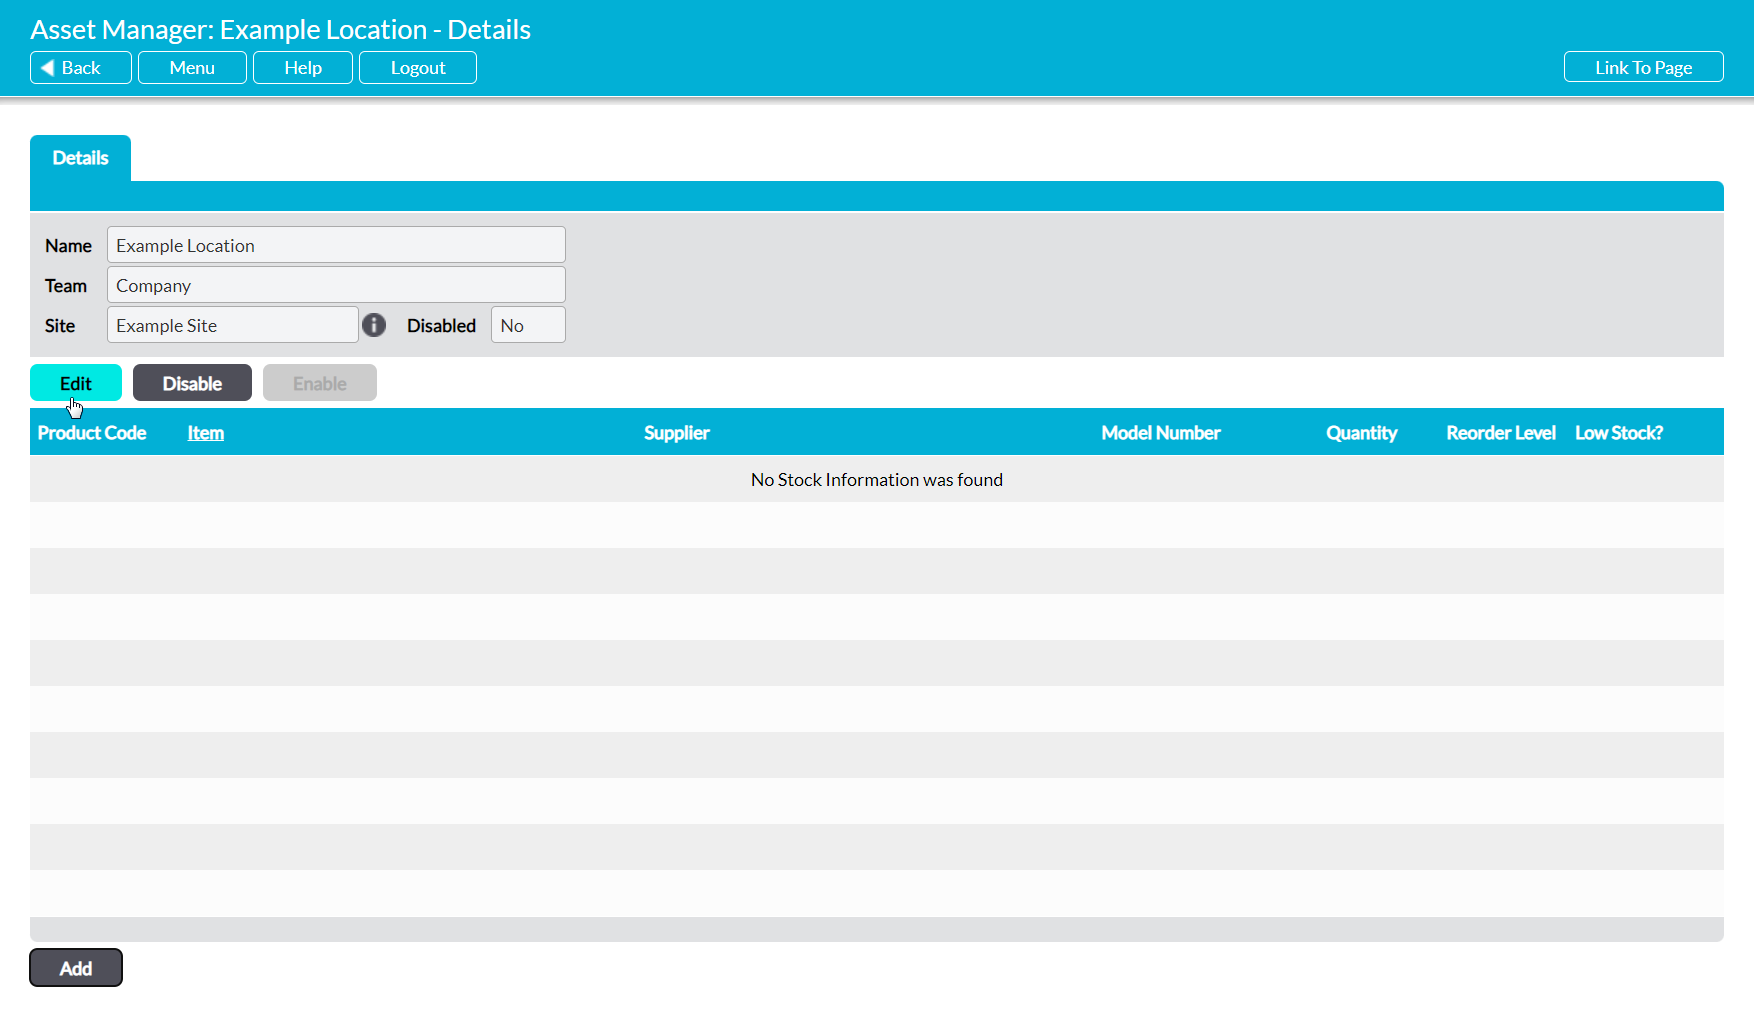
To edit a Stock Location, open the Location and click on the Edit button.
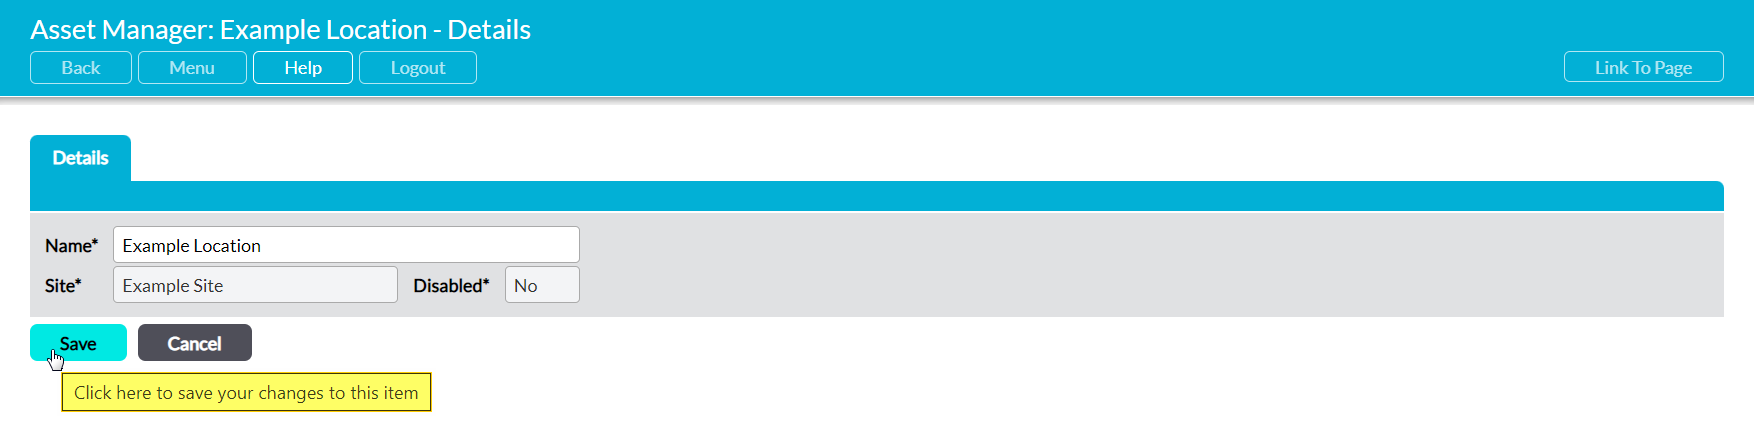
Site and Disabled? will be locked and cannot be modified, but all other fields will be opened for editing.
Make the necessary adjustments, and then click Save to finalise your changes.
*****
Delete a Stock Location
To delete a Stock Location, locate the Location within the Stock Locations page and click on the red cross icon.

If the option hasn’t been used within your system then it will be cleared from the list. However, you will not be able to delete a Location that has already been used in your system. Instead, you will need to Disable the Location to remove it from dropdown lists and prevent its future selection (see below).
Note that this action cannot be undone. Once a Stock Location has been deleted, it will be permanently removed from your system.
*****
Disable / Re-enable a Stock Location
You will not be able to delete a Stock Location that has already been used elsewhere in the Asset Manager. If you wish to remove a Stock Location from menus to prevent its future use, then you will need to Disable it. To do so, open the Location on its Details tab and click on Disable.
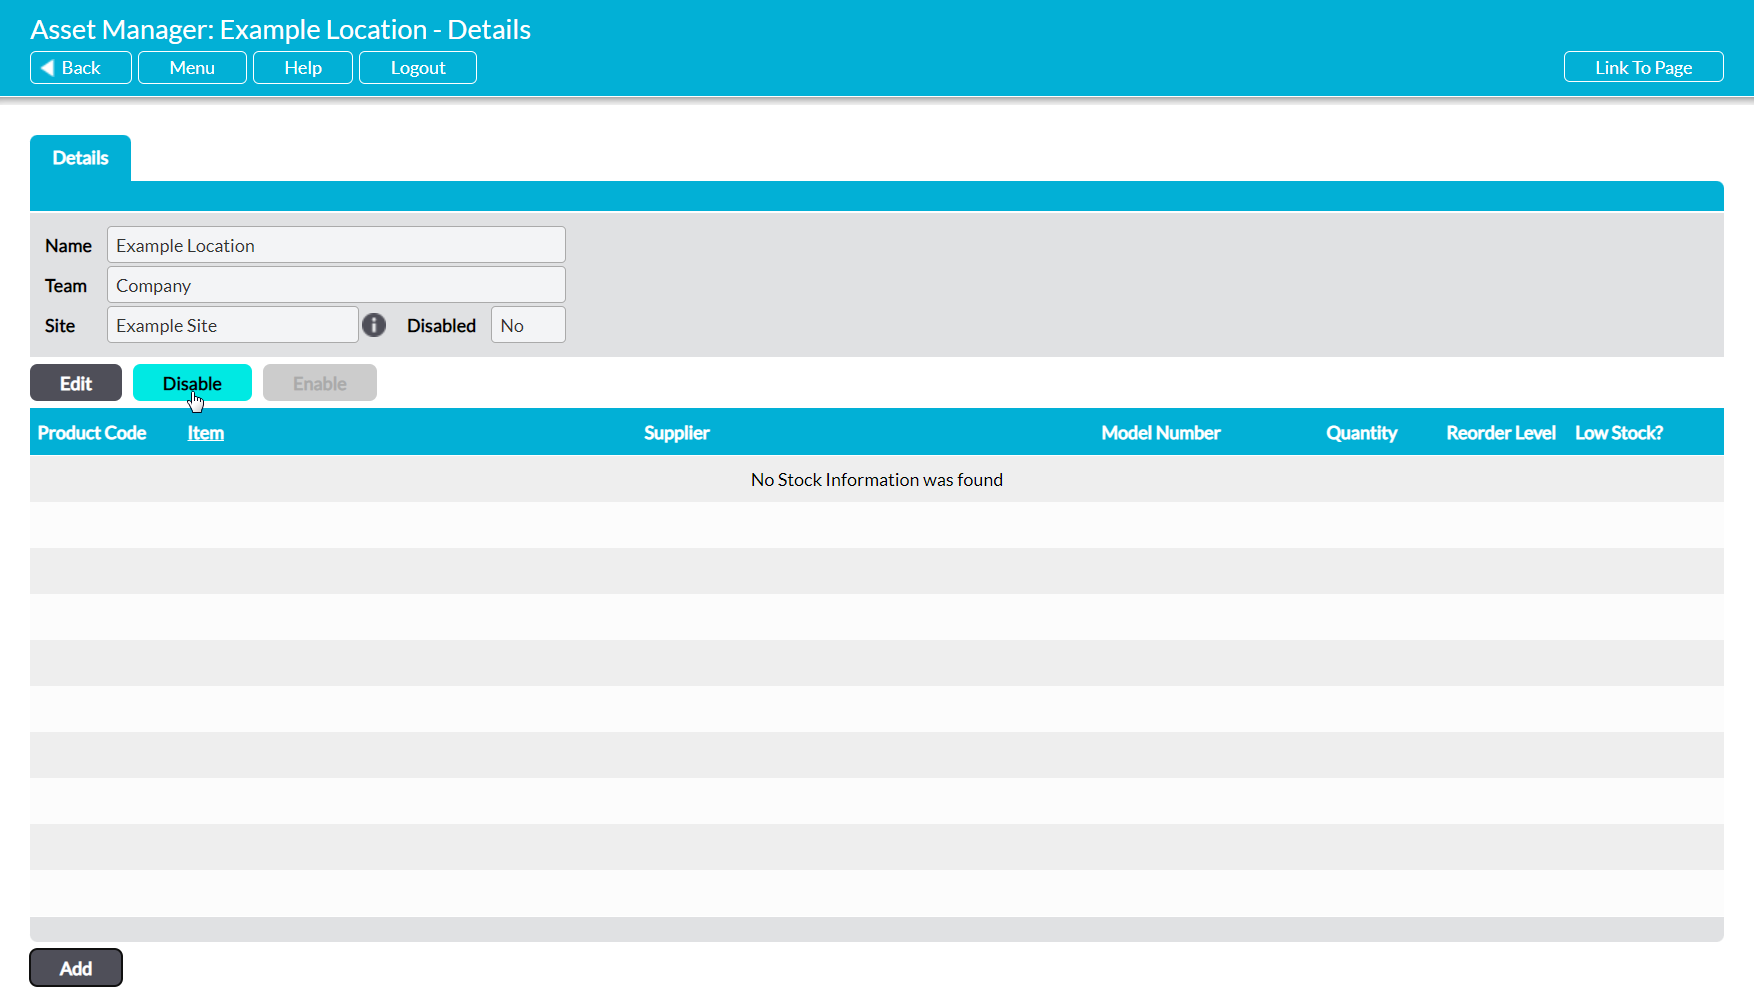
This will open a new form prompting you to transfer the Location’s associated Stock to a new Stock Location. Click on the magnifying glass icon to the left of the field.

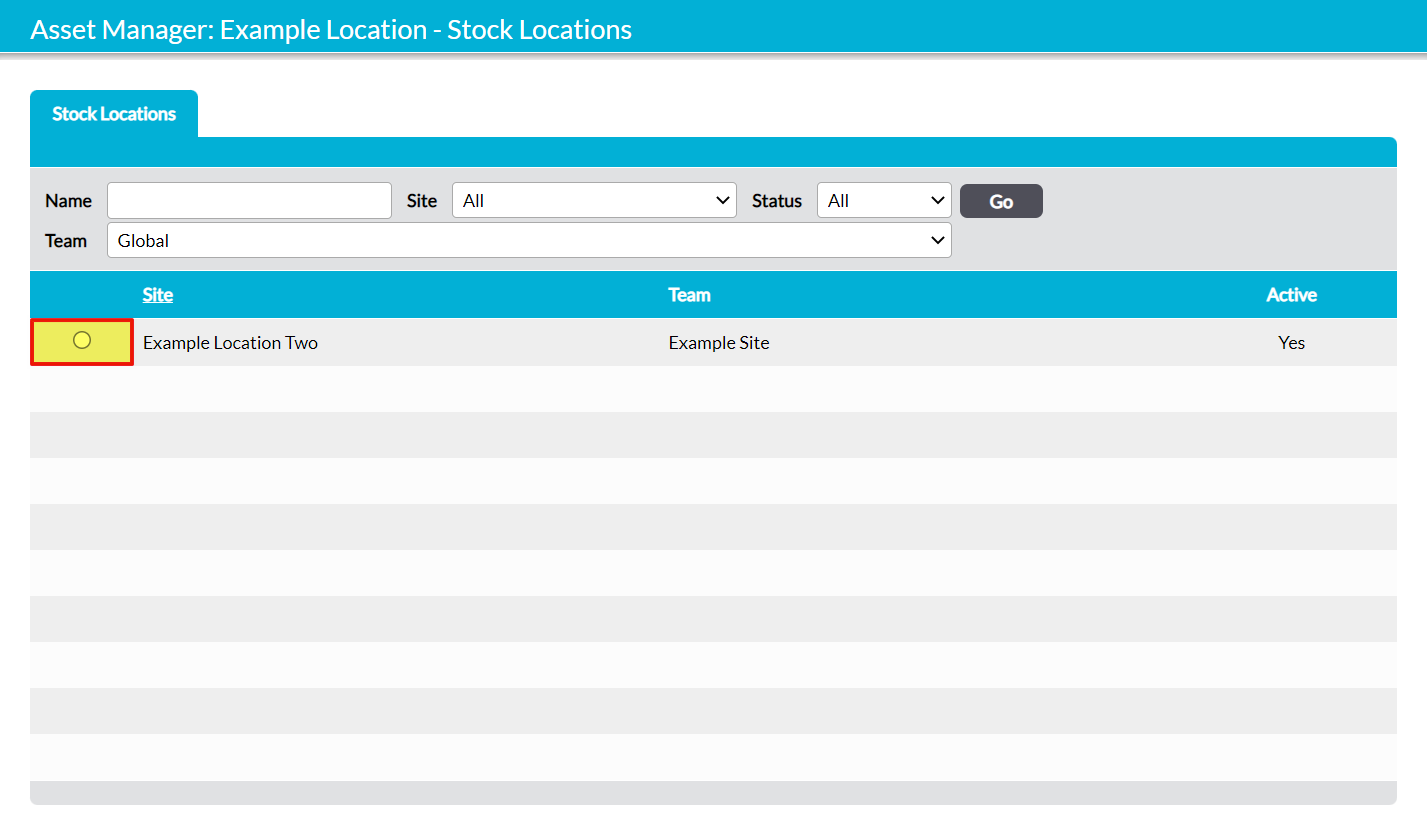
This will open a new window displaying your available Stock Locations. Use the radio buttons to select the Location you wish to move the Stock to.
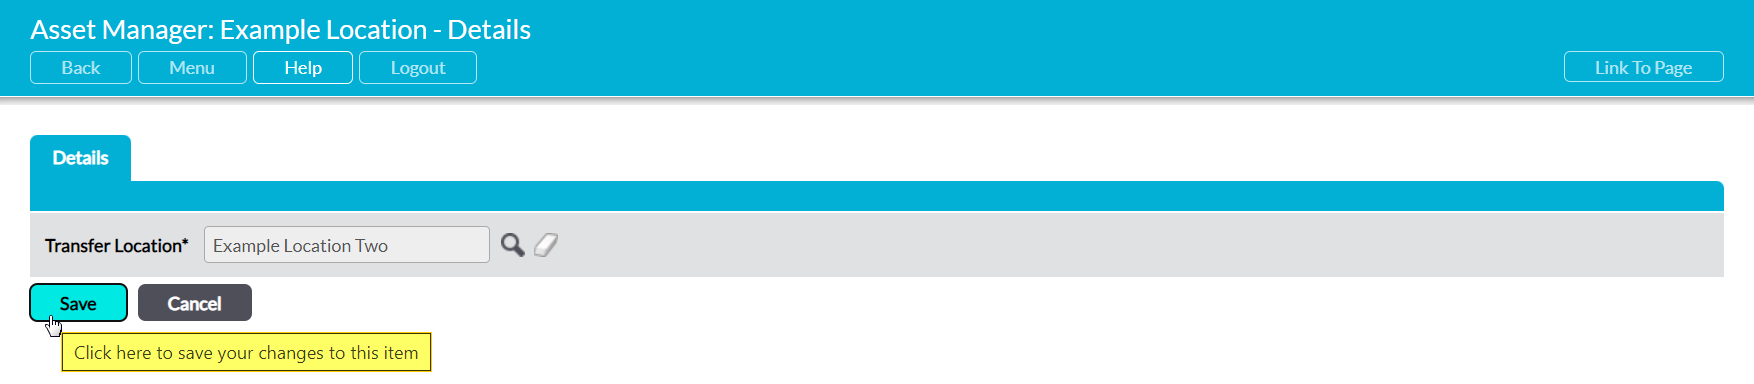
The new Stock Location will now be listed within the form. Click Save to finish disabling the Stock Location.
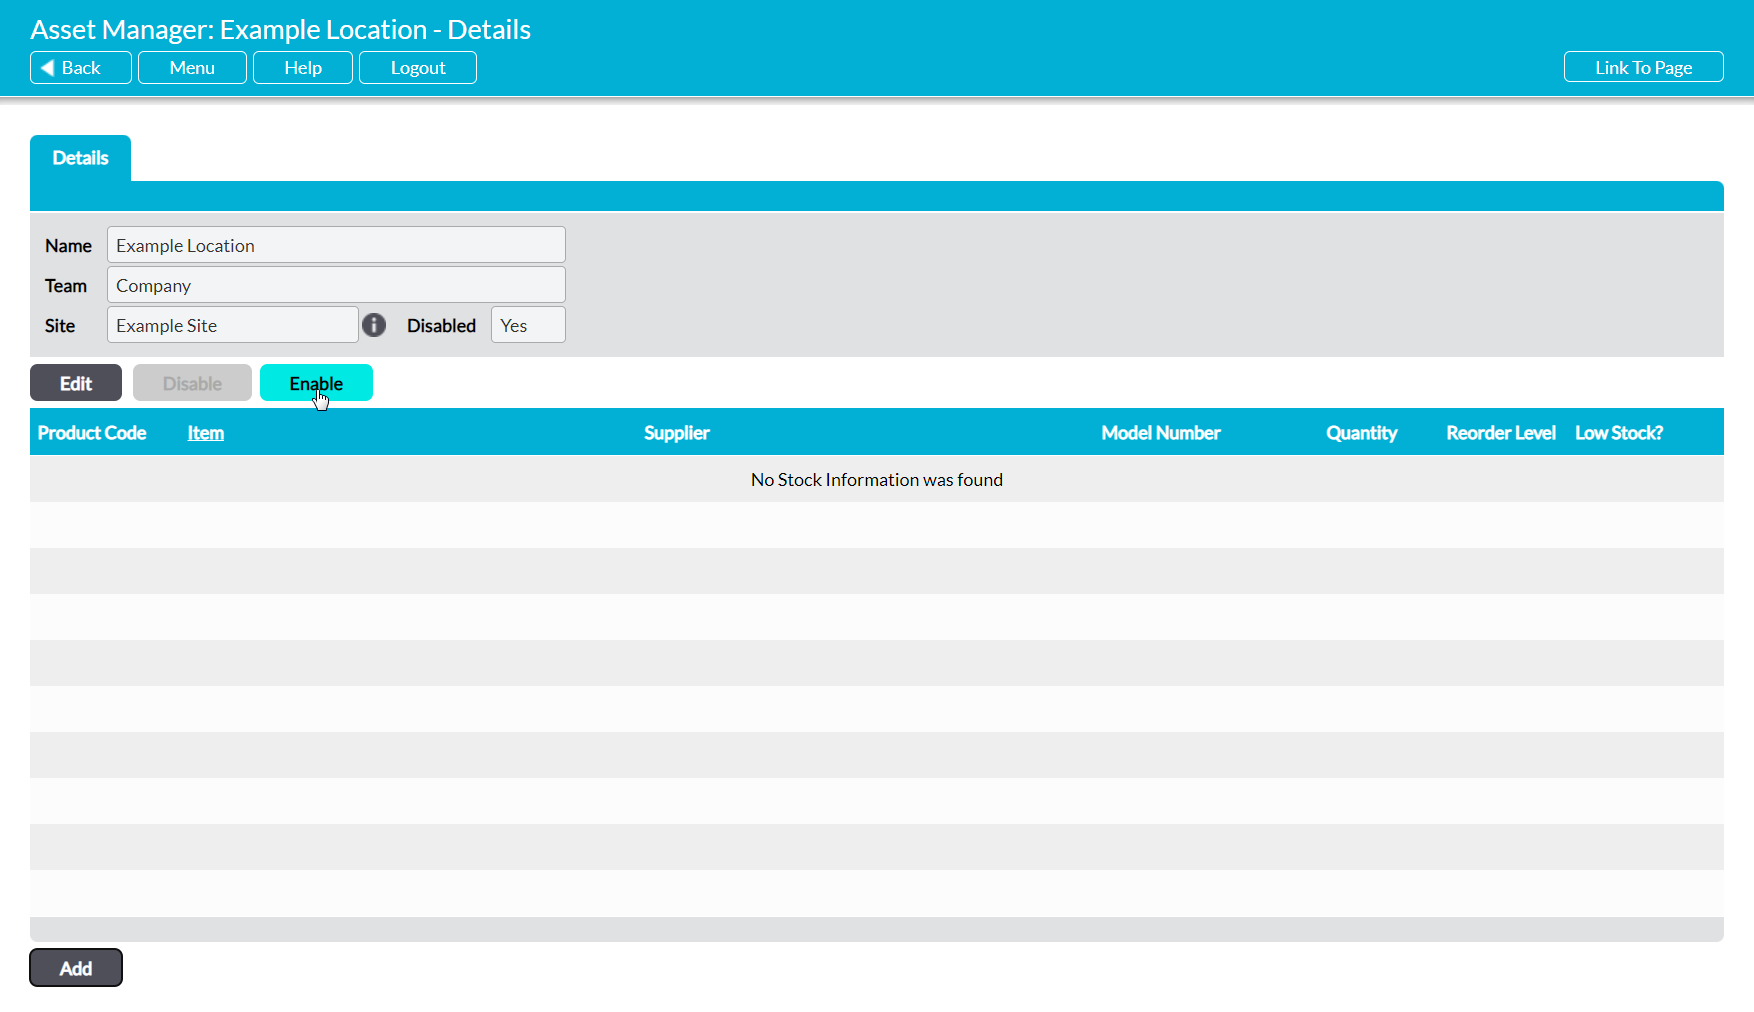
You will be returned to the Stock Location’s Details form, which will now be marked as Disabled: ‘Yes’.
To re-enable the Stock Location, click on Enable within the Location’s Details.
This will re-enable the Stock Location, allowing users to assign new Stock to the Location. Note that any Stock previously associated with the Location will need to be manually transferred back into the Stock Location (see Transfer Stock to a New Location).
*****
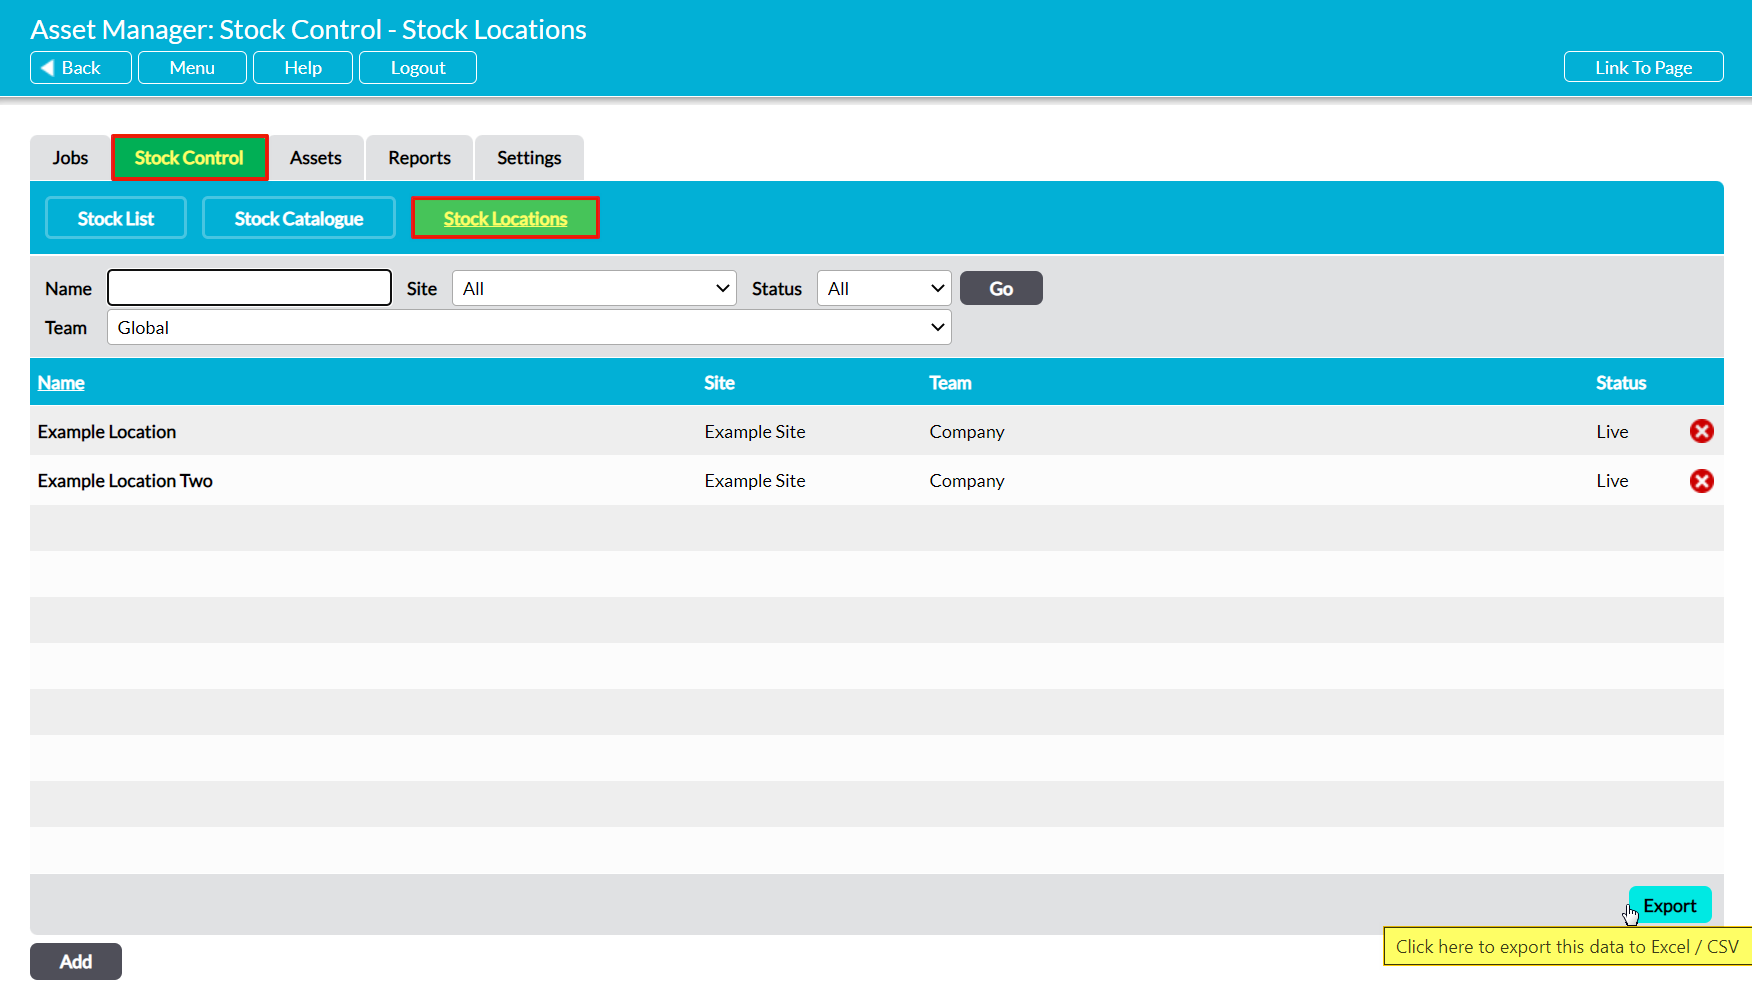
Export Stock Locations
Activ provides you with the option to export a register of your Stock Locations from your system as a CSV file. This file can be stored or printed for use outside of Activ.
Note that this file only contains data from the Details form of Stock Locations, and will not include data from the Stock Listing log.
To export your Asset Manager’s Stock Locations, open the Stock Locations page and click on the Export button at the bottom of the page.
The CSV file will automatically download to your computer.
Note that download behaviour is controlled by your browser settings. If the CSV file does not download as expected, we recommend that you check your browser settings to ensure that they are properly configured.
