You can link files within your Activ file libraries to an Incident Log, provided that you have the File Manager module of Activ. You can also append files from outside Activ to an Incident Log.
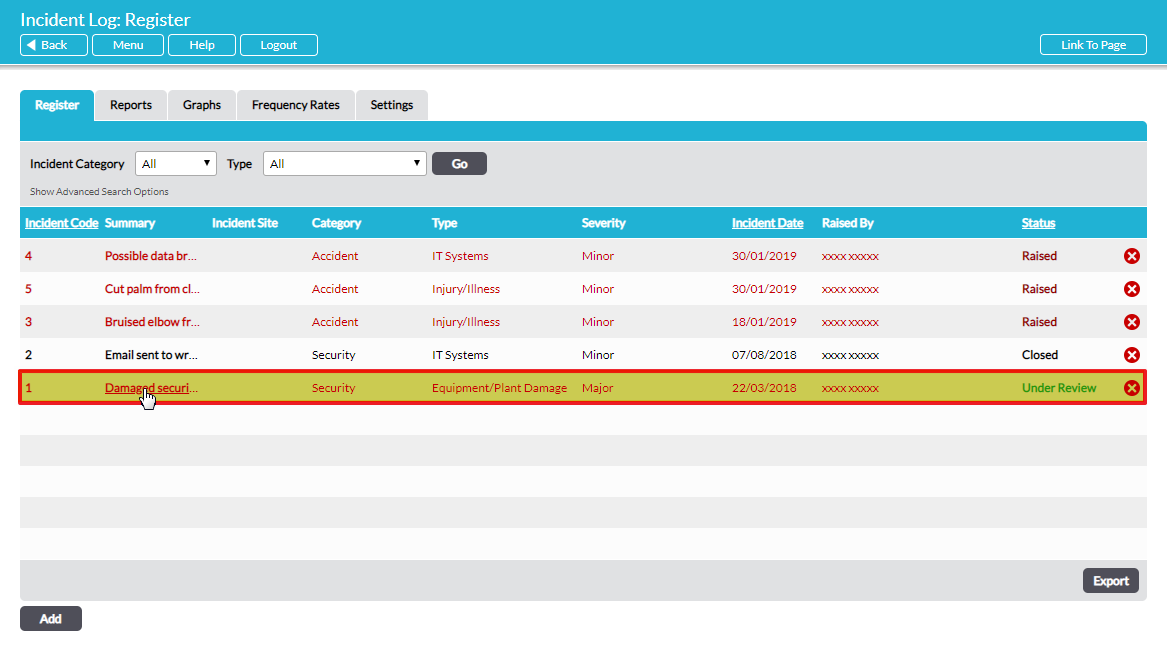
Open the relevant incident by clicking on it in the list on the Register tab of the Incident Log module:

The Incident Log opens on its Details tab.
Link a File
Select the Linked Files tab:
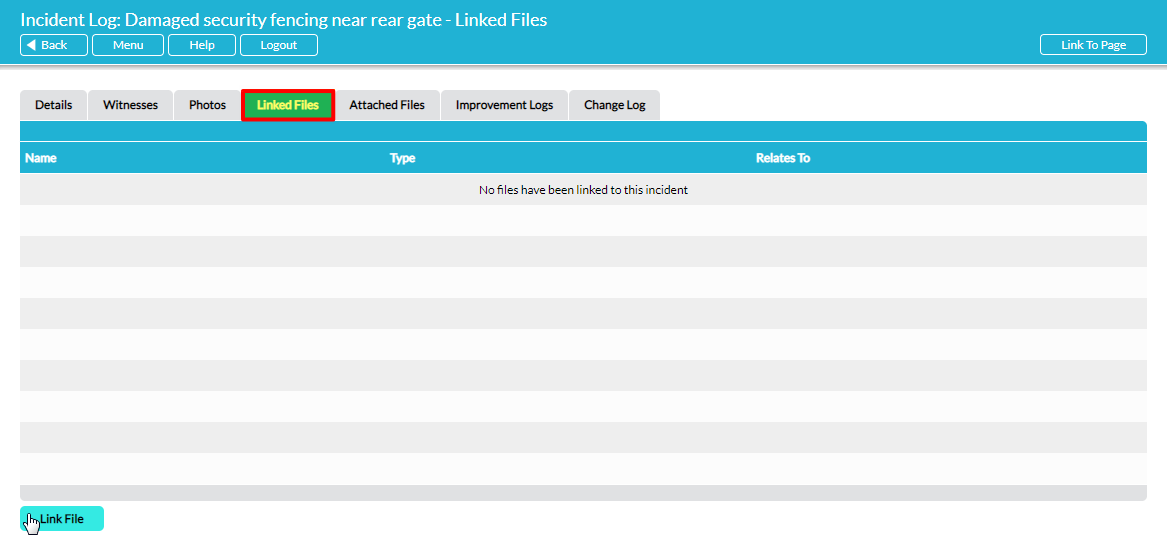
Click on Link File. This opens the Link File screen with tabs allowing you to navigate to the location of the file you want to link to:

Navigate to the location of the file to be linked to the Incident Log and select it by clicking on the radio button next to it. If more than one file is to be linked, any files in the same library (tab) can be selected simultaneously.
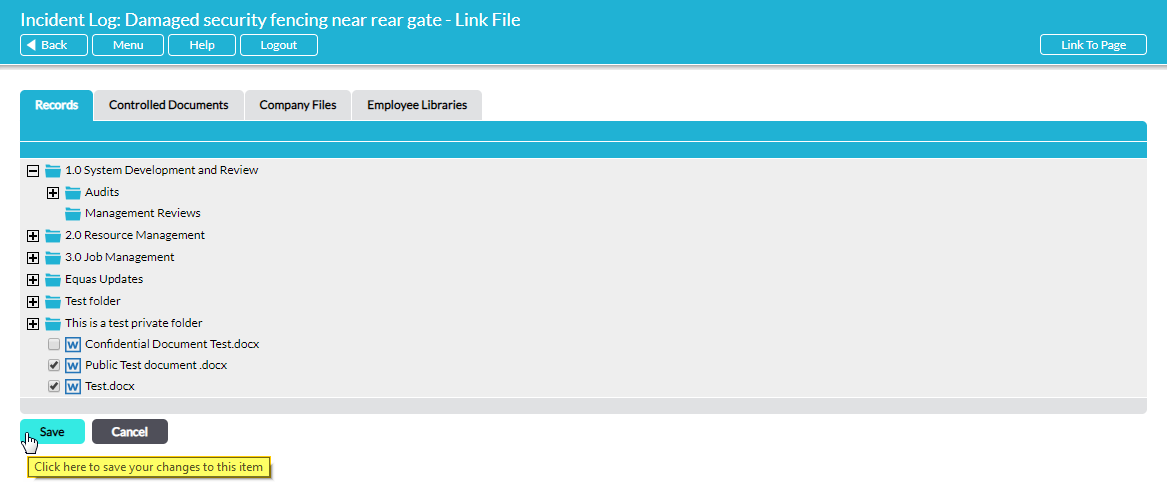
Click on Save. You will be returned to the Linked Files tab where the newly-linked files will now be listed:

Now, if further files from a second or third library are to be linked, click on Link File again and repeat the process for the files in that location, remembering to click on Save once you have selected the relevant files.
Linked files can be downloaded and managed direct from the Linked Files tab in the same way as they can elsewhere in the system.
You can delete any linked file from your Incident Log by clicking on the red cross to the right of it. Note that this does not delete the file from your Activ system; it merely breaks the link between that file and the Incident Log.
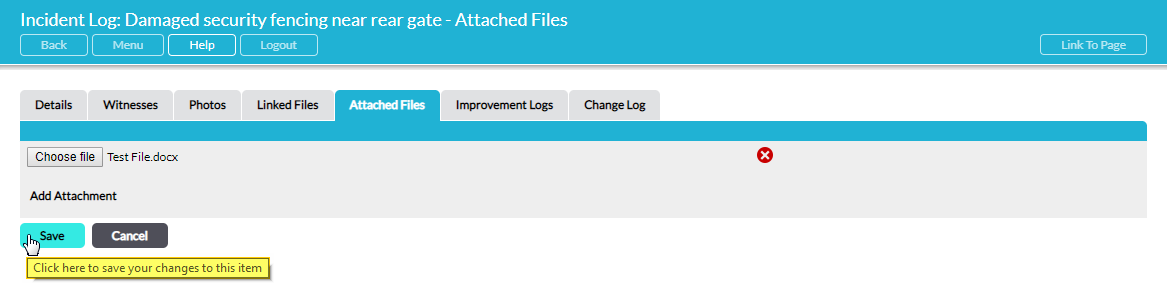
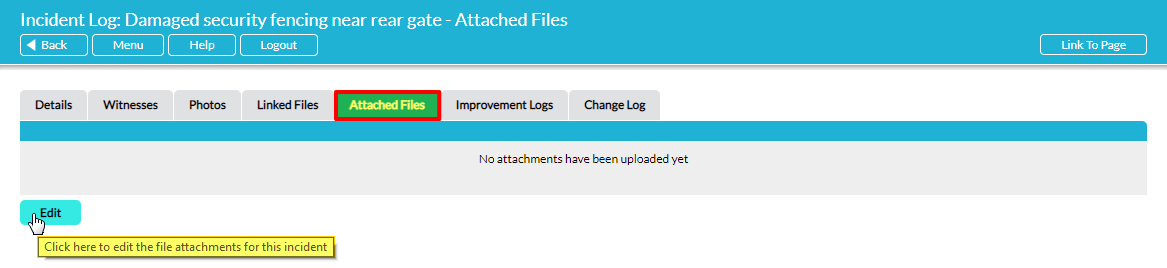
Attach A File
Select the Attached Files tab. To append a file, click on Edit:
You can now click on Add Attachment to navigate to the file’s location on your hard drive/network and select it to append to the Incident Log:

Repeat as necessary. Click on Save to complete the act of appending the file(s) to the Incident Log: