To edit an Overview Process’ content and structure, Check Out the Process (see Check Out / Check In a Process) and then open it on its Details tab. If you are creating a new Process, its sections panel will initially be blank (unless you have copied it from an existing Process). Otherwise, all existing information will be recorded in the lower part of the screen.
Four options are available when editing the Process’ content and structure:
If you need to edit the Process’ Key Details or Properties, see Edit the Properties and Key Details of a Process.
Note that the Process will need to be Checked In once you have finished editing its content. All changes made to a Checked Out Process will be hidden from your users until the Process has been Checked back In to your system (see Check Out / Check In a Process).
*****
Add a Section
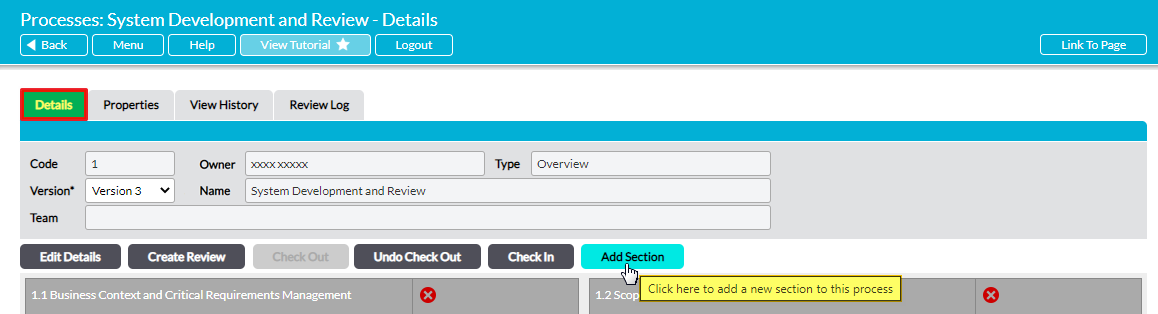
Overview Processes are presented as a series of short-text sections, each of which is housed within its own panel in a grid view. Each section comprises of a heading, a short-text description, and any relevant references (see below). Sections are displayed chronologically by their Code.
To add a section, click on the Add Section button at the top or bottom of the page.
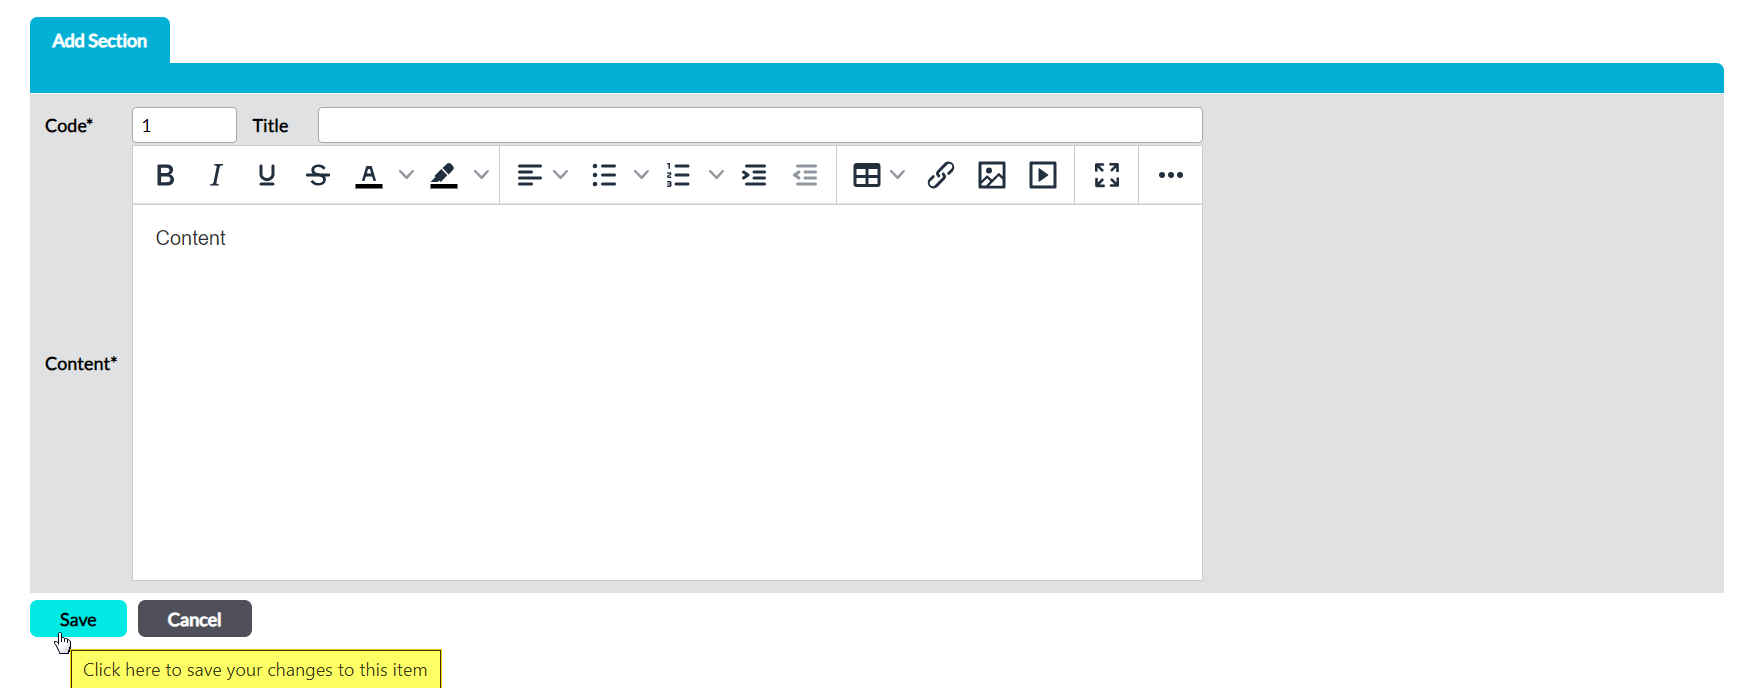
This opens a blank Add Section form for you to populate. Three fields are available for you to complete:
Code* – enter a numeric or alphabetic identifier to specify the order in which the sections are displayed. Numbered sections are always displayed ahead of alphabetic sections, and always in ascending order.
Title – enter a brief heading for the section
Content* – enter the details for the section. This is the section’s main content, and should consist of a short summary of the step or section within the Process. If necessary, you can format the text using the formatting buttons above this field. Note that additional formatting options can be made available within this bar by clicking on the Ellipsis icon, and that you also have the option to enter a full screen mode by clicking on the Expand button (however, you will need to exit full screen mode by clicking this button again before you can Save).
Enter the necessary details, and then click Save.
*****
Edit or Re-Order a Section
To edit or re-order a section, click on the pencil icon to the right of the section’s text description.
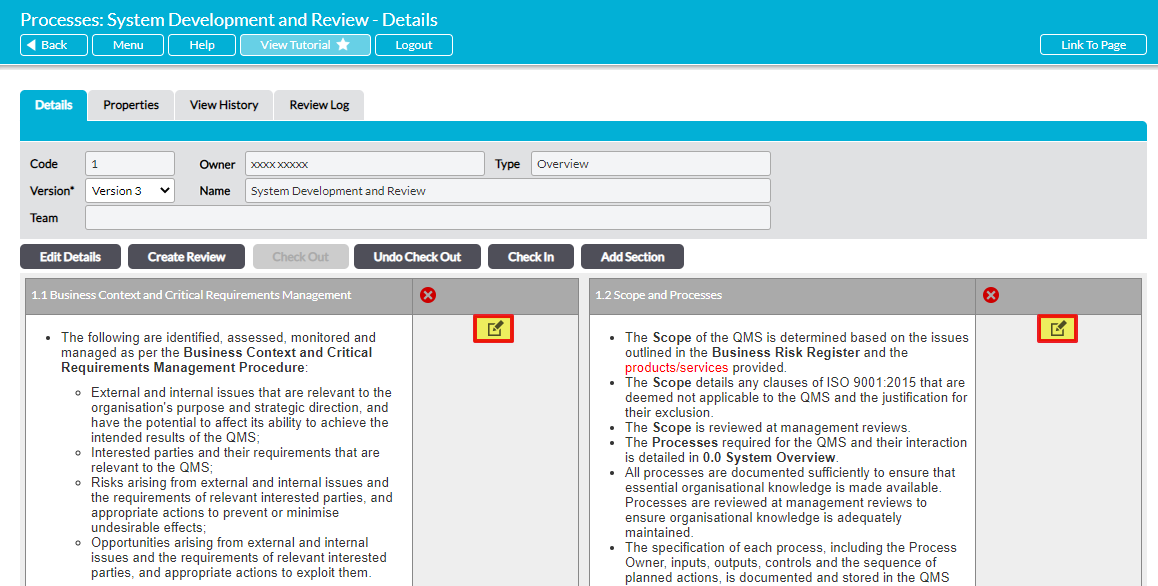
Alternatively, click anywhere within its main content panel.
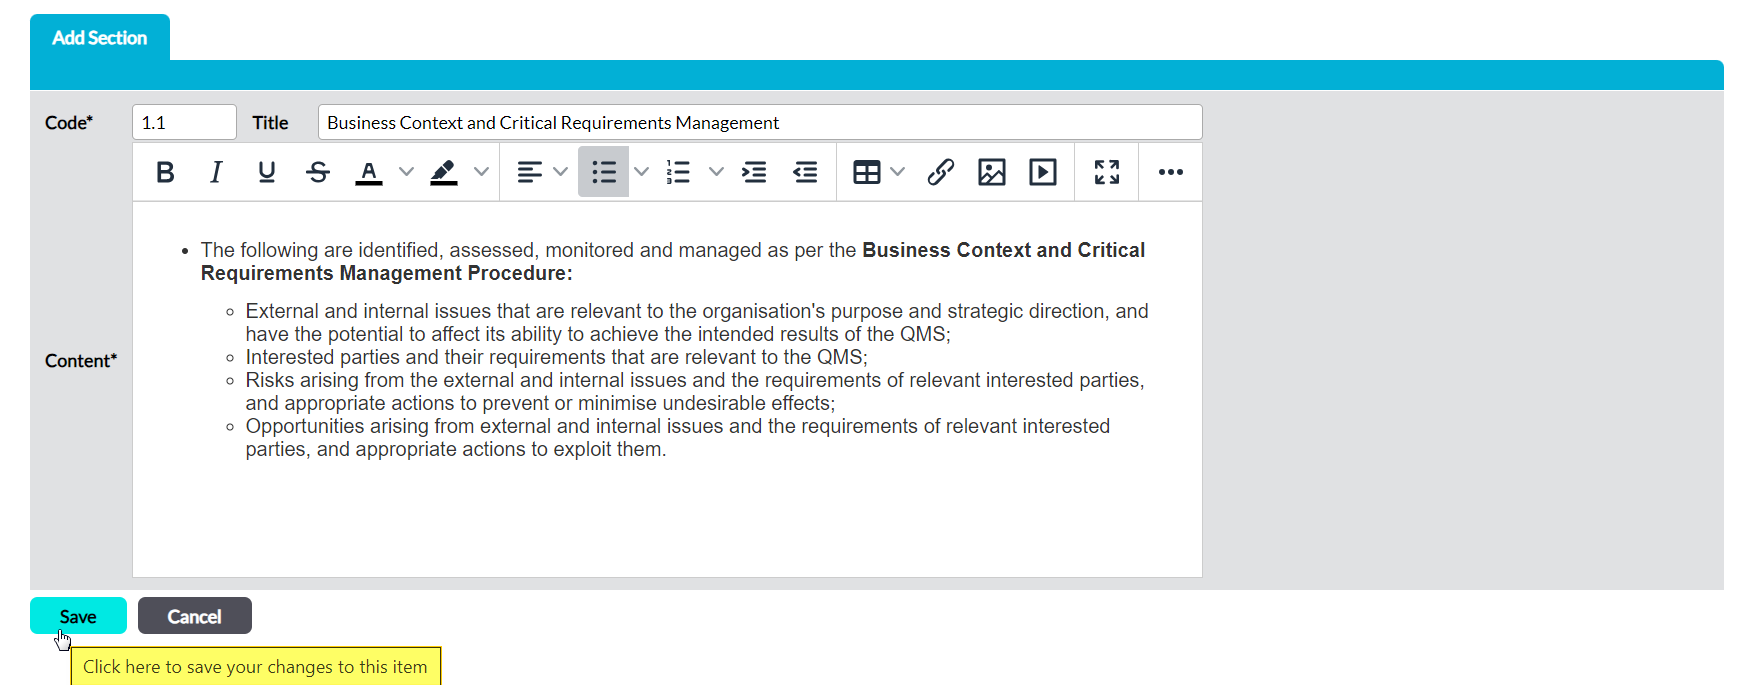
All fields will be unlocked for editing. If you wish to change the section’s position within the Process, edit its Code.
Make any other necessary changes, and then click Save.
*****
Add and Manage References
References act as direct links to resources (e.g. instructions, templates, or storage locations) that are relevant to your Process. Activ allows you to set these against each section individually so that you can signpost your users to the most useful information for each section. References can be:
- links to files and folders that are stored within Activ’s File Manager
- links to another Activ page (e.g. another Process or another module)
- file attachments from your network or device; or
- hyperlinks to any external URL (e.g. a website).
Note that you can link to both a File Manager folder and a specific file stored within that folder. However, you must link to the individual file first, as folders will be hidden from each section’s selector once it has been linked as a reference.
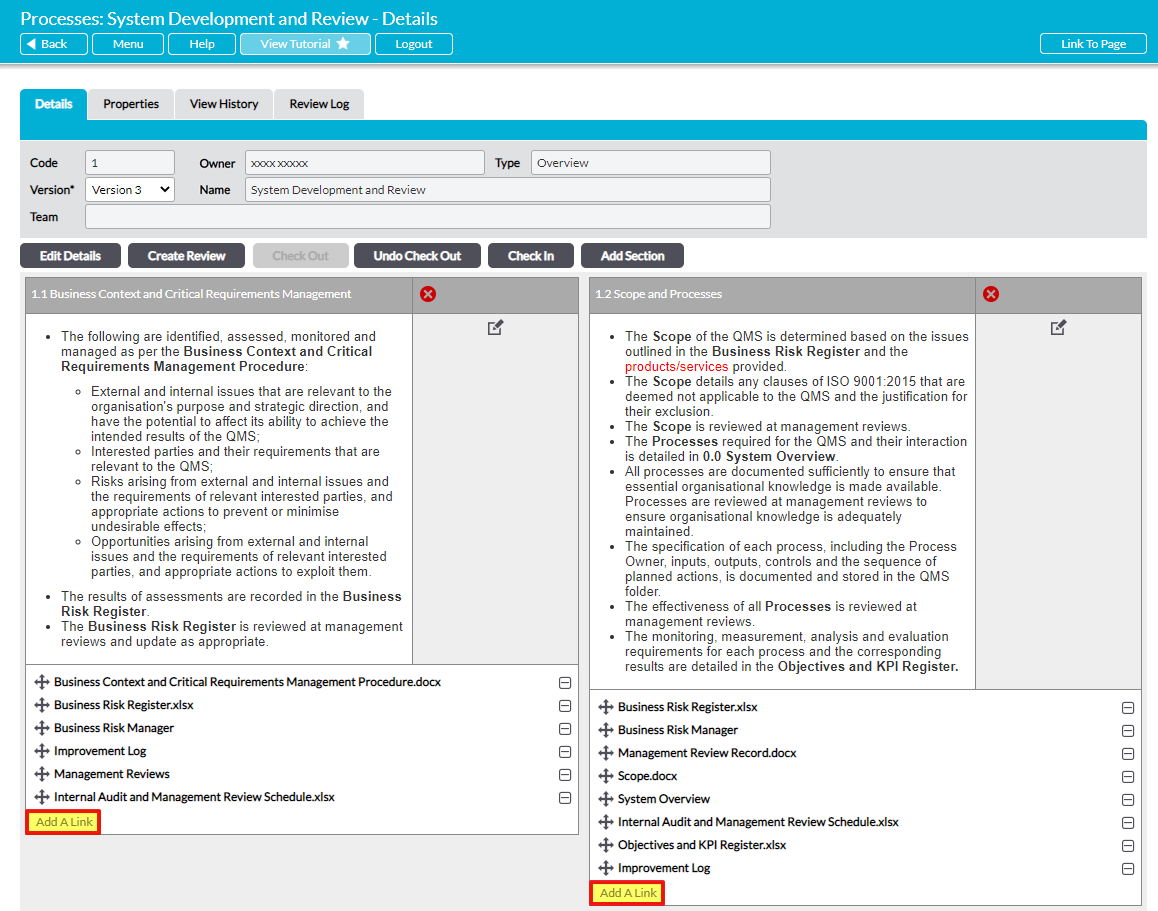
To add a new reference, click on Add a Link.
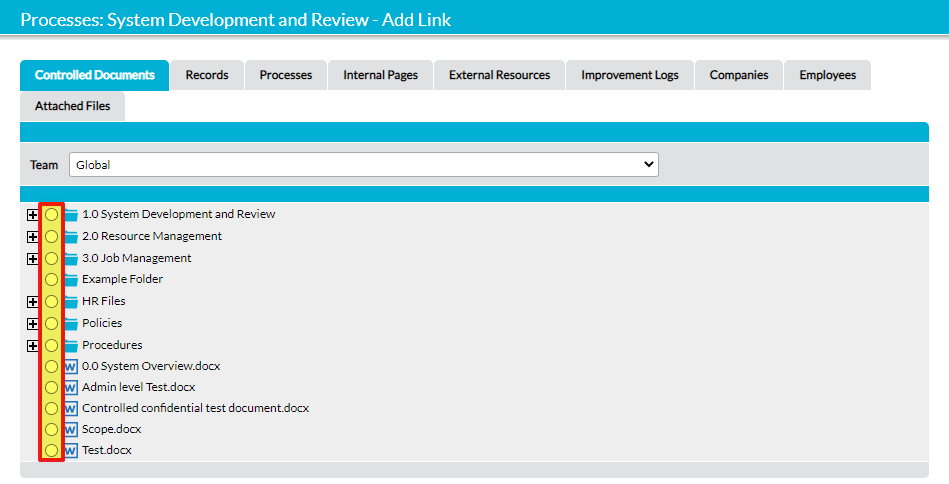
This will open a popup window listing the available options. Use the External Resources tab to add a link to an external website, the Attached Files tab to upload an attachment, or one of the other tabs to link to an item or page within your Activ system.
If you are adding an attachment or a link to a specific url, you will need to click Save once you have entered the relevant information. Otherwise, select the radio button next to your desired reference.
The link will be listed within the relevant section’s reference sub-section.
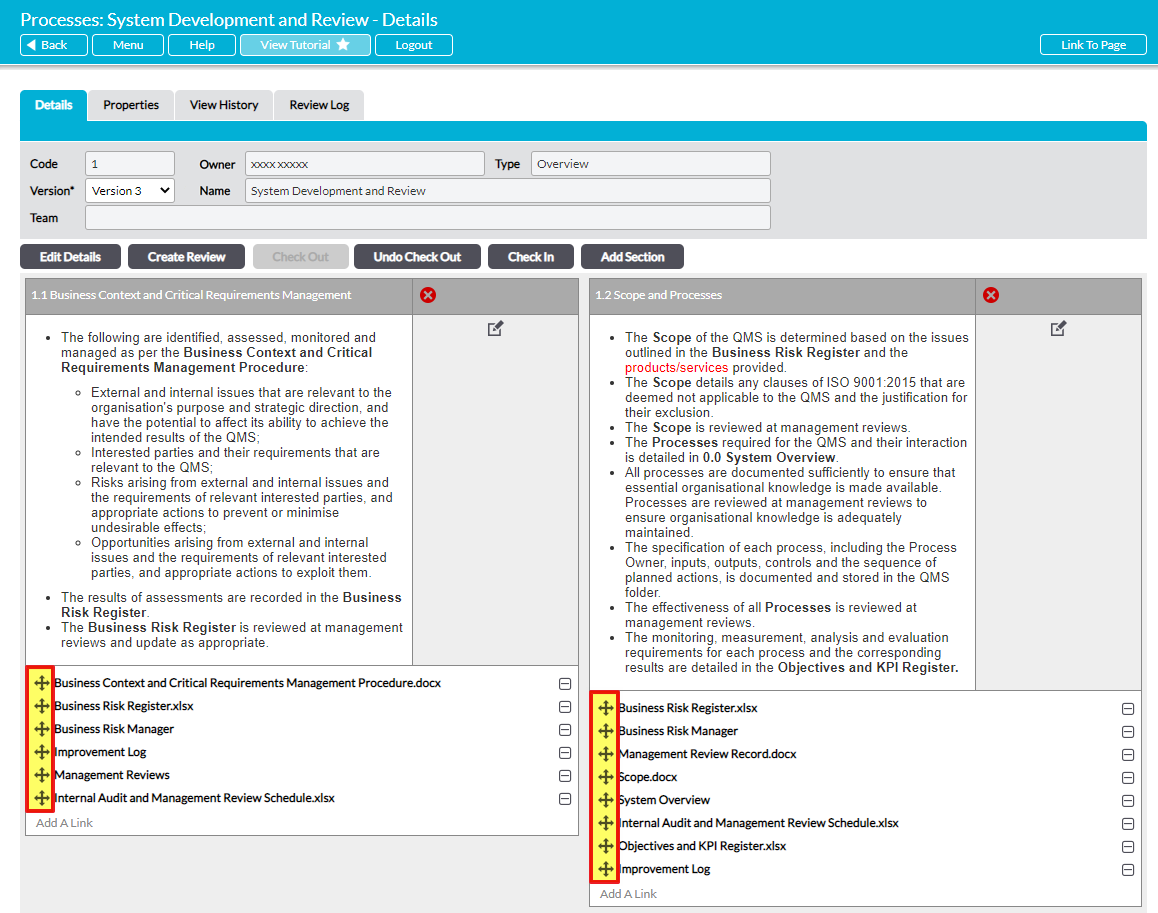
If you wish to re-order your references, click on the plus icon to the left of the reference’s name and drag and drop it into the appropriate position. References can be arranged in any order you desire, and can also be moved from one section to another.
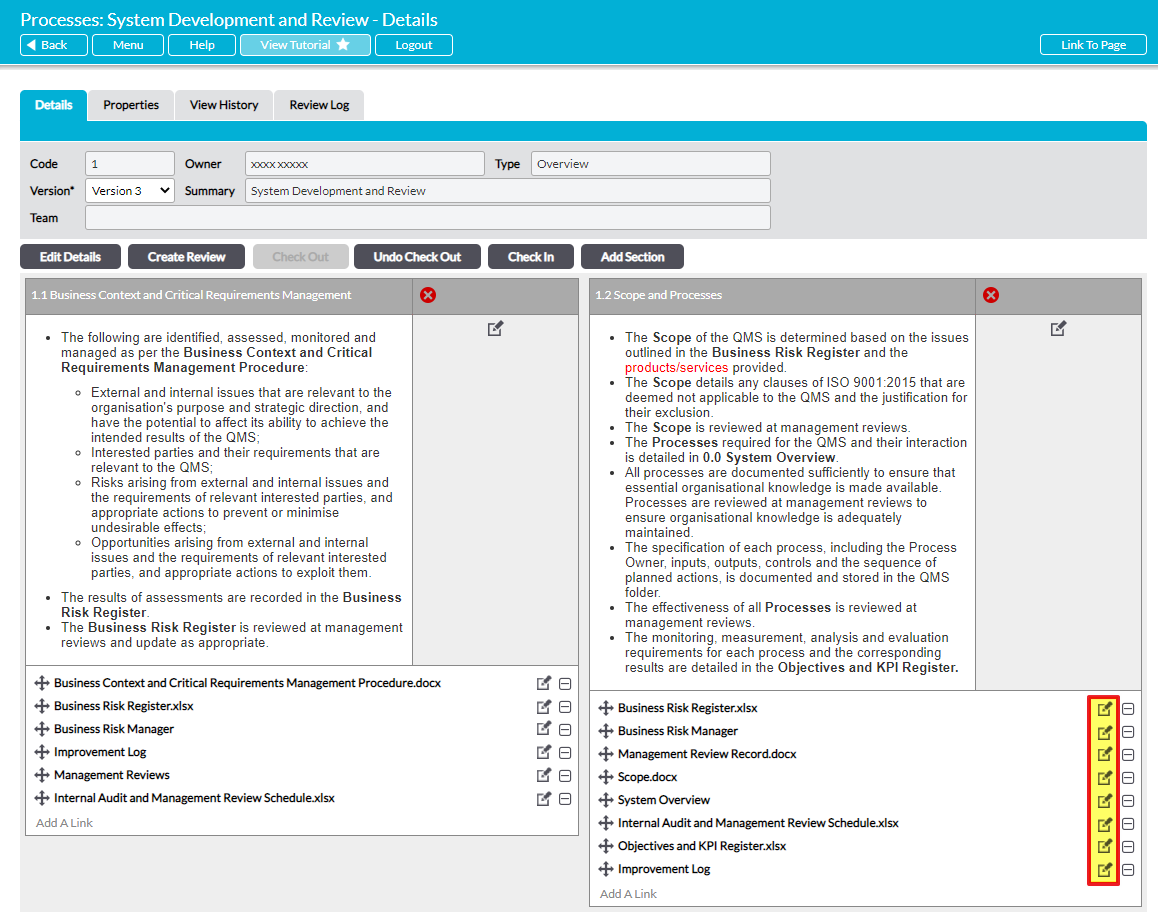
If you need to edit a reference (e.g. if you selected the wrong page, or entered an external link incorrectly), click on the pencil icon to the right of its name.
This will open the links popup window on the tab that was originally used to enter or select your reference. If the original reference was a link, then make the necessary changes to the provided fields and then click Save to commit the change. Otherwise, click on the appropriate radio button to select the correct reference.
If you wish to delete a reference, click on the minus icon to the right of its name.

You will be prompted to confirm whether the reference should be deleted. Click OK, and the reference will be removed from the relevant section (note that this will only remove the link to the item. It will not remove the source item itself).
*****
Delete a Section
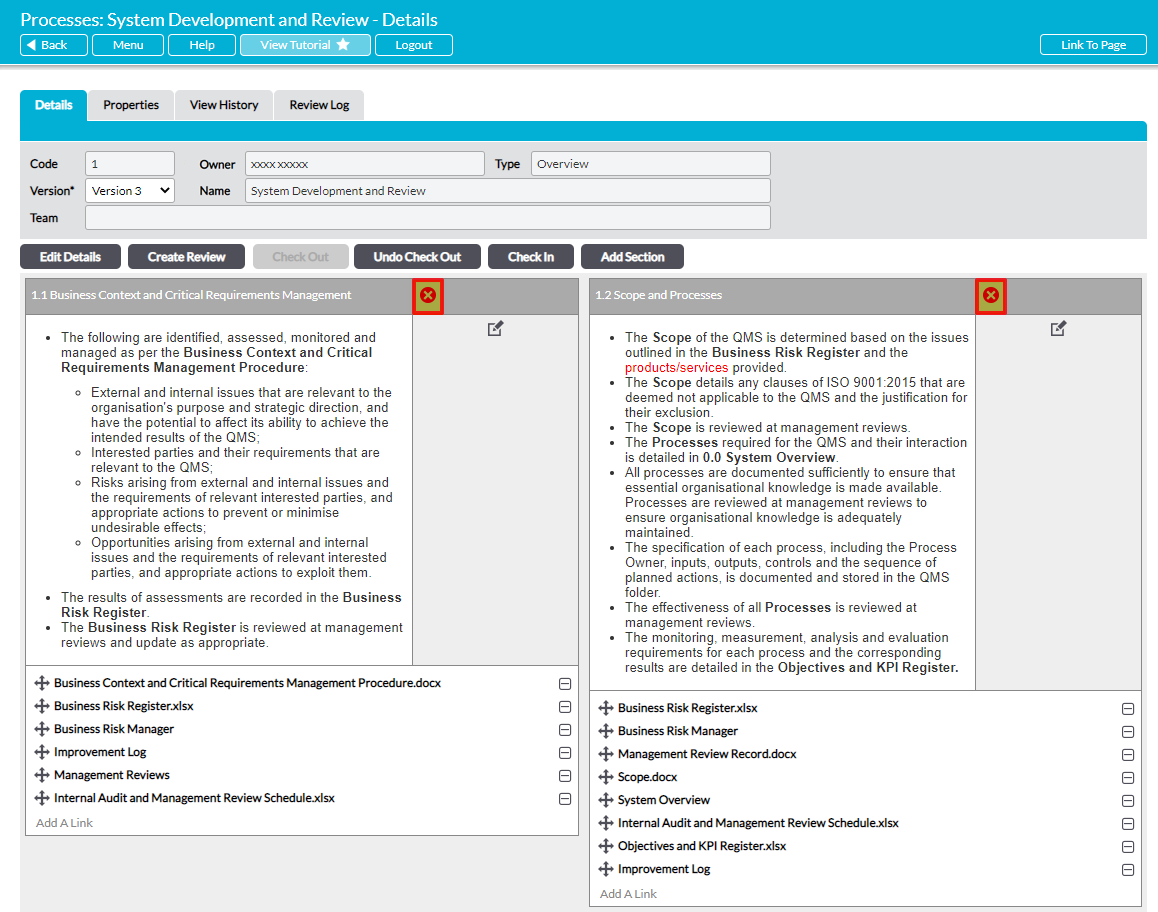
To delete a section, click on the red cross to the right of the section’s title.
You will be prompted to confirm whether the section should be deleted. Click OK, and the section will be removed from your Process. Note that deletion cannot be undone. Once this is accepted, the section and all of its data will be permanently removed from the current version of the Process.
