It is important to remember that all Supplier Assessments that you and other users send will be based on the template that already exist within your system: it is not possible to send a Supplier Assessment that deviates from these templates. If you need to send a Supplier Assessment that contains different questions to those in your current templates, you will first need to create an appropriate template within the Templates tab (see Create a New Standard Supplier Assessment Template).
It is also important to note that you will only be able to create Assessments for Suppliers that have already been recorded within your system. If you need to assess a Supplier that is not already in your system, you will first need to add them to your main Companies register (see Add a Company for guidance).
*****
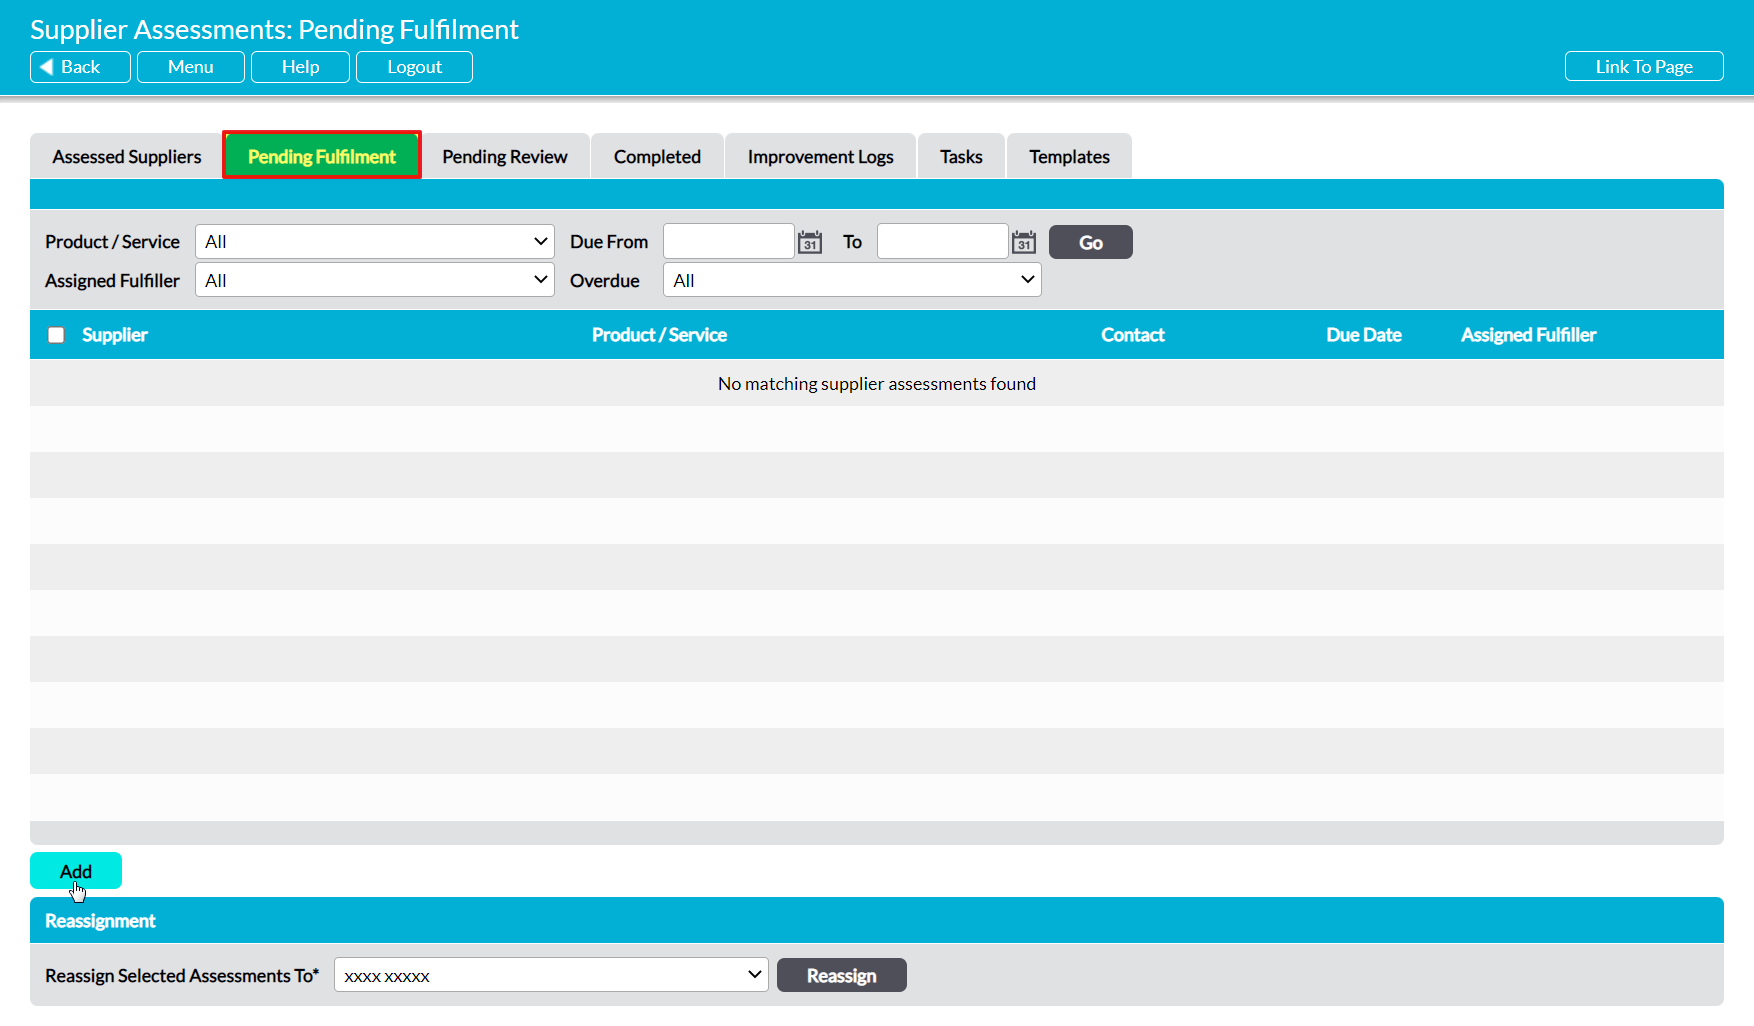
To add a new Supplier Assessment, open the Customers & Suppliers: Supplier Assessments area and click on its Pending Fulfilment tab. This will take you to a register of all Supplier Assessments that have not yet been completed by a Supplier.
Click on the Add button.
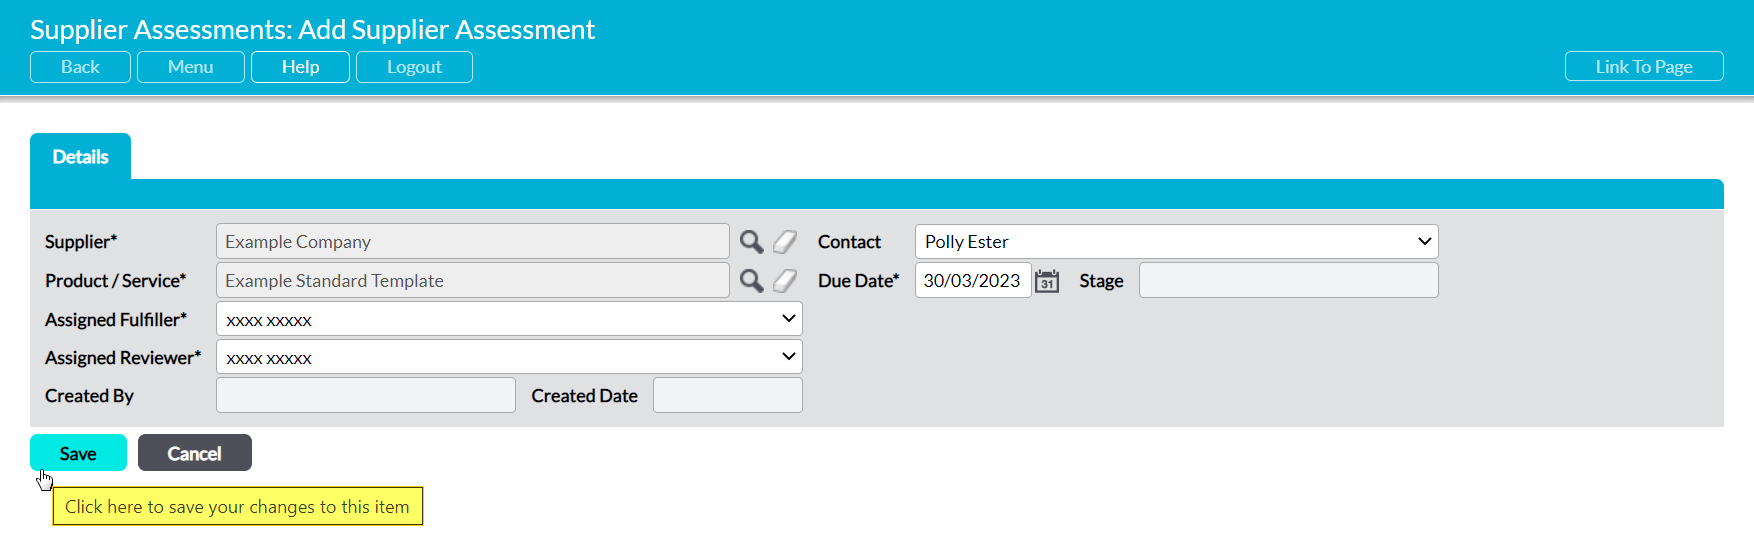
This opens a blank Add Supplier Assessment form for you to populate. Six fields will be available for you to complete:
Supplier* – use the magnifying glass icon to select the appropriate company from your Customers & Suppliers: Companies area. Note that all Assessments must be associated with a company that has already been added to your system (see Add a Company if you need to add the company to your system).
Product/Service* – use the magnifying glass icon to select the template that is to be used for this Assessment. The options available within this menu can be configured via the Templates tab of the Customers & Suppliers: Supplier Assessments area (see Create a New Standard Supplier Assessment Template or Create a New Auto-Approved Supplier Assessment for guidance). Note that this may be prefilled with a default template if a default has been set within your system.
Assigned Fulfiller* – use the dropdown menu to select which user will be responsible for Fulfilling (i.e. sending and/or completing) the Assessment.
Assigned Reviewer* – use the dropdown menu to select which user will be responsible for Reviewing the Assessment once it has been completed and submitted for review. Note that only the named Reviewer will be able to review the Assessment once it has been completed.
Contact – use the dropdown to select the contact that should receive the Assessment when it is emailed. Note that options will only become available within this field once a company has been selected, and that the contact must already have been added to the appropriate company’s record (see Add a Contact if you need to add the contact to your system). Note that this can be left blank if you will be completing the Assessment internally, on behalf of the Supplier.
Due Date – use the calendar icon to select a appropriate due date for the Assessment.
In addition, three further fields will be displayed within the form and automatically completed once the Assessment is saved. These are:
Created By – automatically populated with the name of the person who created the Assessment.
Created Date – automatically populated with the date on which the Assessment was created.
Status – automatically populated with the Assessment’s current status. This will either be ‘Pending Fulfilment’ for Standard Assessments, or ‘Reviewed’ for Auto-Approved Assessments.
Enter the necessary details, and then click Save.
You will be returned to the new Supplier Assessment’s Details tab.
