Audit Manager is supplied with a suite of ready-made audit templates. You can:
- use Activ’s templates as supplied; and/or
- take Activ’s templates as a starting point and adjust them to suit your organisation; and/or
- create your own templates from scratch.
This article deals with creating your own templates from scratch, in three stages: A – Specify the basic properties; B – Add sections; and C – Add questions.
See Edit / Modify an Audit Template for guidance on adjusting an existing template.
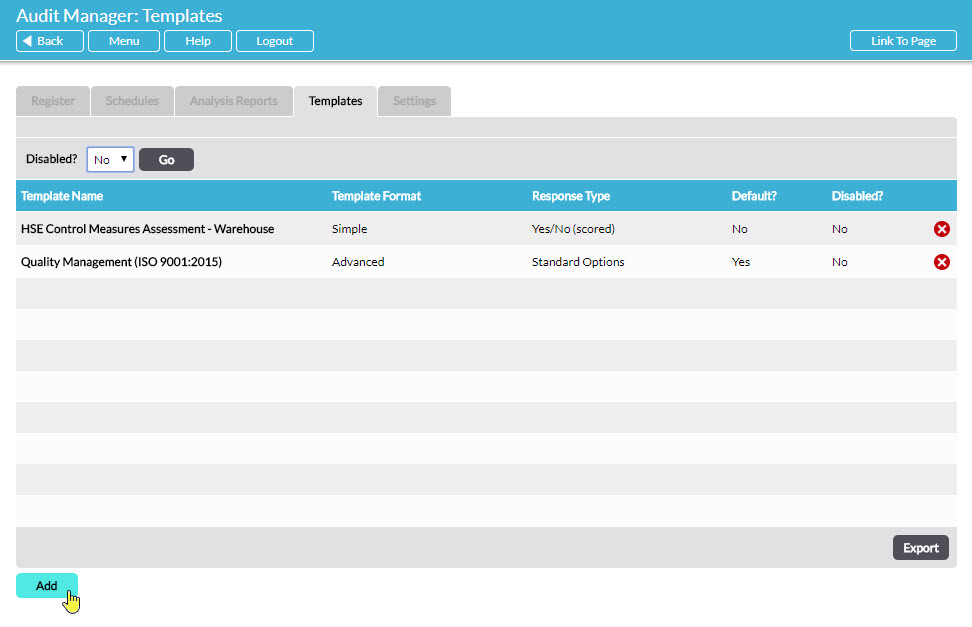
Go to Audit Manager – Templates where all audit templates in your system are listed. To create a new audit template click on Add:
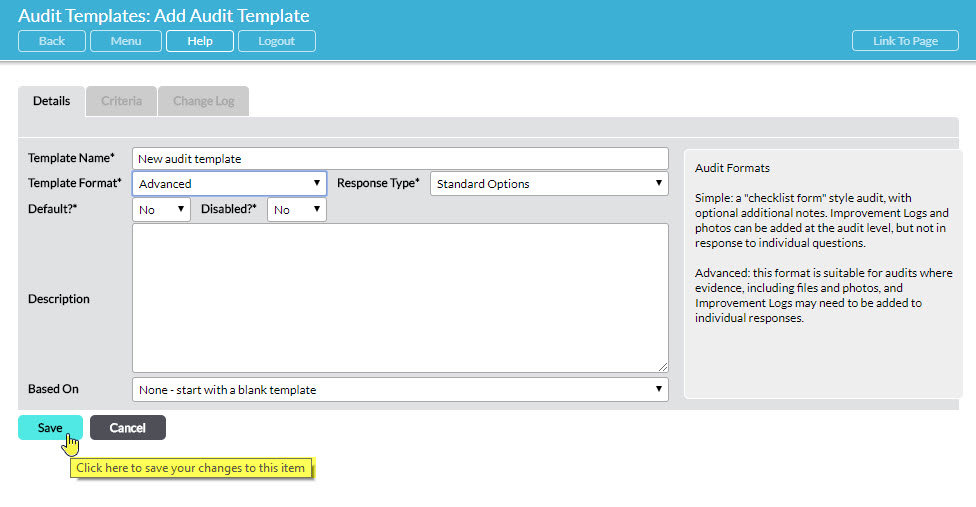
The Add Audit Template screen opens with a new blank Details tab ready to populate:
A – Specify the basic properties of the audit template
Specify the properties of the audit template using the available fields:
Template Name* – enter a brief identifying name for the new template. There is the option to provide further description/guidance in the Description field below.
Template Format* – select ‘Simple’ or ‘Advanced’. Simple audit templates are suitable for “checklist form” style audits. Advanced audit templates are suitable for audits where evidence, including files and photos, and Improvement Logs may need to be added to individual responses. See Audit Templates – Overview.
Response Type* – select the response type that will be available to auditors using this template. The options shown in this drop-down menu are configured via the Settings tab. See Audit Manager Settings – Configure Drop-Down Menus in Audit Manager.
Default?* – this field gives the option to decide which one of your audit templates appears at the top of the drop-down list when you schedule an audit. Typically, you would select ‘Yes’ in this field for the audit template that will be most commonly used. If you do not specify a default template (i.e. if you set all templates to Default = ‘No’) then when a new audit is scheduled the user will be forced to make a proactive selection of the appropriate audit template and accidental passive acceptance of a default template is avoided.
Disabled?* – the option to ‘hide’ an audit template to prevent future use. This field defaults to ‘No’, which means that the template will be available for selection when scheduling a new audit. If you select ‘Yes’ here, the template will not be available to select when scheduling audits. You may, for example, wish to disable a particular template during the period that you are creating it, to prevent others from selecting it before it has been finished. Later on, if you disable a template after it has been used, existing audits using that template will remain on record within the system but it will not be possible to select that template when scheduling a new audit. You can switch between ‘Yes’ and ‘No’ at any time to suit your needs.
Description – an optional field to provide supplementary detail/guidance on when or in what circumstance this audit template should be used. This information is displayed when an audit is being scheduled to help ensure appropriate template selection.
Based On – the option to use an existing audit template as the basis for your new template, providing an efficient method of creating new versions of existing templates. The Based On field defaults to ‘None – start with a blank template’. Select this option if you wish to start with a ‘blank canvas’ to design your own new template. The drop-down menu lists all templates in your system, including disabled ones. If you wish to base your new template on the design of an existing one, select that template from the drop-down menu. Your new template will be an exact replica of the existing template’s sections and questions (only the template name will be different). You will be able to freely modify any aspects of the new template as required.
When you have entered the basic properties of the new audit template, click on Save. A new area below the properties becomes available for section and question design.
If you have used the ‘Based On’ feature to start from an existing template, the imported sections and questions are displayed and you can use Edit, Add Section and Add Question to make any modifications. See Edit / Modify an Audit Template
.
B – Add sections
If you are starting with a blank template, add your first section by clicking on the Add Section button.

The Add Section screen opens:
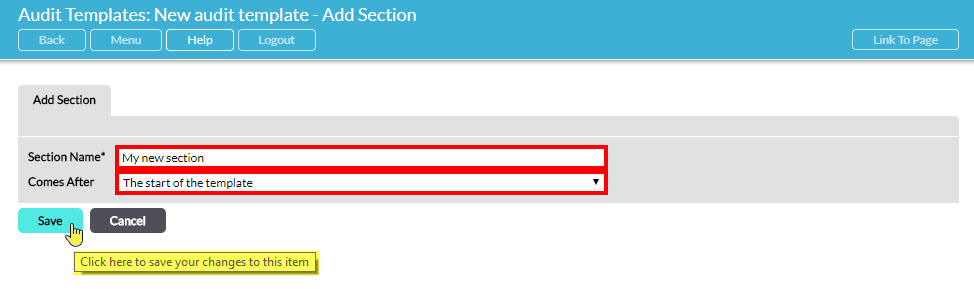
Enter the Section Name.
In the Comes After field, select the desired position of the section in the template. Sections are automatically assigned a number, according to the sequential position of the section in the template. Sections are automatically re-numbered if you change their order.
Click on Save to complete the addition of the new section. Repeat as required.
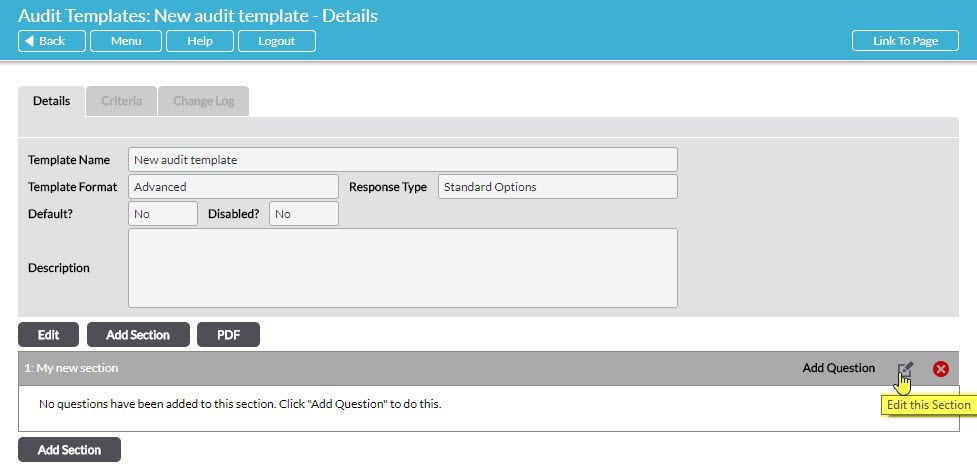
To make any edits to a section, click on the Edit (pencil) icon to its right:
Make any changes, and then click Save.
C – Add questions
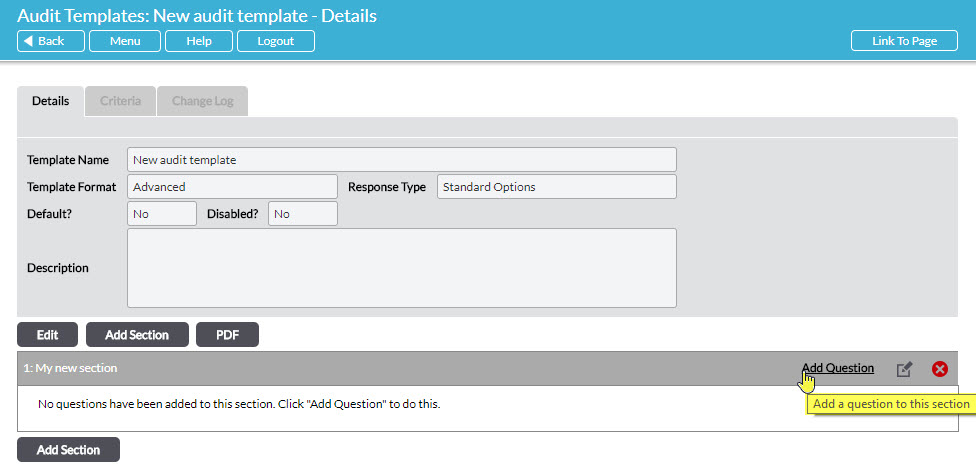
To add a question to a section, click on Add Question alongside the relevant section name:
The Add Question screen opens:
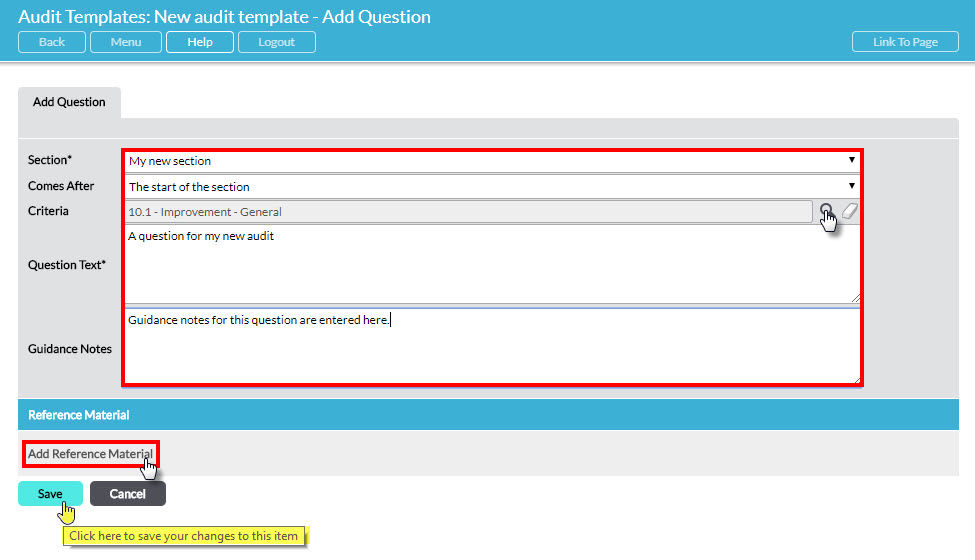
Enter the question and any supporting details in the available fields:
Section* – automatically populated with the name of the section you are adding the question to. You can select a different section if required from the drop-down menu.
Comes After – specifies the question after which this new question will appear. By default, your new question will appear after the questions currently in the section, but you can change its position by selecting a different position from the drop-down menu.
Criteria – optionally, for reference you can select a Criteria that this question is auditing against. Click on the magnifying glass icon to the right of the field to open a picker where you can select from the available list of Criteria. The Criteria shown in the picker list are configured via the Settings tab. See Audit Manager Settings – Configure Drop-Down Menus in Audit Manager.
Question Text* – enter the question text here
Guidance Notes – optionally, enter any guidance notes relating to this question that you wish to provide to auditors. When the audit template is used in an audit, guidance notes are shown alongside the question, if present.
Reference Material section (Advanced audit formats only) – optionally, link to any relevant reference material that you wish to provide to the auditor when this template is used in audits, e.g. a process or procedure relevant to the question. Click on Add Reference Material to open a window where you can create a link to files or pages within Activ (depending on which other Activ modules you use) or to any external URL (e.g. to files stored in a web-based document management system). When you link to material within other areas of Activ such as a Process or a File, the link is dynamic: when the audit template is used it will always reference the current version of that item at the point that the audit is started. Once an audit is started, the items referenced in that individual audit become frozen at the version that was current at the time the audit was started. In this way you can be confident of the reference material’s validity at the time that an audit is conducted.
To complete adding the question, click on Save.
To make any edits to a question, click on the Edit (pencil) icon to its right:
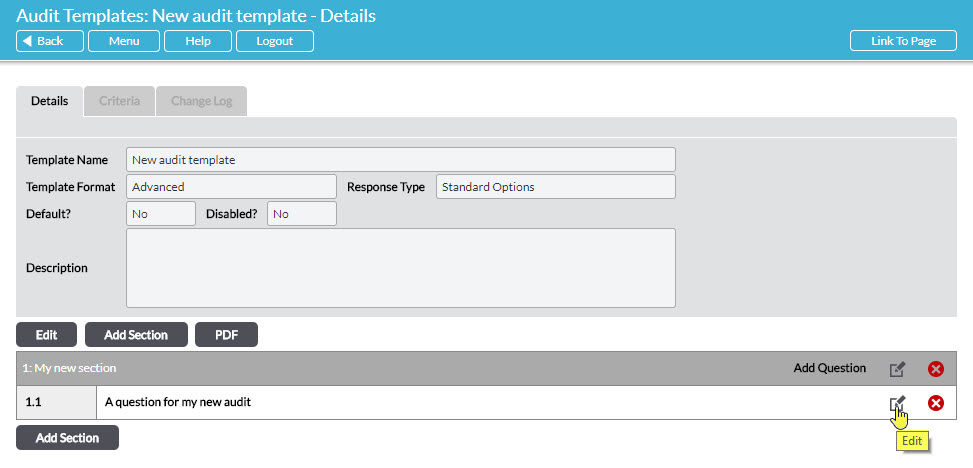
Make any changes and then click Save.
At any point you can create a PDF file of the audit template by clicking on the PDF button.
