Some parameters used within the Calendar module are selected from pre-defined lists, which are created and managed from the module’s Settings tab. Some of the settings areas included within this tab are prepopulated with a set of default options, but others will need to be configured by you before you begin using the module. In addition, all preconfigured areas can be modified by you to customise the default options to your organisation’s needs.
The available settings are:
*****
Configure Appointment Types
The Appointment Types parameter is used when adding new Appointments to your Calendar, and allows you to select the type of Appointment that the entry should be. It is pre-populated with two default options:
- Holiday
- Meeting
To add a new Appointment Type, select the Appointment Type item from the left-hand menu, then enter the Type in the Display As* field at the top of the page. Use the dropdown menus to select the option’s Colour (the background that will displayed for Appointments of this Type), whether it is to be Disabled?* (unavailable for selection), and whether it is to be the Default?* (selected by default when a new Appointment is created), then click Add.
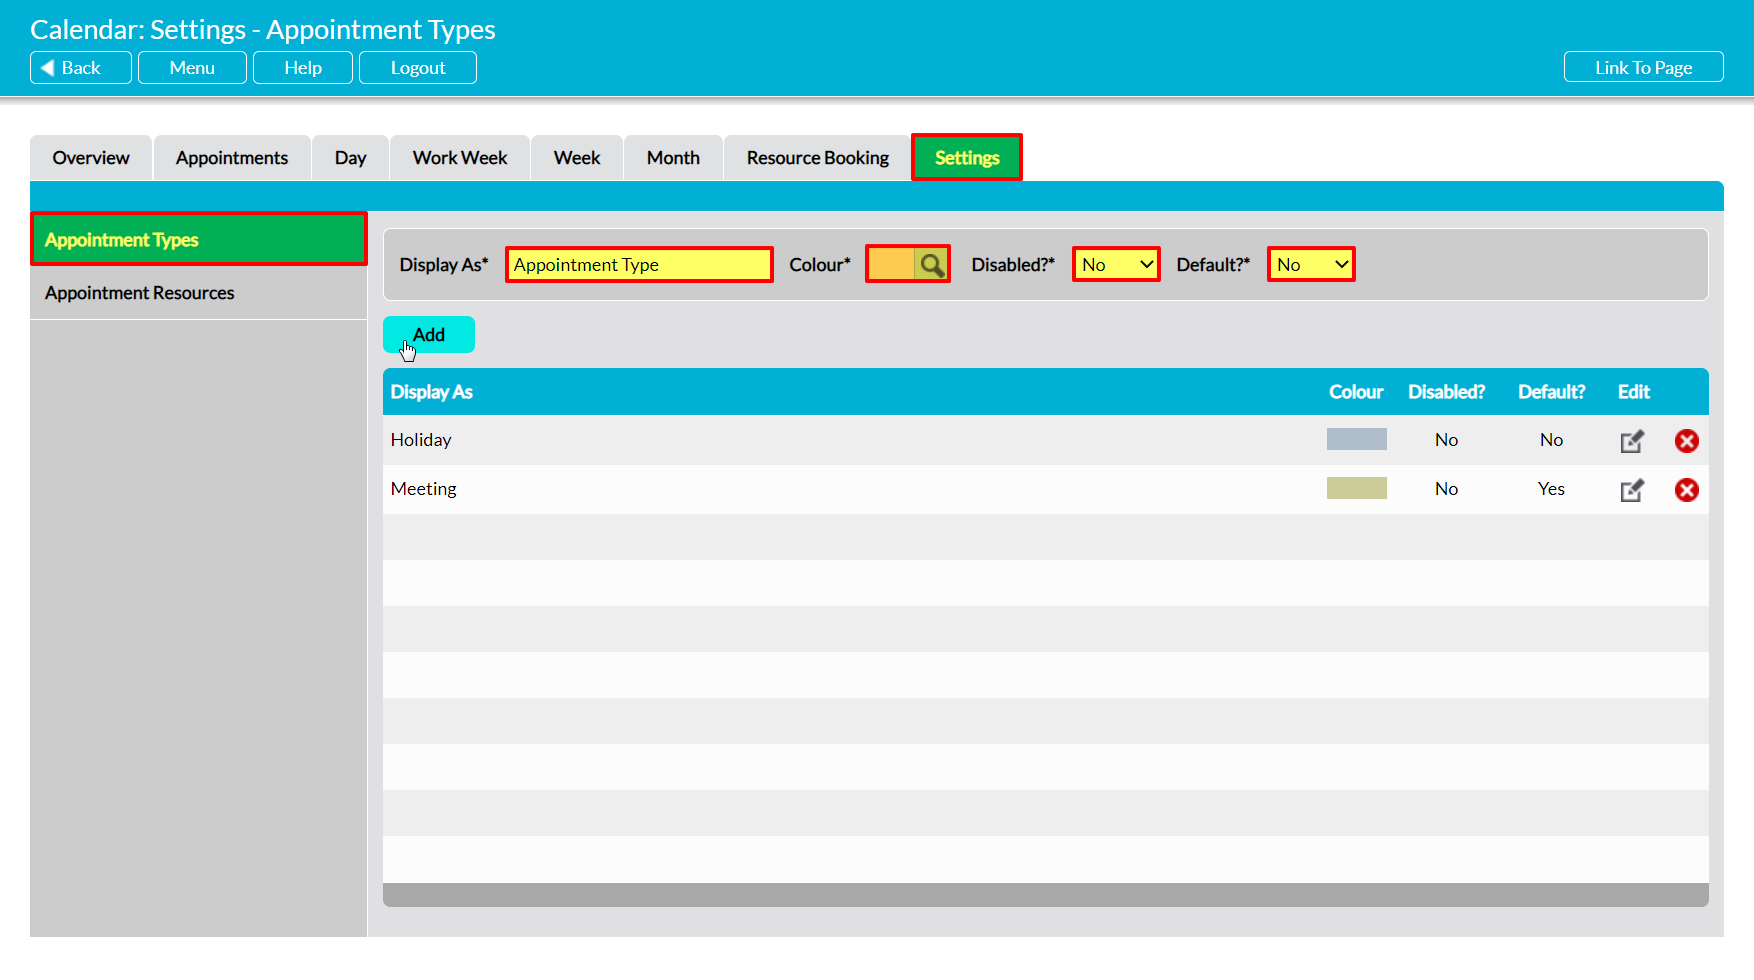
The newly added Appointment Type will now be displayed in the list. Note that Types are displayed in alphabetical order.
To edit an Appointment Type, locate its record in the list and click on the pencil icon.
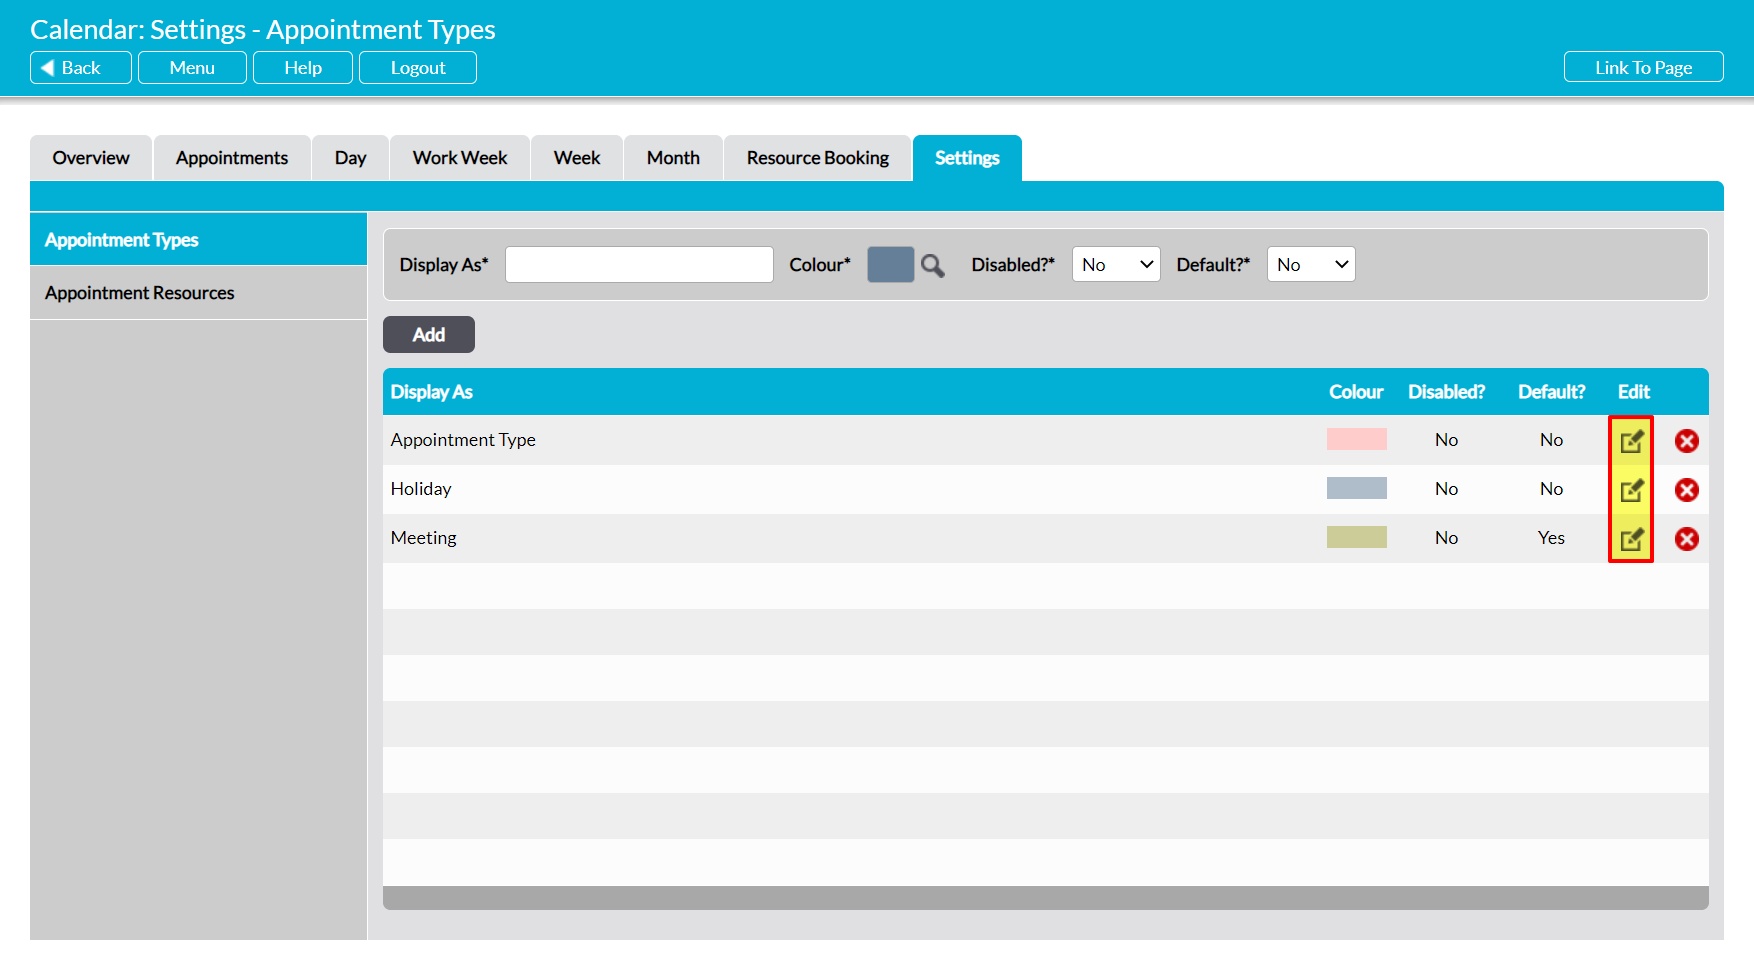
Make the necessary changes to the fields at the top of the page, and then click Save.

To delete an Appointment Type from the list, locate its record and click on the red cross icon.

If the option hasn’t been used within any employee’s Calendar then it will be cleared from the list. However, you will not be able to delete a Type that has already been used in your system. Instead, you will need to Disable the option to remove it from dropdown lists and prevent its future selection.
*****
Configure Appointment Resources
The Appointment Resources parameter is used within the Resource Booking element of the module, and allows you to create a register of Resources (e.g. conference rooms, etc) that can be booked for use by your employees. It is not populated with any default options.
To add a new Resource, select the Appointment Resources item from the left-hand menu, then enter the Resource in the Name* field at the top of the page. Enter any corresponding Facilities in the corresponding field, and then click Add.

The newly added Resource will now be displayed at the bottom of the list, along with a record of the associated facilities.
To edit an Appointment Resource, locate its record within the list and click on the pencil icon. Make the necessary changes to the fields at the top of the page, and then click Save.
To delete an Appointment Resource from the list, locate its record and click on the red cross icon. If the option hasn’t been used within your module, then it will be cleared from the list. However, you will not be able to delete a Resource that has already been used within your system. Instead, you will need to Disable the option to remove it from dropdown lists and prevent its future selection.
