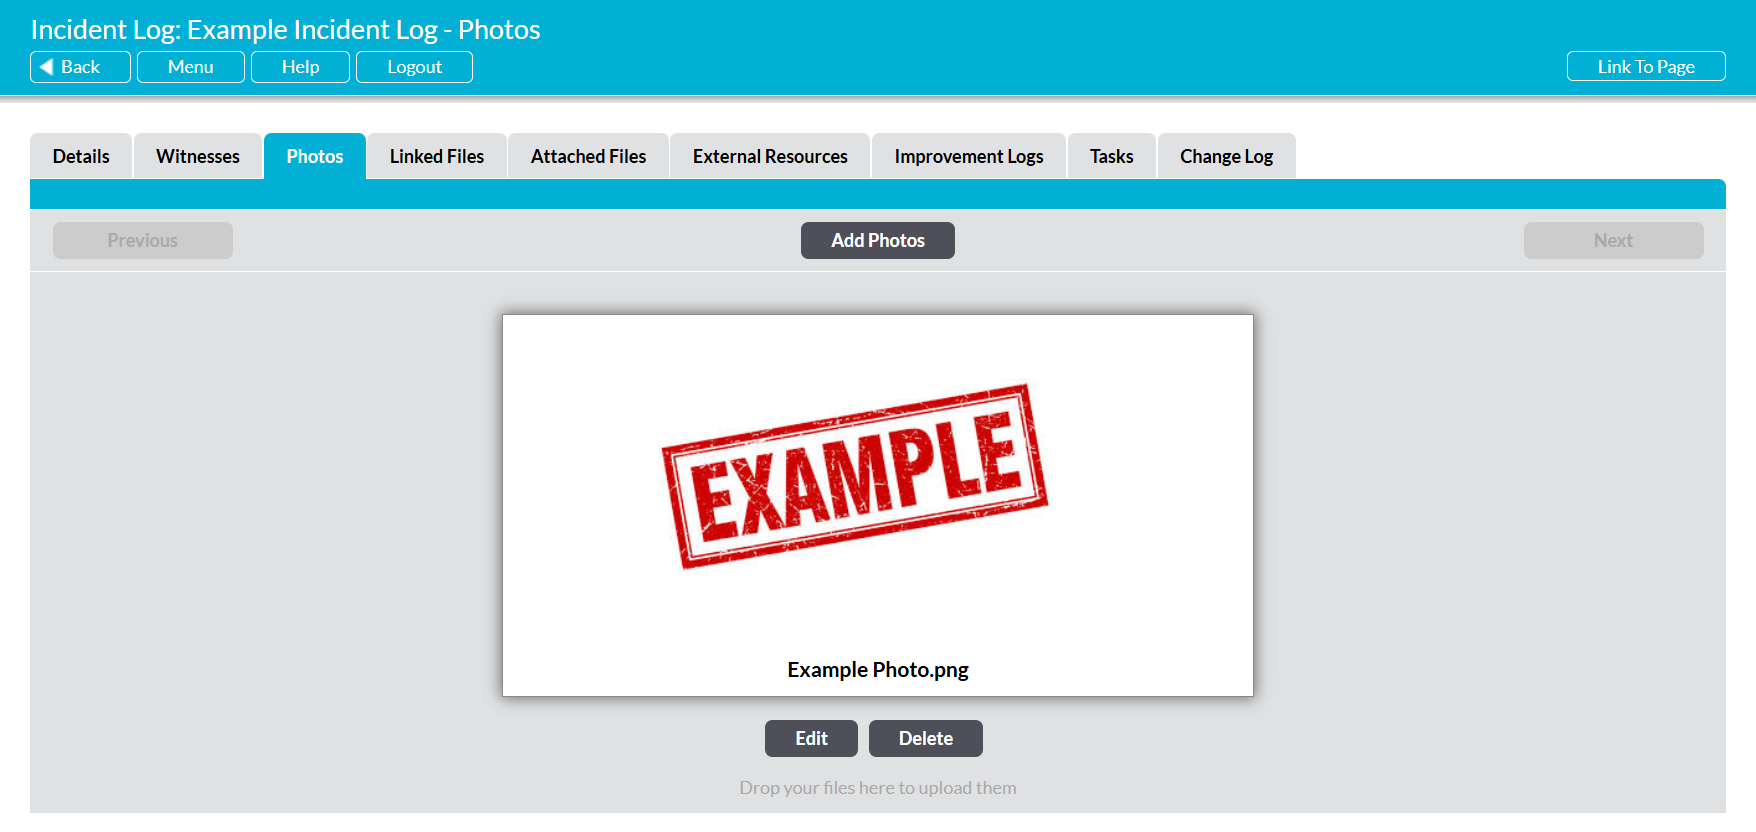
In some cases, you may find that you have a need to add photos to an Incident Log: for example to document any damage/injuries that were caused by the Incident, to document the scene of the Incident, or (at a later date) to document any changes that may have been made to reduce the chances of reoccurrence. To support this, all Incident Logs within Activ include a dedicated Photos tab, which has been designed to allow you to upload relevant photos directly to the Incident Log. This allows all information relating to a given Incident to be kept within one overarching record, and also allows the uploaded photos to be displayed as images within the Incident Log’s PDF, should you later download the Incident’s record (e.g. to pass it on to a Reporting Body or other relevant party).
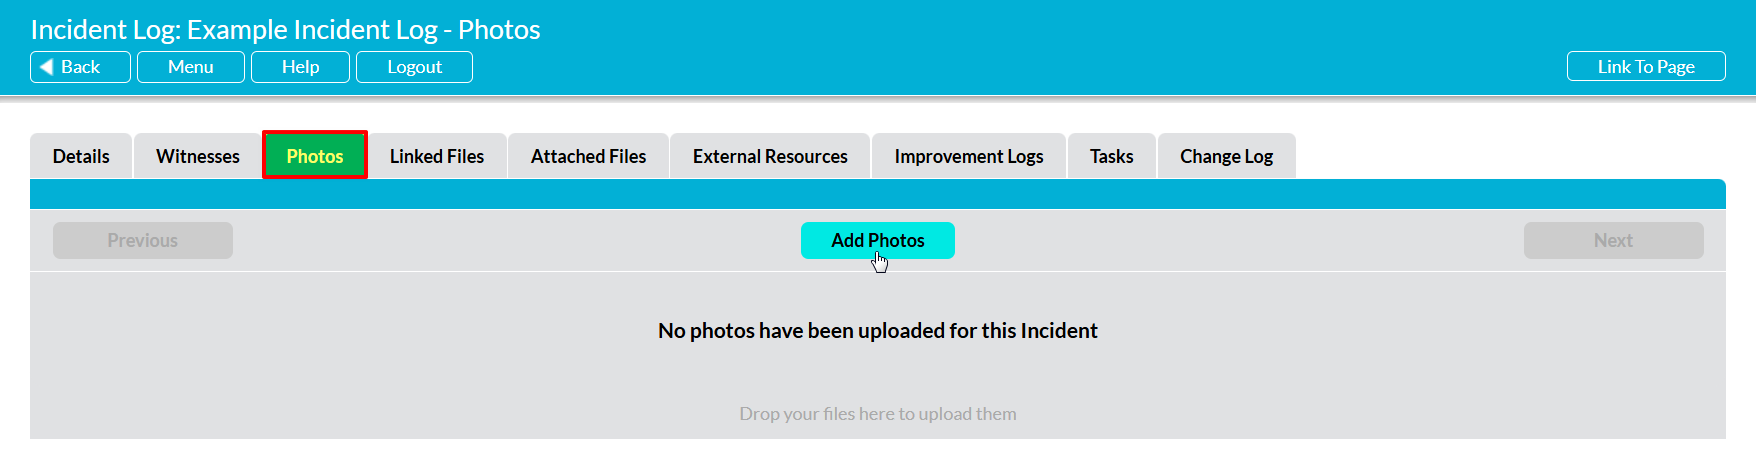
To add photos to an Incident Log, open the relevant Incident Log and click on its Photos tab. You will be presented with a dedicated photos area, which is used to view and manage any photos that are related to the Incident Log. Click on the Add Photos button at the top of the screen.
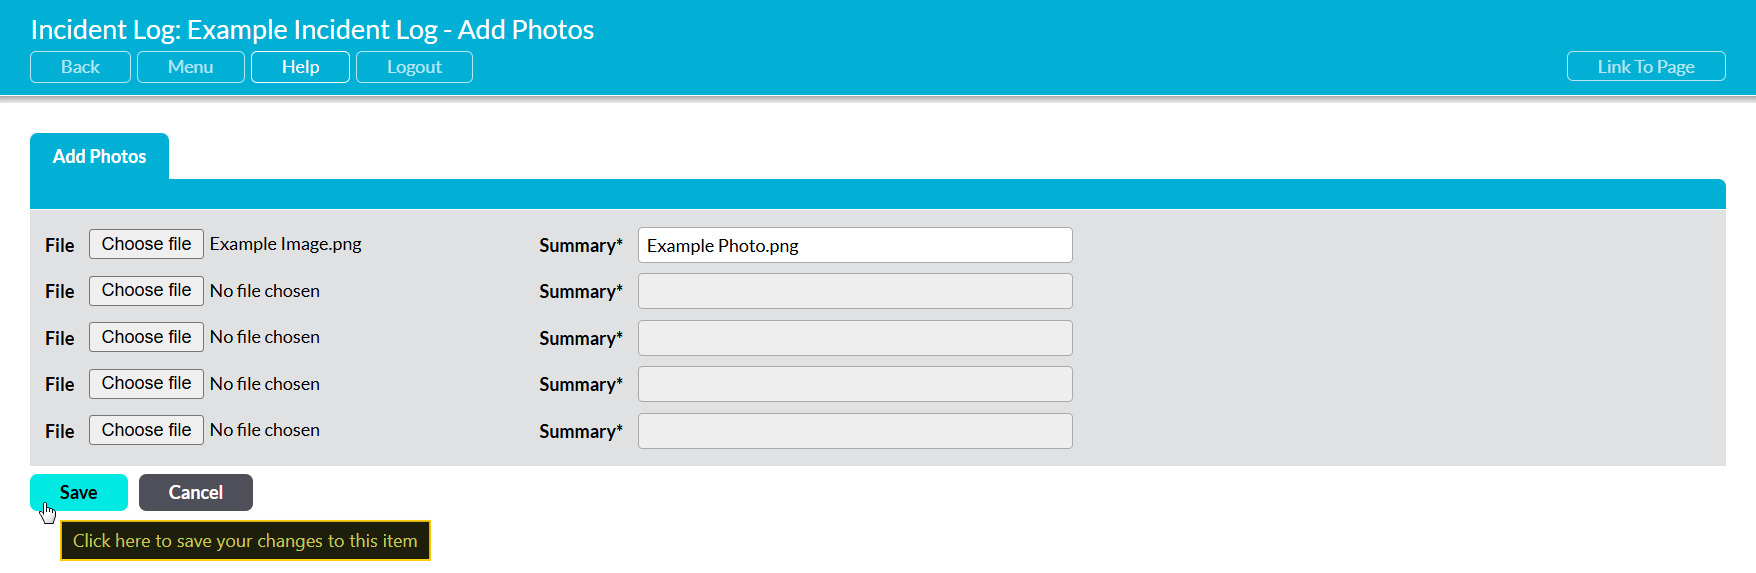
A new Add Photos form will be opened for you to populate. You will be presented with five rows (allowing you to upload five photos at a time) containing two fields. Note that you can choose to fill out all of these rows, or just one or two rows. The form’s fields are as follows:
File – click on the Choose File button displayed alongside this field to open your file explorer, and select one photo (per row) to upload.
Summary* – enter a short summary describing the photograph’s contents. This may include details such as the date and time on which the photograph was taken, the location it was taken at, and what it relates to.
Enter the relevant information, and then click Save.
You will be taken back to the Incident Log’s Photos tab, and your photo(s) will be saved to the record.