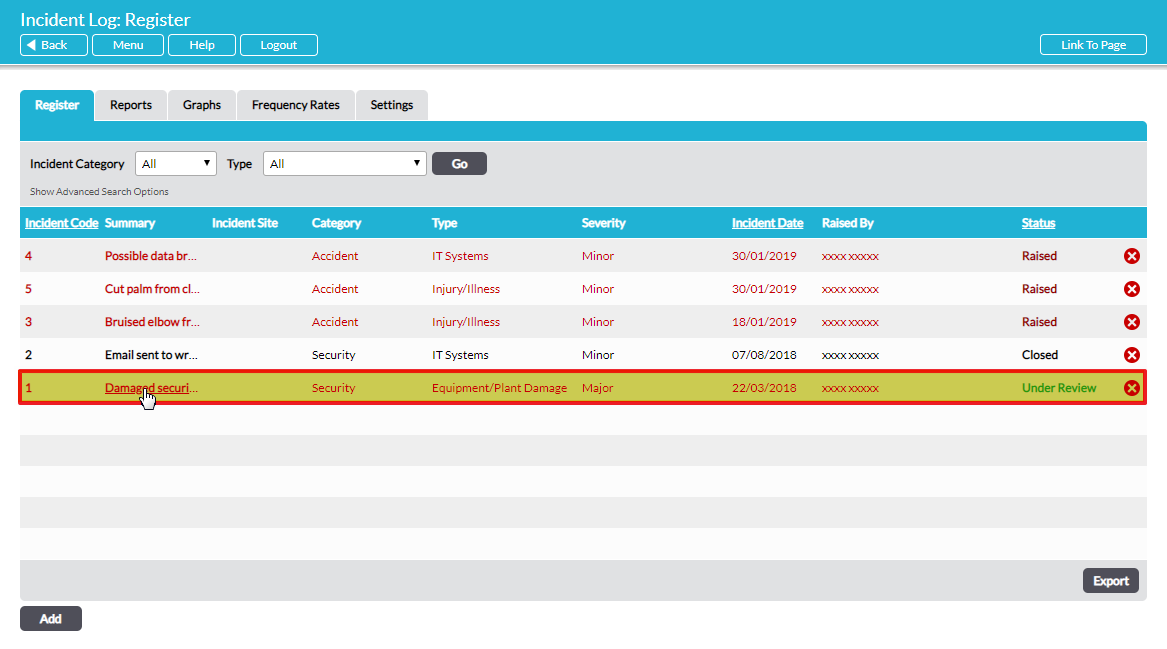
Photographs can be added to an existing Incident Log at any time. Open the relevant incident by clicking on it in the list on the Register tab of the Incident Log module:

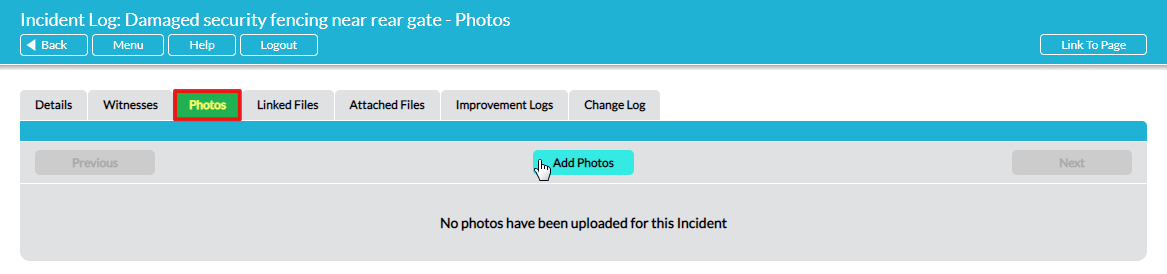
The Incident Log opens on its Details tab. Select the Photos tab. Click on Add Photos:
This opens the Photos tab for editing:
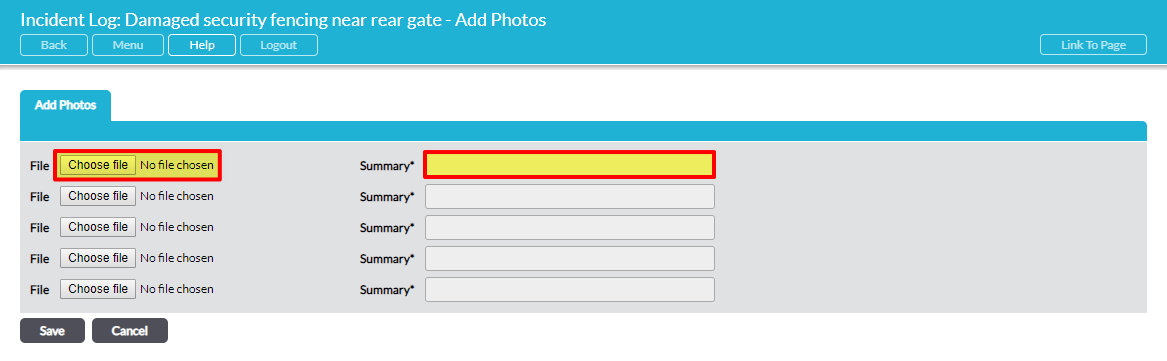
There is space for up to five photos to be uploaded at once. Click on Choose File to navigate to the location outside Activ where the photo is stored (e.g. on your computer’s hard drive or on a memory stick) and select the photo file. You will be returned to the Photos tab where you will now see the photo listed:
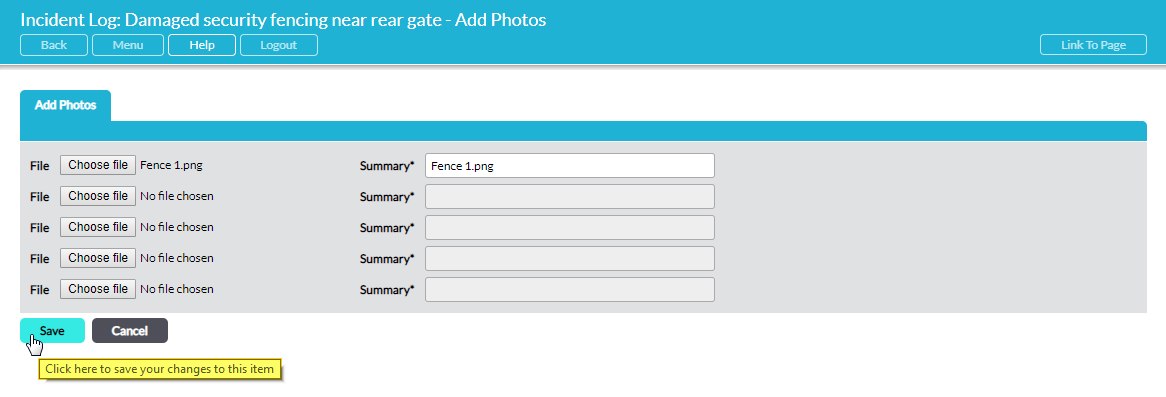
If required, you can change the name of the photo file by typing a new name in the Summary* field. If you wish to upload further photos, repeat the process by clicking on Choose File in the next available row in the list.
When you have selected up to five photo files, click on Save. The photo files will now be uploaded to Activ and when the upload is complete the photos will automatically display on the Photos tab. If you wish to upload more than five photos in total you will need to save the first five. When the upload process is complete and the photos are displayed on the Photos tab, you can then click on Add Photos to repeat the process for further photos, as required.
You can change the name of any photo at any time after uploading, if required, by clicking on Edit under the photo, typing in the new name for the photo and then clicking on Save.
