For convenience, this article is split into two sections:
*****
Activate a Job Schedule
It is important to note that Job Schedules are inactive when they are initially created, meaning that they will not generate any Jobs within your system. As such, you will need to activate them before they can be used.
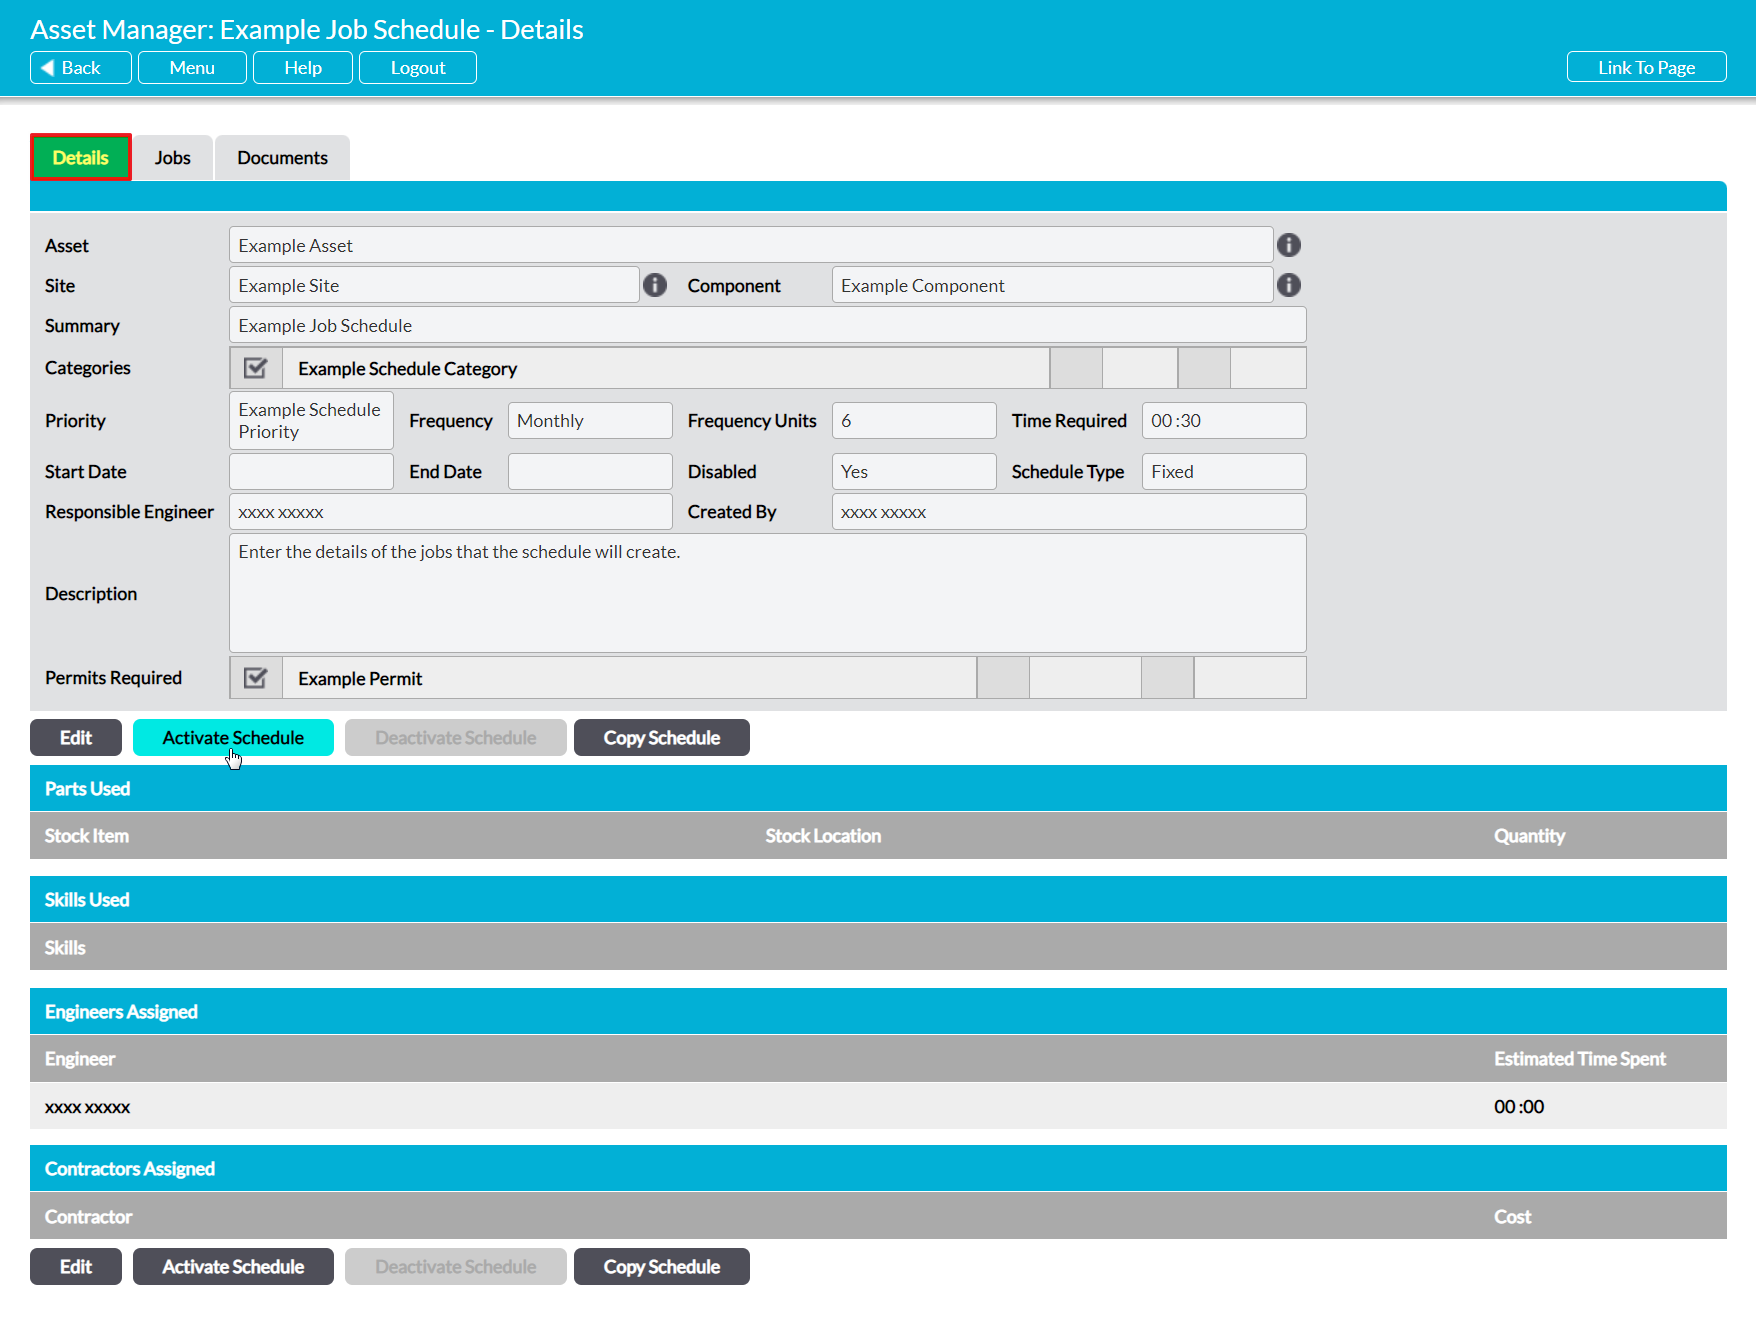
To activate a Schedule, open the Schedule on its Details tab and click on the Activate Schedule button.
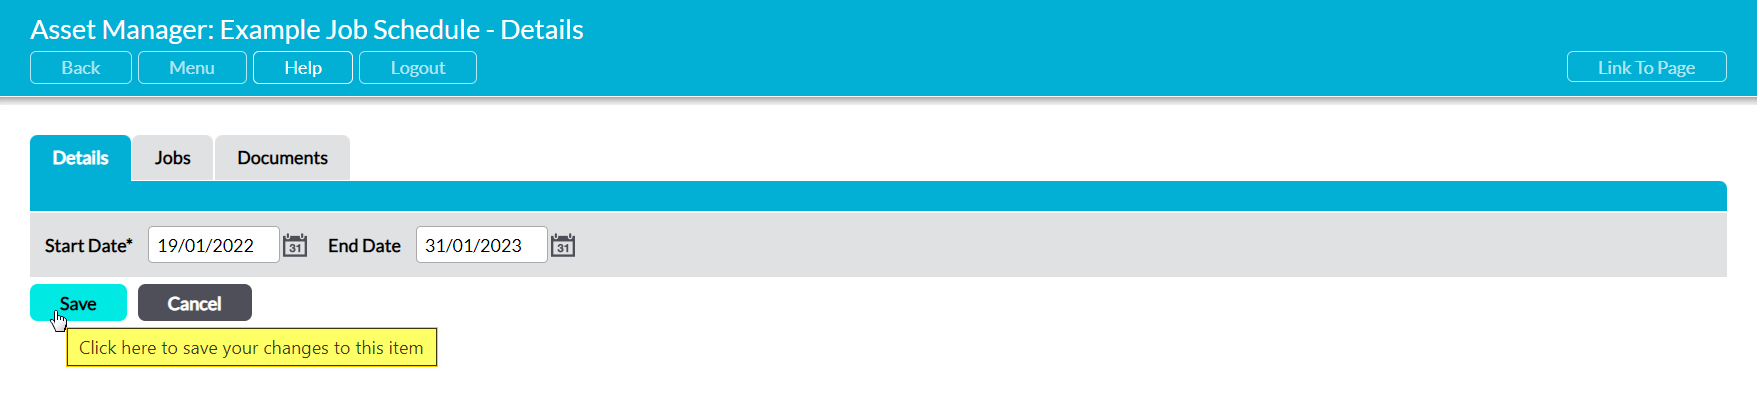
This will open a new form ready for you to populate. Click on the Calendar icons to set a Start Date and End Date for the Job Schedule, and then click Save.
Note that the Schedule’s Start Date will default to the date of activation if you do not select a new Start Date, and that the Schedule will end 14 days after the date of activation if you do not change the default End Date.
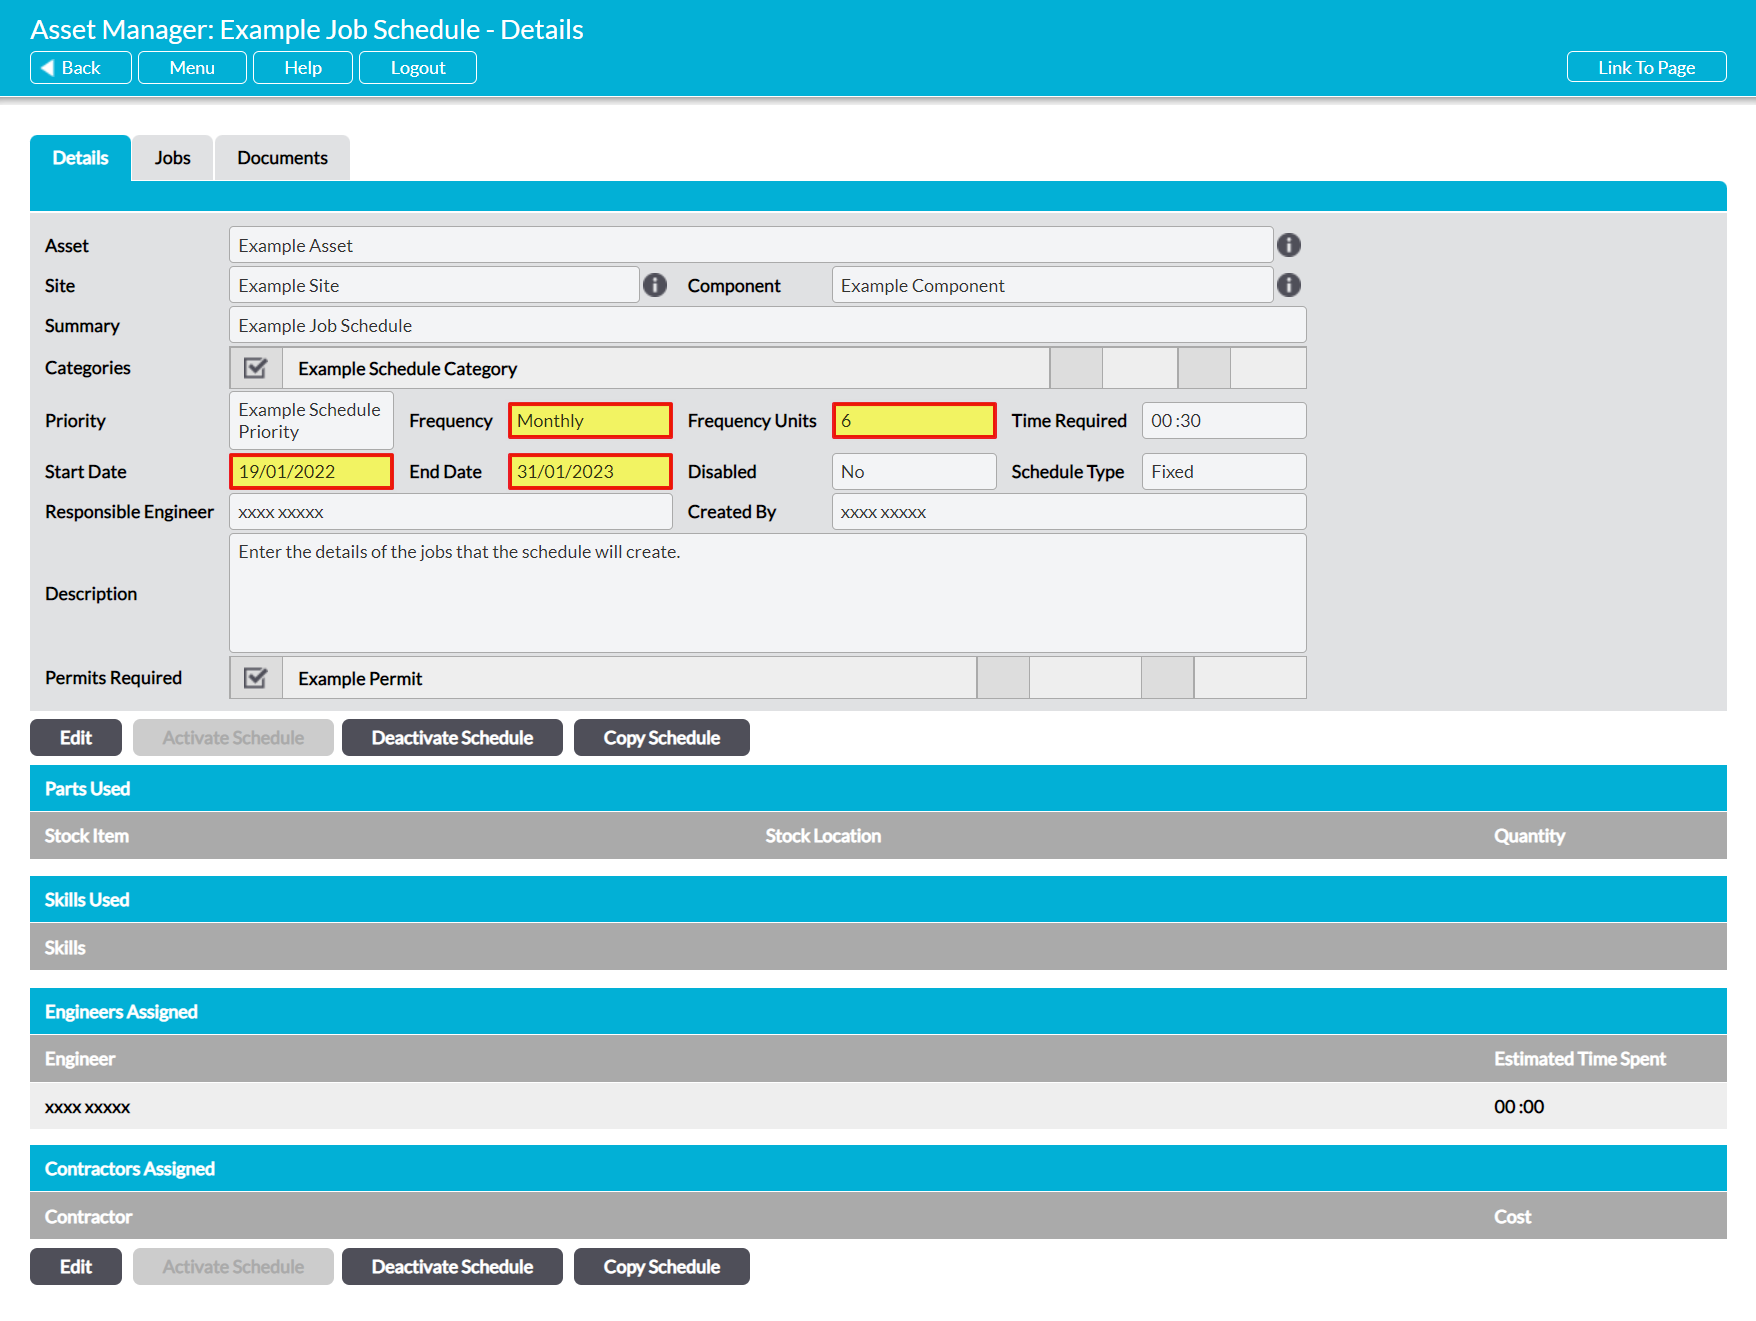
You will be returned to the Schedule’s Details form, which will now display your selected dates within its Start Date and End Date fields. In addition, the Job Schedule will have created a series of new Jobs according to the Schedule’s Frequency and Frequency Units, and containing all other information recorded within the main Schedule’s Details and Documents tabs.
Note that Job Schedules cannot be activated if they relate to an Asset or Component that has been decommissioned. In these instances, the Asset or Component will need to be recommissioned before the associated Schedules can be activated. See Decommission or Recommission an Asset and Decommission or Recommission a Component for an explanation of how to recommission Assets/Components.
*****
Deactivate a Job Schedule
Activ gives you the option to deactivate (disable) a Job Schedule instead of deleting it. This is useful if you want to stop a Job Schedule from generating Jobs, but do not want to remove it from your system. When this option is used, existing Planned (i.e. open) Jobs associated with the Job Schedule are automatically deleted from your Job register, but previously Completed Jobs will be preserved.
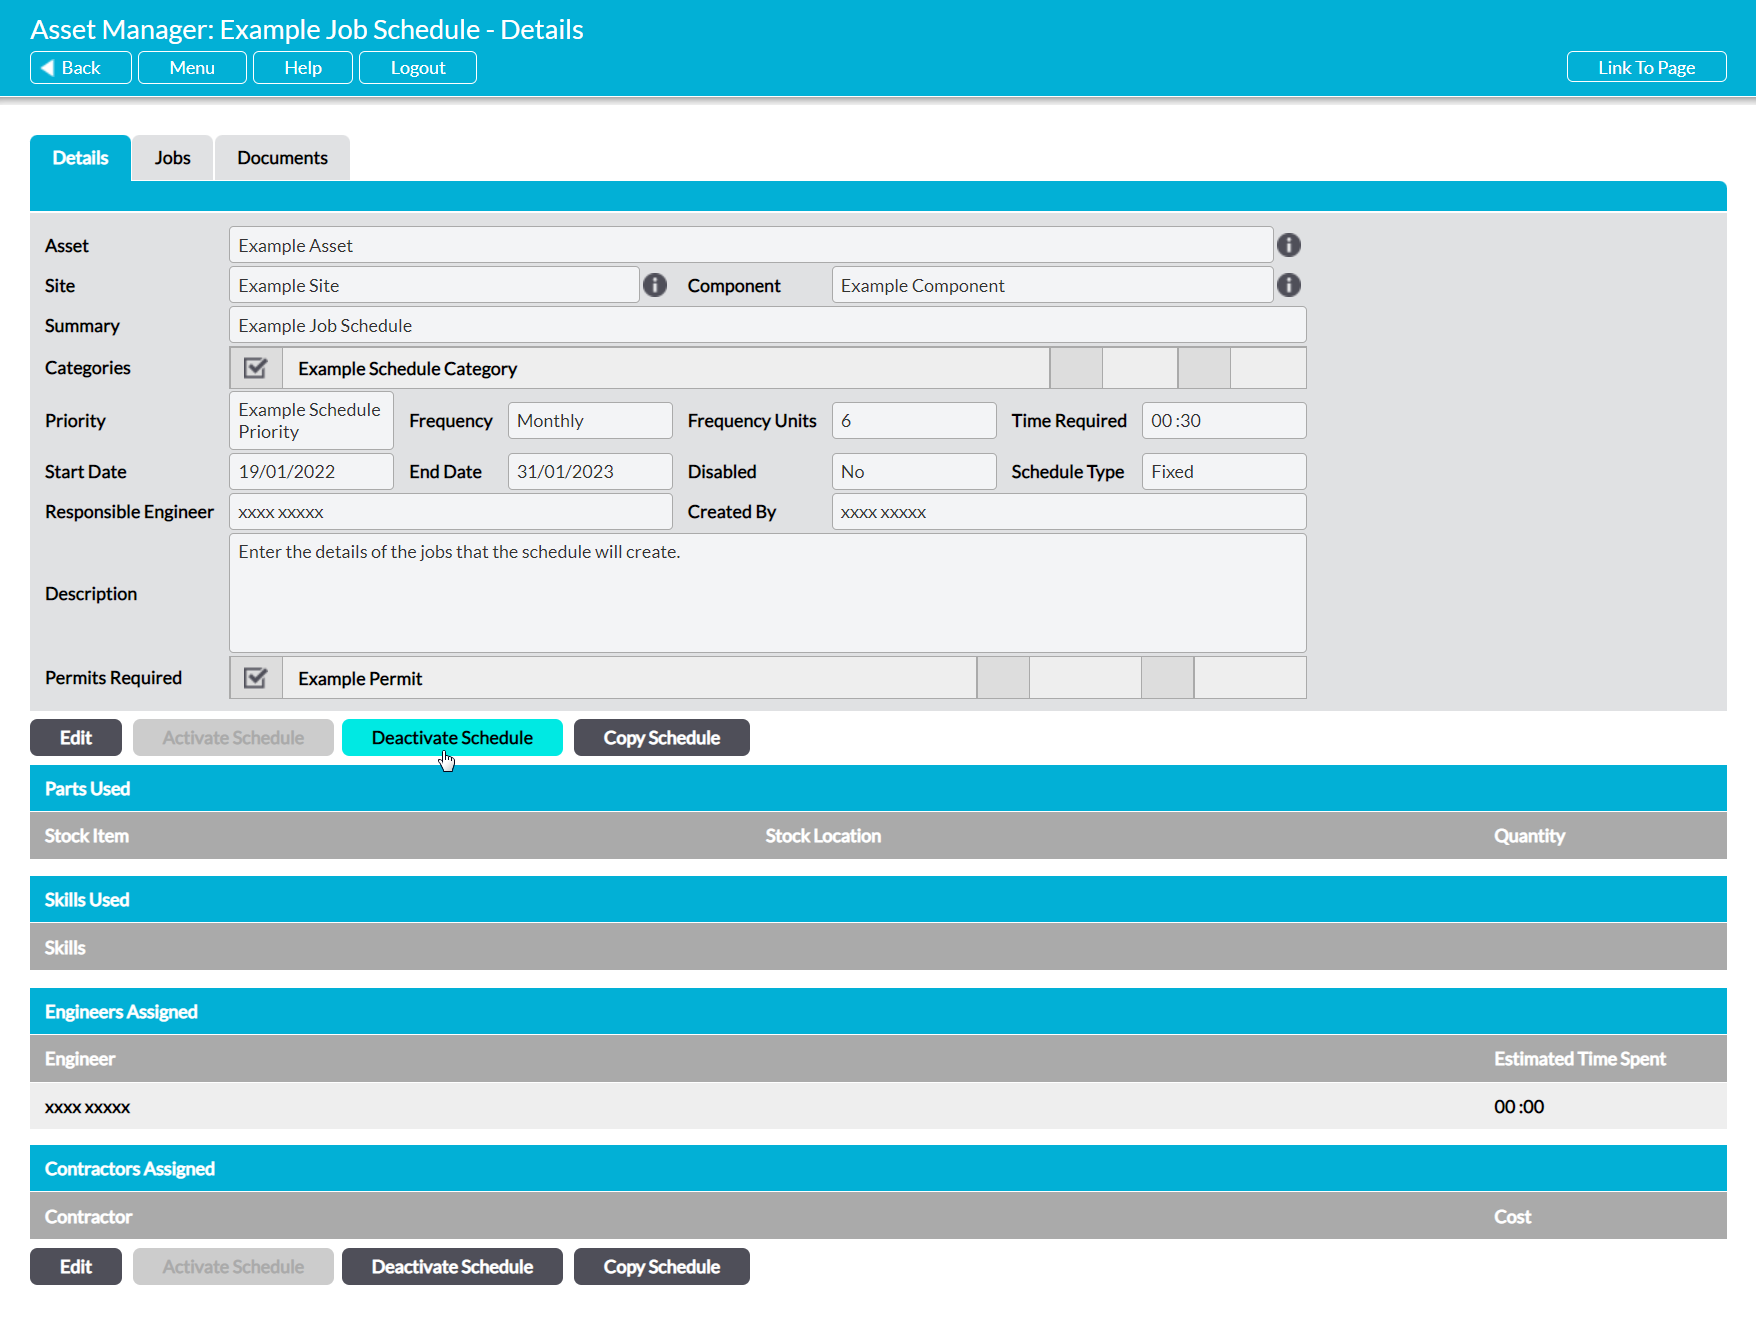
To deactivate a Job Schedule, open the Schedule on its Details tab and click on the Deactivate Schedule button.
The Schedule will be deactivated, and the data within its Start Date and End Date fields will automatically be cleared. In addition, all open Jobs that were associated with the Schedule will automatically be deleted from your system. Any closed Jobs that were associated with the Schedule will be preserved to allow you to maintain an accurate audit trail.
