Closing a Job identifies the fact that the Job has been completed, and allows you to enter details such as the time taken to complete the Job, the parts used for the Job (if you are using the Stock Control element of the Asset Manager), and any relevant closing notes. In addition, when a Job is closed:
- Activ will automatically update your Stock quantities if any parts are used within the Job.
- The Job’s completion notes will be copied into the Notes from Previous field within the next instance of the Job if it was created by a repeating Schedule.
- The Job will automatically be recorded in the Completed Jobs register of the associated Asset.
- The Job will automatically be recorded in the Completed Jobs register of the associated Schedule if it was created by a repeating Job Schedule.
*****
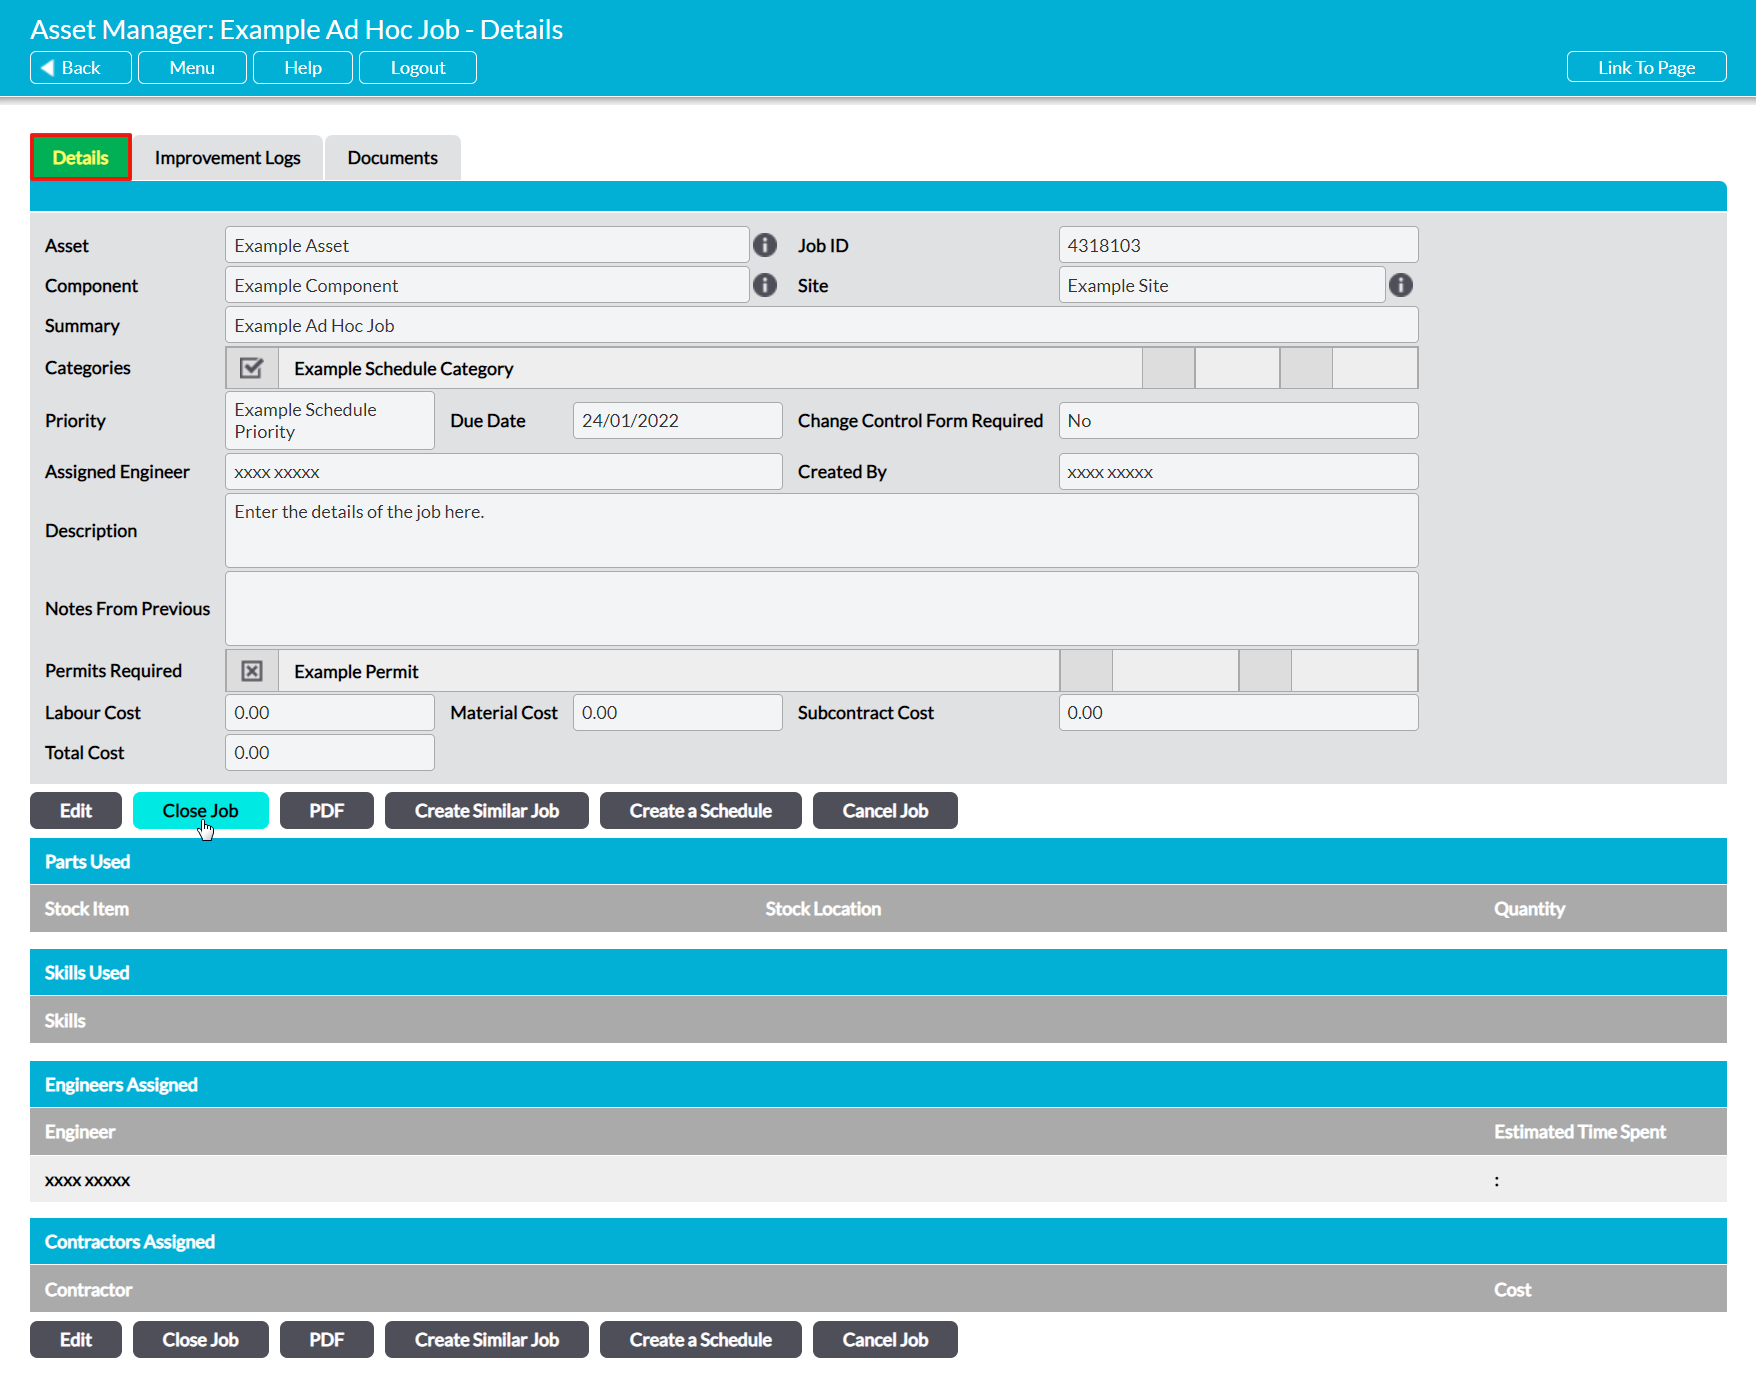
To close a Job, open the Job on its Details tab and click on the Close Job button.
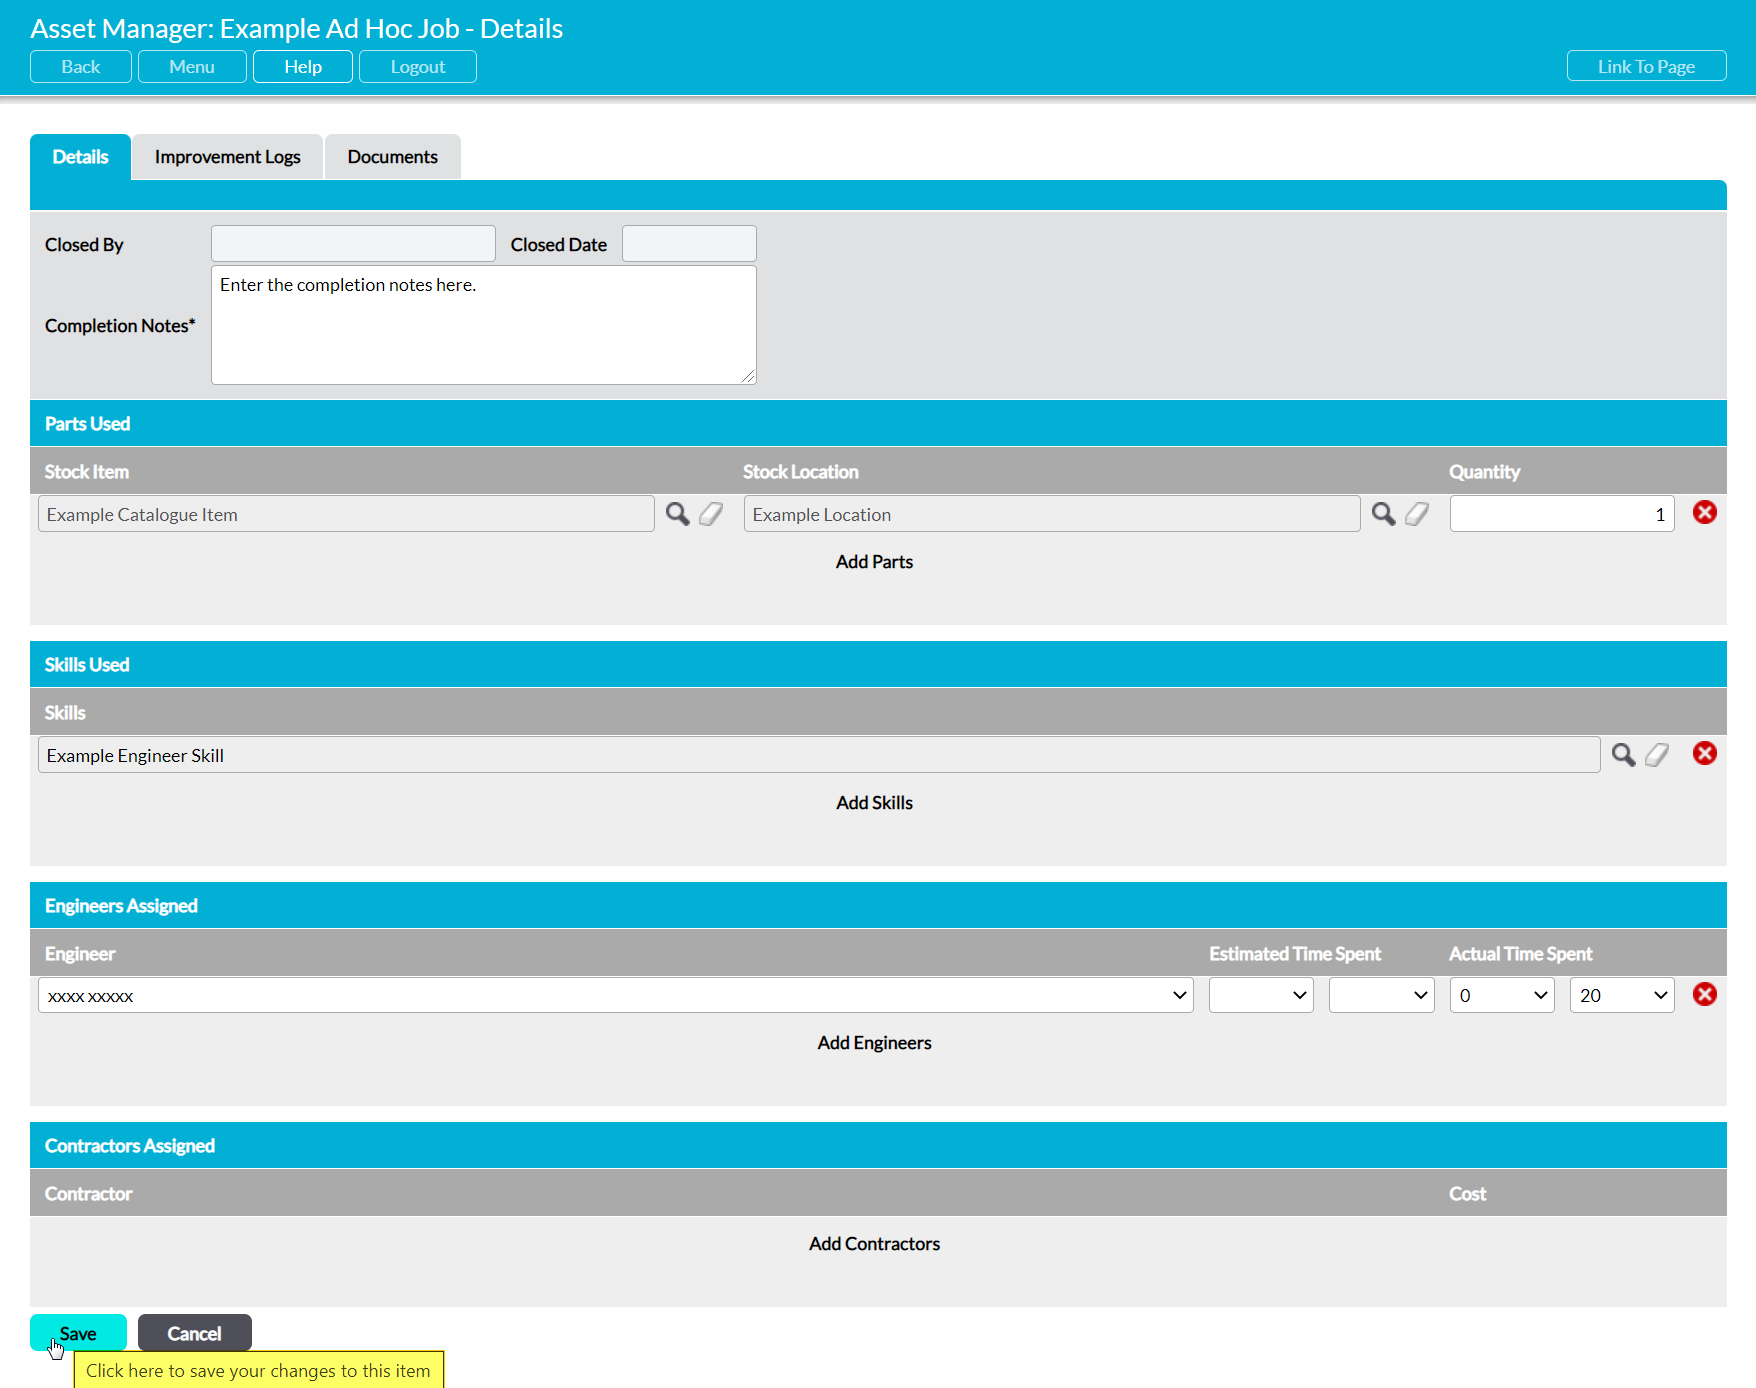
A new Close Job form will open for you to complete. Up to seven fields (and their associated options) will be available:
Closed By – automatically populated with the name of the person who closed the Job.
Closed Date – automatically populated with the date on which the Job was closed.
Completion Notes* – summary of the work undertaken to complete the Job. Can also be used to record any information that will be relevant to the next Job if the Job was created as part of a repeating Job Schedule.
Parts Used – the option to record any parts (Stock Items) that were used to complete the Job. To record parts, click on Add Part, and then use the magnifying glass icons to select the appropriate Stock Item and Stock Location. Enter the number of parts used within the Quantity field. Note that the part must be recorded within your system as a Stock Listing before it can be added to Jobs (see Add a New Stock Listing).
Skills Used – the option to record any specialised skills that were used to complete the Job. To record skills, click on Add Skill, and then use the magnifying glass icon to select the appropriate skill. Note that the skill must be configured within your system‘s Settings before it can be added to Jobs (see Configure Jobs).
Engineers Assigned – the option to record the Engineer(s) that were involved in completing the Job. If an Engineer was assigned to the Job, then they will already be displayed in this section of the form, but you will also have the option to add additional Engineers (or assign an Engineer) by clicking on Add Engineers. Use the dropdown menus to select the appropriate Engineer and enter the Estimated or Actual Time Spent on the Job. Note that the Engineer must be recorded within your system’s Engineers page before they can be added to Jobs (see Manage Engineers).
Contractors Assigned – if your system includes the Customers and Suppliers module, this section will give you the option to record any contractors (third-party companies) that were involved in completing the Job. To record contractors, click on Add Contractor, and then use the magnifying glass icon to select the appropriate third-party company. Enter the cost of the contractor’s involvement within the Cost field. Note that the contractor must be recorded within your system as a third-party company before it can be added to Jobs (see Add a Company).
Enter the necessary details, and then click Save.
You will be returned to the Job’s Details form, which will now contain the information you entered whilst Closing the Job.
