To make any changes to a requirement the agreement it belongs to must be ‘checked out’. The current check out/in status of the agreement is clearly displayed at the top of the tabs of an individual agreement. See Automatic Version Control of Agreements – Check Out / Check In.
Go to Agreements Manager – Agreements where all agreements are listed. Click on the agreement you want to edit and select the Requirements tab:
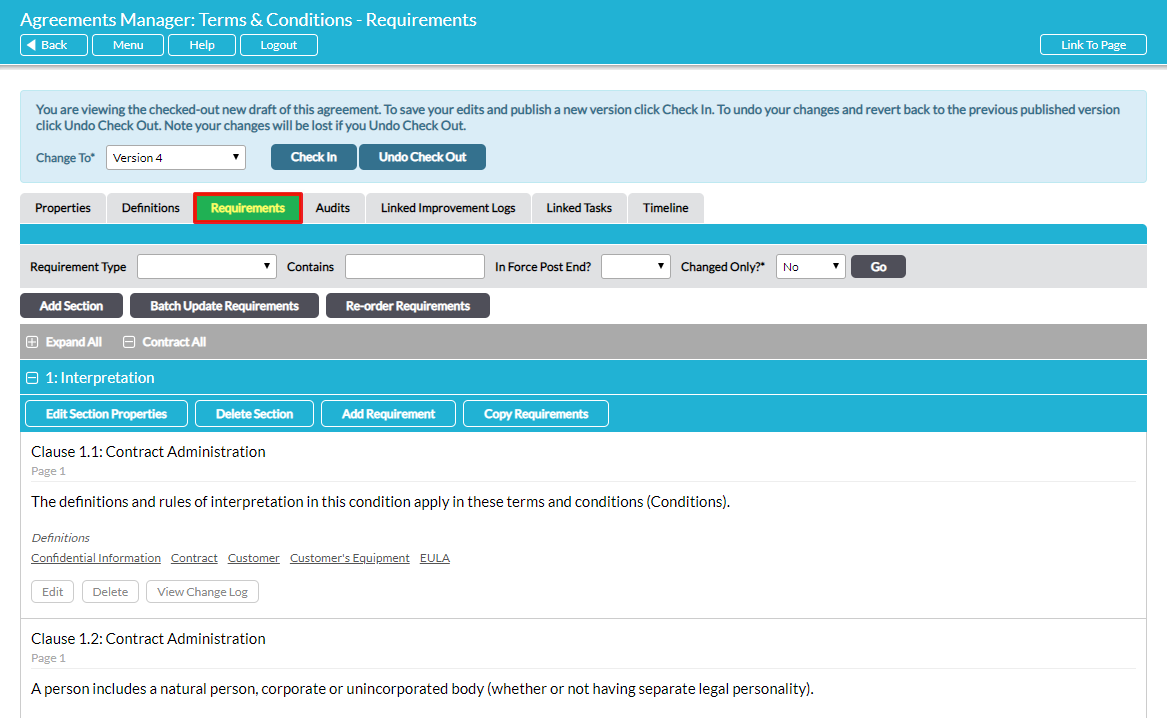
Requirements are organised into sections.
Nine action buttons are available for editing requirements:
Add a section
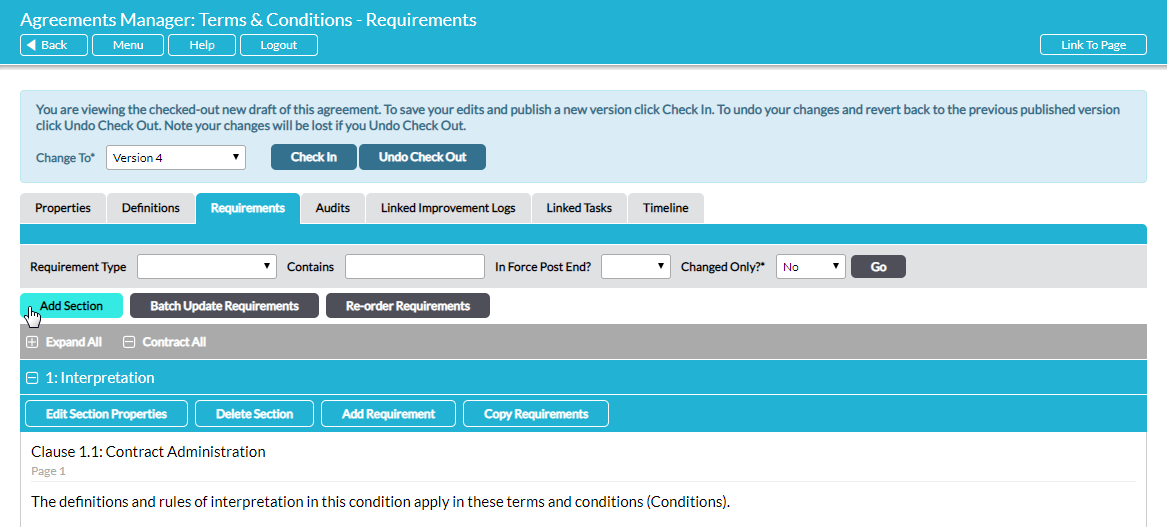
To add a section, click on the Add Section button, either at the top or the bottom of the page:
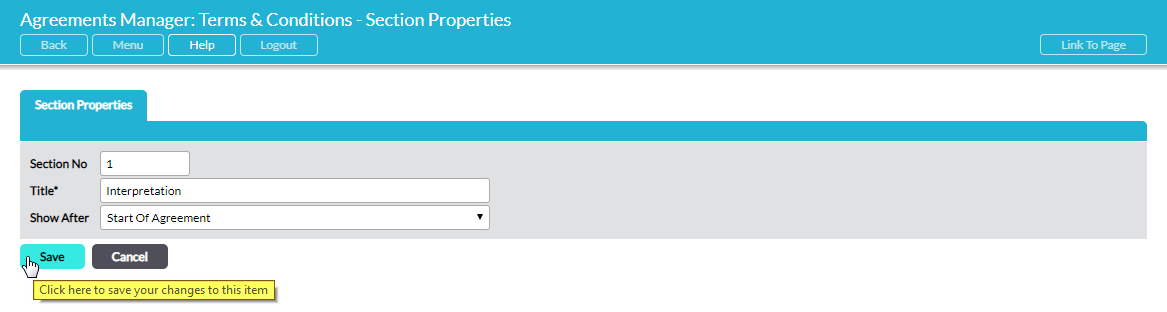
A new window opens for you to specify the properties of the section:
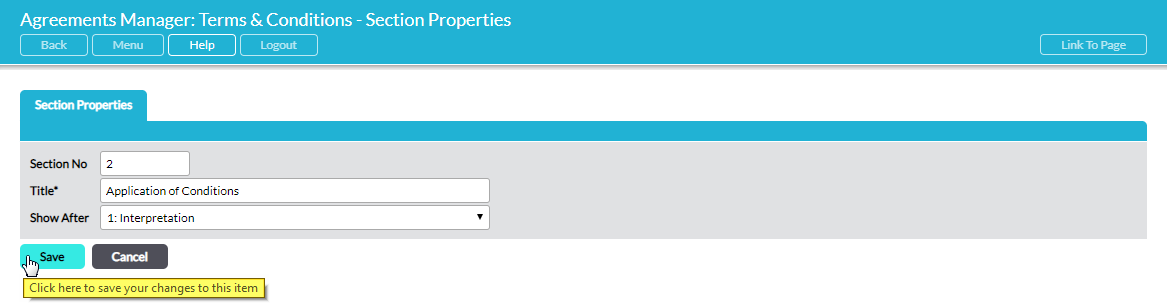
The Show After field allows you to determine the position of the section in the agreement. Note that section numbering is manual. If you insert a numbered section between existing numbered sections, sections are not automatically re-numbered.
Click on Save to add the section into the agreement. You will be returned to the Requirements tab, with the new section now available. Section titles are highlighted with a blue bar.
Edit a section’s properties
To edit the properties of a section, click on the Edit Section Properties button:
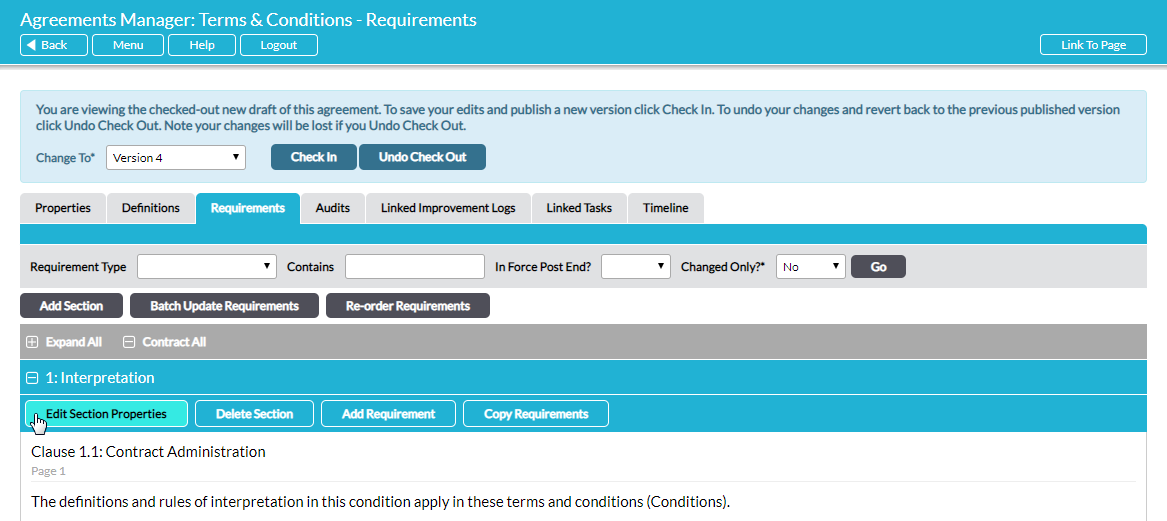
The Section Properties tab opens:
Edit the Section No and Title as required.
The Show After field allows you to change the position of the section in the agreement. Note that section numbering is manual. When you move a section, sections are not automatically re-numbered.
Click on Save to save your edits. You are returned to the Requirements list where your edits will now be reflected.
Delete a section
To delete a section, click on the Delete Section button:
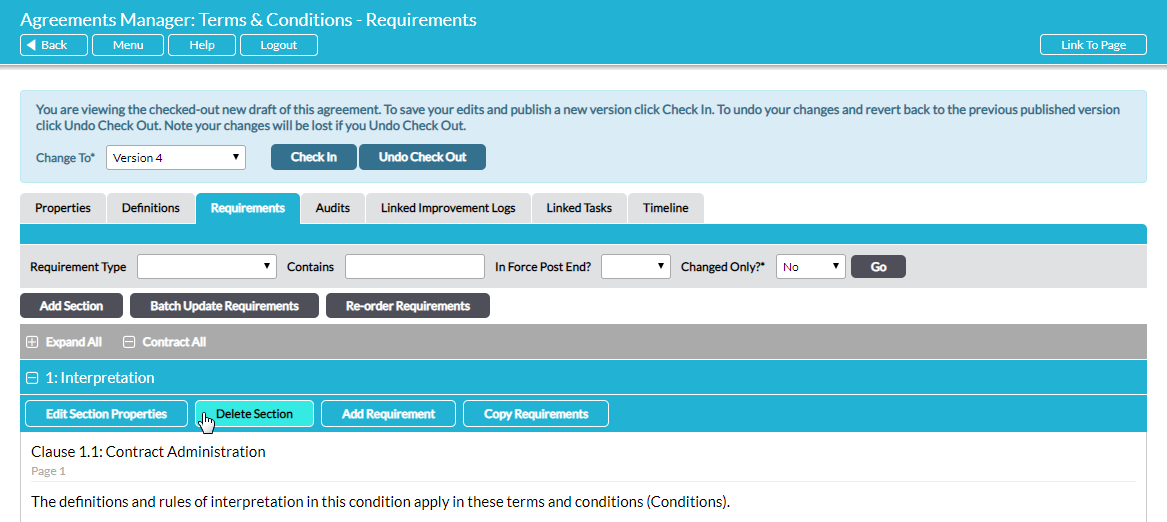
You will be prompted to confirm your intention. Note that deleting a section cannot be undone. The section and all the requirements within that section will be permanently deleted and cannot be retrieved.
Add a requirement
To add a requirement into a section, go to the section and click on Add Requirement:
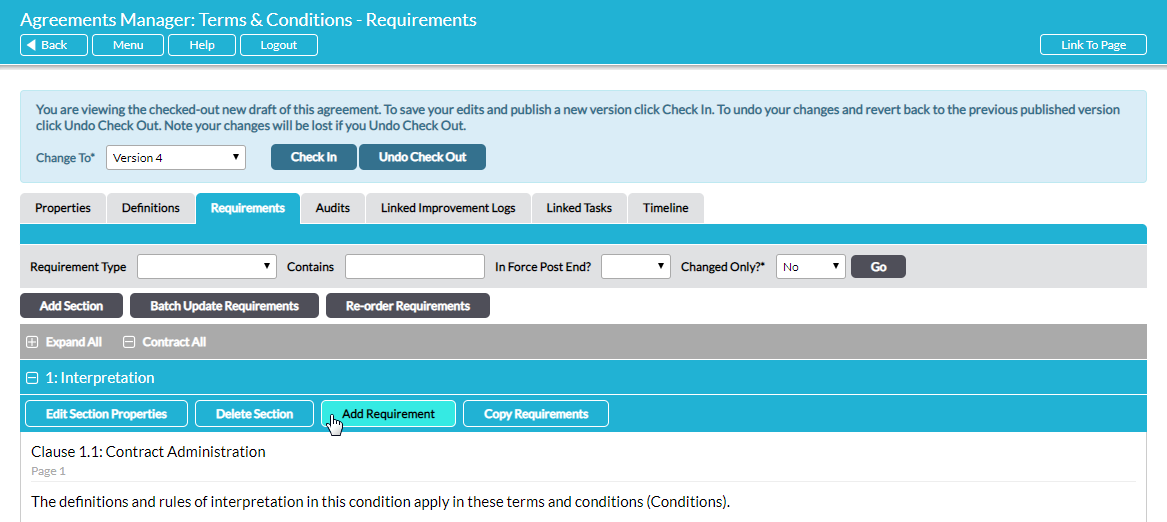
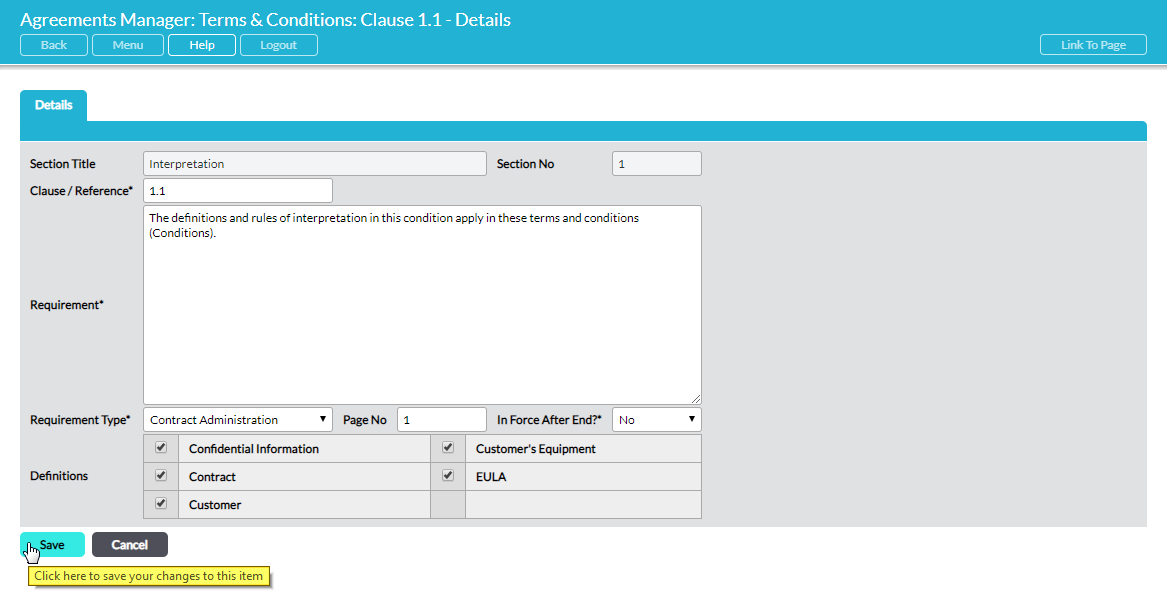
A new window opens for you to specify the details of the requirement:
Click on Save to add the requirement into the section. You are returned to the Requirements tab, with the new requirement now included.
Alternatively, you can add a requirement by copying an existing requirement. See Copy Requirements below.
Edit a requirement
To edit the details of a requirement, click on its individual Edit button:

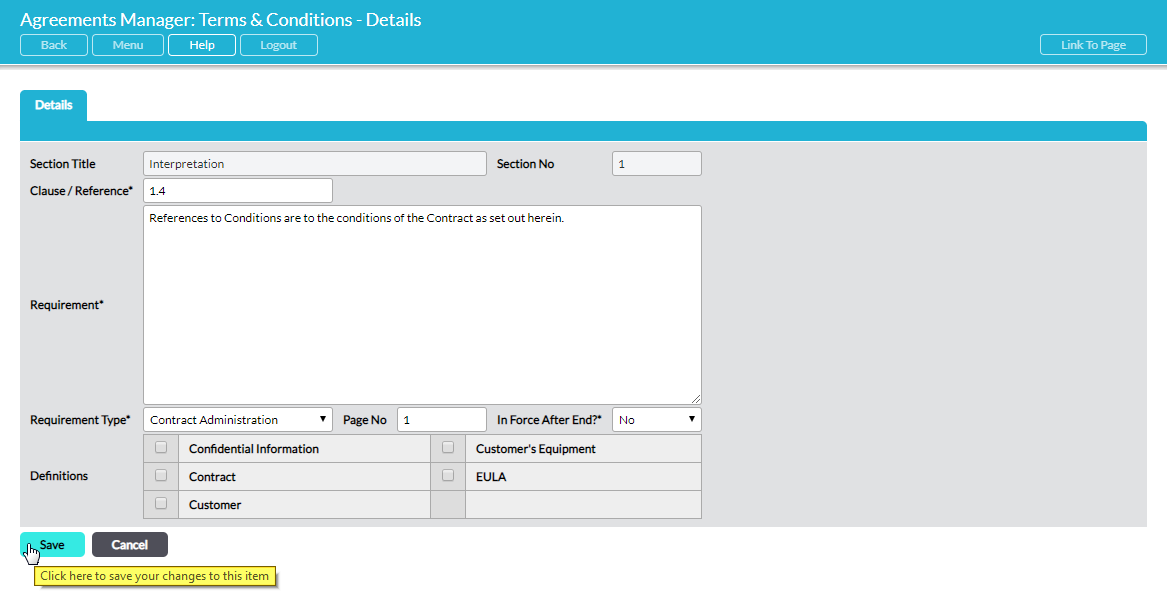
The requirement’s Details tab opens:
Edit the available fields as appropriate. Click on Save to save your edits.
Note that Clause / Reference is a free text field. If you are using a numeric referencing convention (e.g. a clause number in a contract), when you change the number the requirements will not automatically re-order. You can efficiently change the position of any requirement within the agreement using the Re-order Requirements feature.
Delete a requirement
To delete a requirement, click on its individual Delete button:

You will be prompted to confirm your intention. Note that deleting a requirement cannot be undone. The requirement will be permanently deleted and cannot be retrieved.
Copy requirements
As a time-saving feature, there is an option to copy one or multiple existing requirements into a section. The existing requirement(s) can be copied either from within the same checked-out agreement or from any other published agreement.
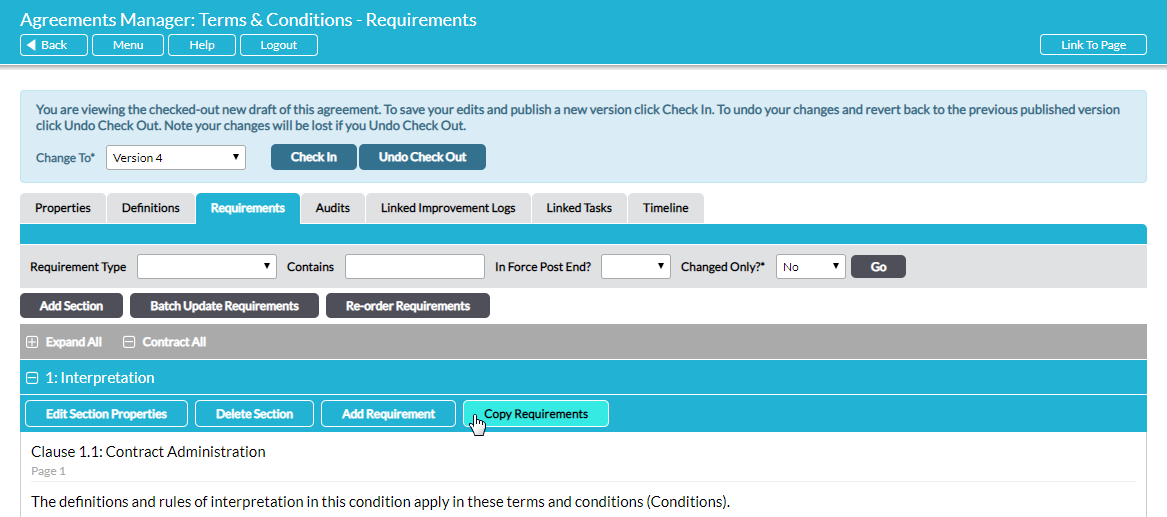
Go to the section into which the requirements are to be copied and click on Copy Requirements:
A new page opens, listing all requirements in all agreements. You can use the filters at the top to narrow the displayed requirements as necessary:
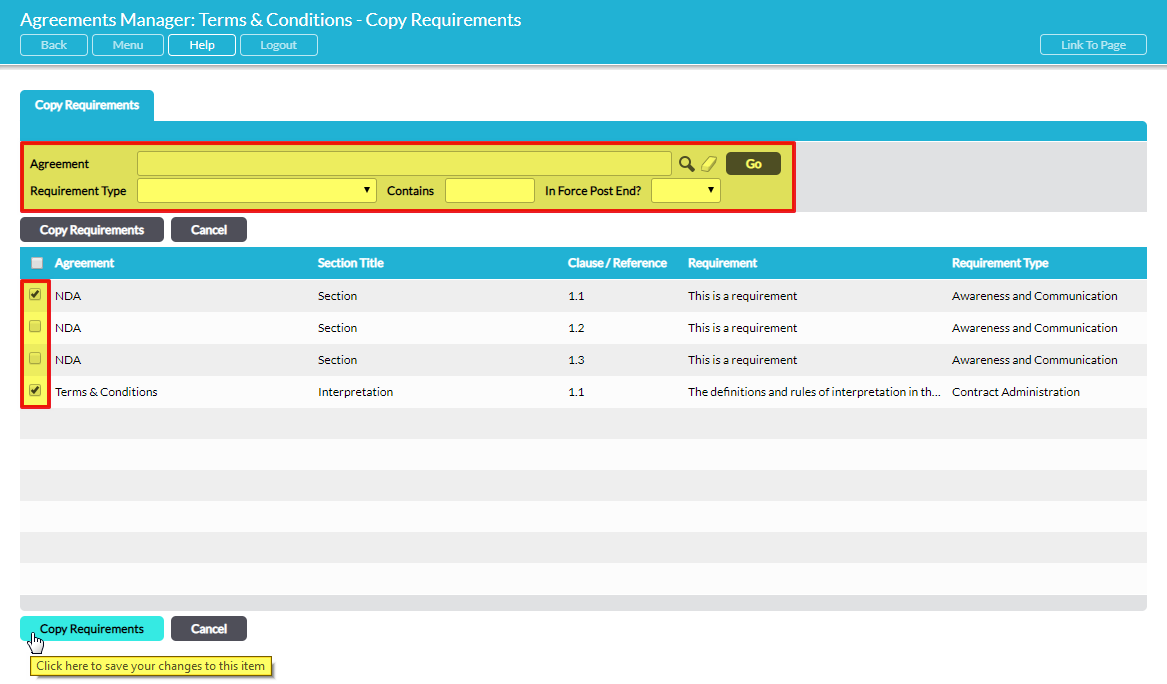
Select the requirement(s) that you wish to copy into the section and click on Copy Requirements at the bottom of the page to complete the action. You are returned to the agreement’s Requirements tab, where your copied requirements are now present in the target section.
Update requirements efficiently – Batch Update Requirements
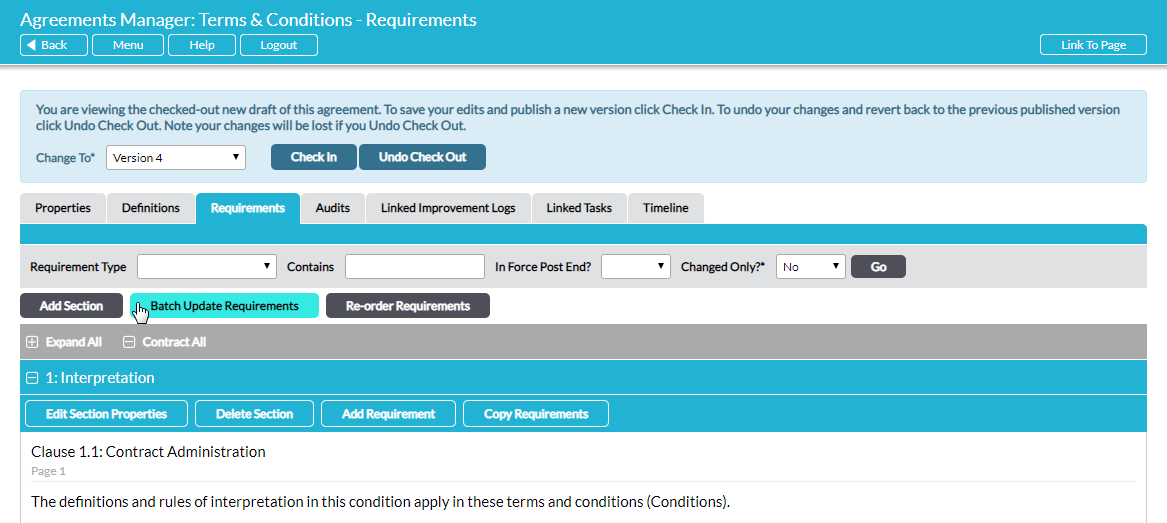
In the situation where you need to apply a standard change to multiple requirements within an agreement, the Batch Update Requirements feature allows you to avoid editing the requirements individually. To use the feature, on the agreement’s Requirements tab, click Batch Update Requirements:
A new page opens, where you can specify the batch edit(s) to make:
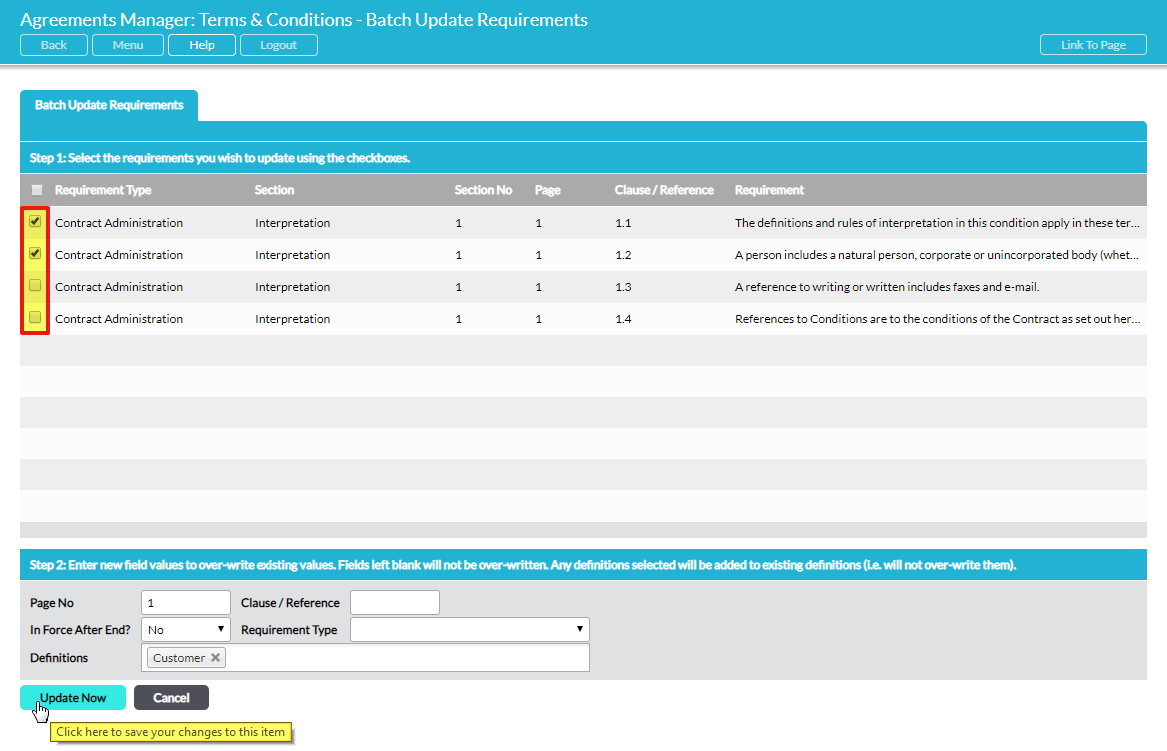
First, tick the target requirements that you wish to apply the batch update to in the upper portion of the page.
Next, enter the new information into one or more of the fields in Step 2. Available options are:
Page Number, Clause / Reference, In Force After End?, Requirement Type – enter the new values that you want to apply to these fields in the target requirements. Note that any data that you enter into these fields will over-write the equivalent field in the all the target requirements. If you leave any field(s) blank, the equivalent fields in the target requirements will not be over-written.
Definitions – select definitions to tag to the target requirements. Note that any definitions you select here will be added to any definitions that are already tagged to each of the target requirements. Existing tagged definitions will not be over-written.
Click on Update Now to complete the batch update of the selected requirements. The new field values that you specified in Step 2 will automatically populate, identically, into all selected requirements.
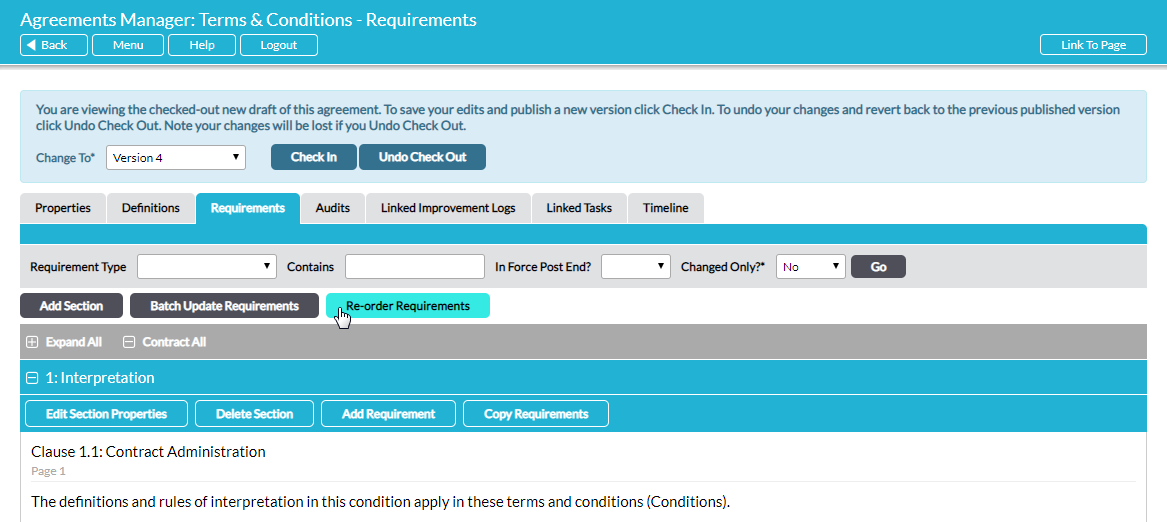
Re-order requirements
You can drag and drop requirements within an agreement to adjust their display order. On the agreement’s Requirements tab, click Re-order Requirements:
The sections and requirements therein are displayed in list format. To move a requirement, click on the four-point arrow to its left, hold and drag it up or down to the desired location:
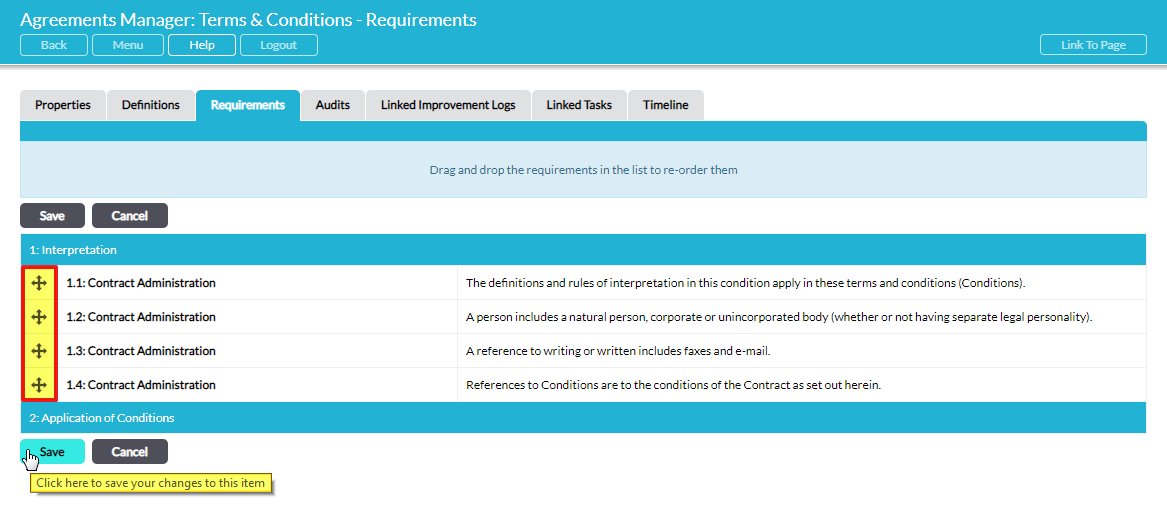
Release the requirement in its desired location. Repeat as necessary. When the all requirements are arranged in the desired order, click on Save to apply your changes. You are returned to the agreement’s Requirements tab, where the new order will now be evident.
