The details of an agreement (contract, or other set of obligations) are entered in three steps: 1 – Set Up Properties, 2 – Enter Definitions, 3 – Enter Requirements. This article deals with step 3.
Note that to make any edits to an agreement the agreement must be ‘checked out’. The current check out/in status of the agreement is clearly displayed at the top of an individual agreement’s tabs. See Automatic Version Control of Agreements – Check Out / Check In.
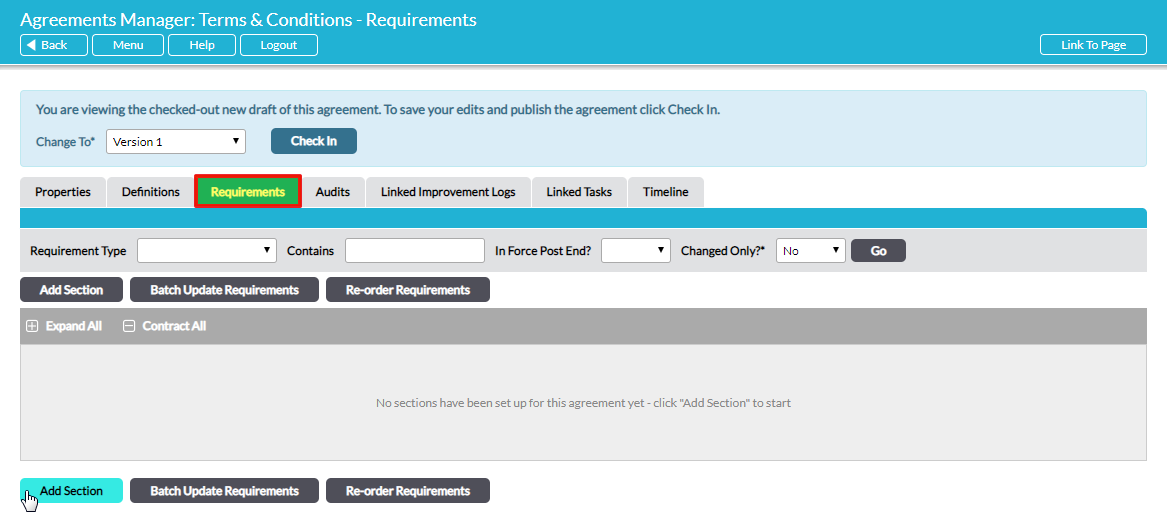
Open the relevant agreement and select its Requirements tab. Requirements are structured into sections. An agreement must have at least one section to enter requirements into.
If the agreement is a legal contract, typically the contract’s clauses would correspond to sections and its sub-clauses would correspond to individual requirements. If the ‘agreement’ is a collection of requirements that is not a legal contract, it may be appropriate to have only one general section to which all requirements belong.
Add a Section
To add a section, click on the Add Section button, either at the top or the bottom of the screen:
A new window opens for you to specify the details of the section:
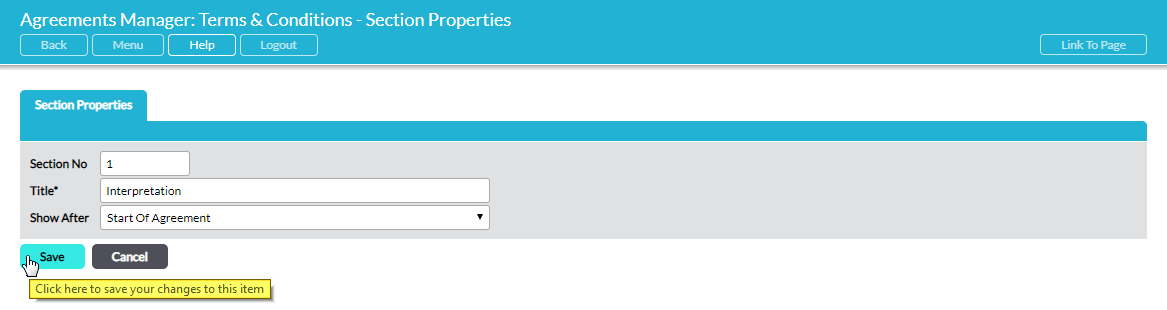
The Show After field allows you to specify the position of the section in the agreement.
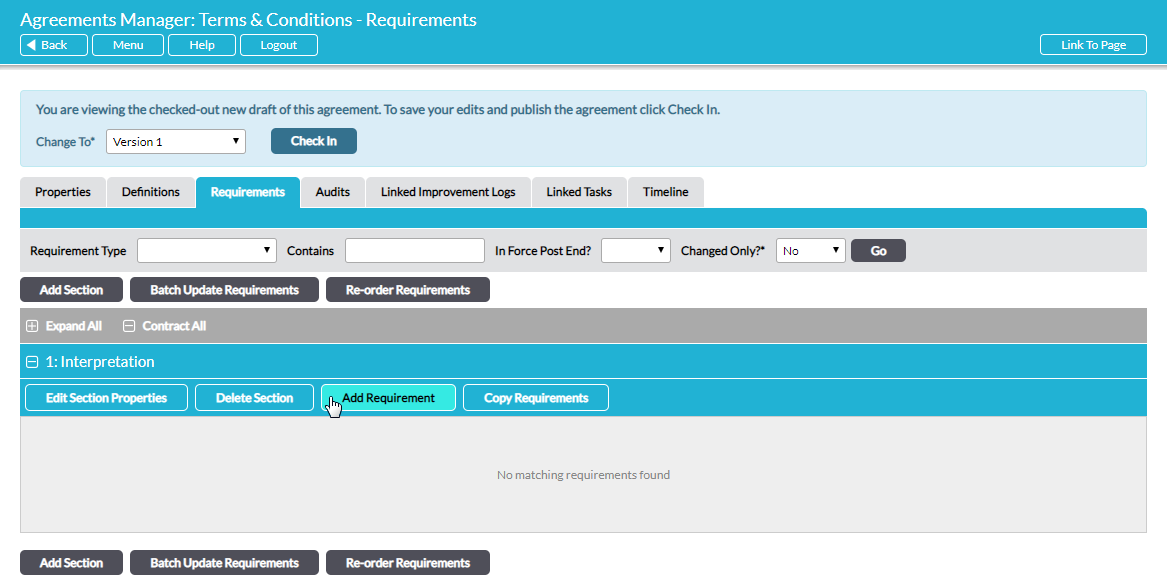
Click on Save to create the section. You will be returned to the Requirements tab, with the new section now available. Section titles are highlighted with a blue bar.
Add a Requirement
To add a requirement into a section, go to the section and click on Add Requirement:
A new window opens for you to specify the details of the requirement:

Clause / Reference is a free text field, enabling you to use numeric or any other referencing convention. If you choose a numeric convention (e.g. clause numbers in a contract), note that requirements do not automatically re-order to present in numerical order. You can re-order requirements using the Re-order Requirements feature.
If the Linking option is enabled in your system, there is also a Links section at the bottom of the form. Here, you can elect to link the requirement to another item in Activ, for example to a process in the Processes module or a file in one of your libraries in File Manager. Perhaps most obviously, you can also link to one or more other requirements within this agreement. This is useful in contracts, for example, where a clause refers to another clause in the same agreement. Click on Add Link to be presented with a pop-up window to select the link you want to make.
Click on Save to add the requirement into the section. You will be returned to the Requirements tab, with the new requirement now included.
For inputting efficiency, when you add second and subsequent requirements into a section, the Requirement Type, Page No and In Force After End? fields are automatically populated, on the assumption that the new requirement shares these properties with the previous one. You can manually adjust any of the fields.
Copy Requirements
As a time-saving feature, there is an option to copy one or multiple existing requirements into a section. The existing requirement(s) can be copied either from within the same checked-out agreement or from the current published version of any other agreement.
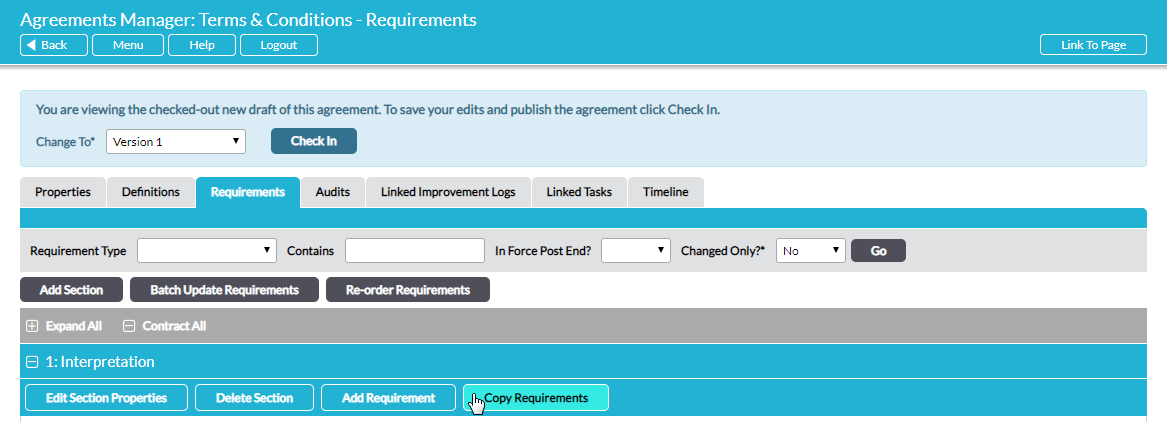
Go to the section into which the requirements are to be copied and click on Copy Requirements:
A new page opens, listing all requirements in all agreements. You can use the filters at the top to narrow the displayed requirements if necessary:
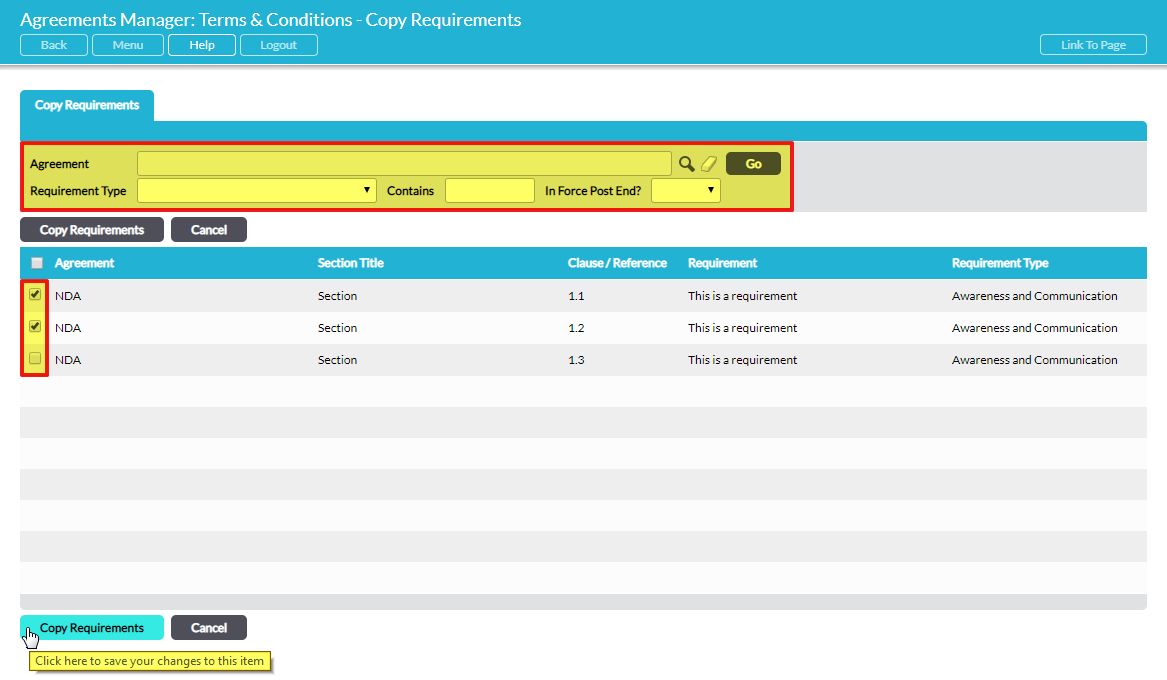
Select the requirement(s) that you wish to copy into the section and click on Copy Requirements to complete the action. You are returned to the agreement’s Requirements tab, where your copied requirements are now present in the target section.
*
When you have finished entering requirements into the agreement, you can either:
- check in the agreement to publish the new version reflecting your changes, thereby making it available for others to view and check out/edit. See Automatic Version Control of Agreements – Check Out / Check In; or
- leave the agreement checked out if you intend to continue making further edits to the agreement yourself.
