Four steps are involved when creating a new Process. These are:
- Step 1 – Specifying the Process’ Type (see Process Types) and basic properties.
- Step 2 – Checking out the Process to enable editing. Note that this step is not required when creating PDF
- Step 3 – Editing the Process’ structure and Content. Note that this step is not required when creating PDF
- Step 4 – Checking In the Process to make the final version available to all applicable users. Note that this step is not required when creating PDF
This article concerns the initial creation of a Process (i.e. step 1). For information about the subsequent steps, see:
- Check Out / Check In a Process (steps 2 and 4)
- Edit an Overview Process (step 3, if you choose the Overview Type)
- Edit a Basic Process (step 3, if you choose the Basic Type)
- Edit an Advanced Process (step 3, if you choose the Advanced Type)
*****
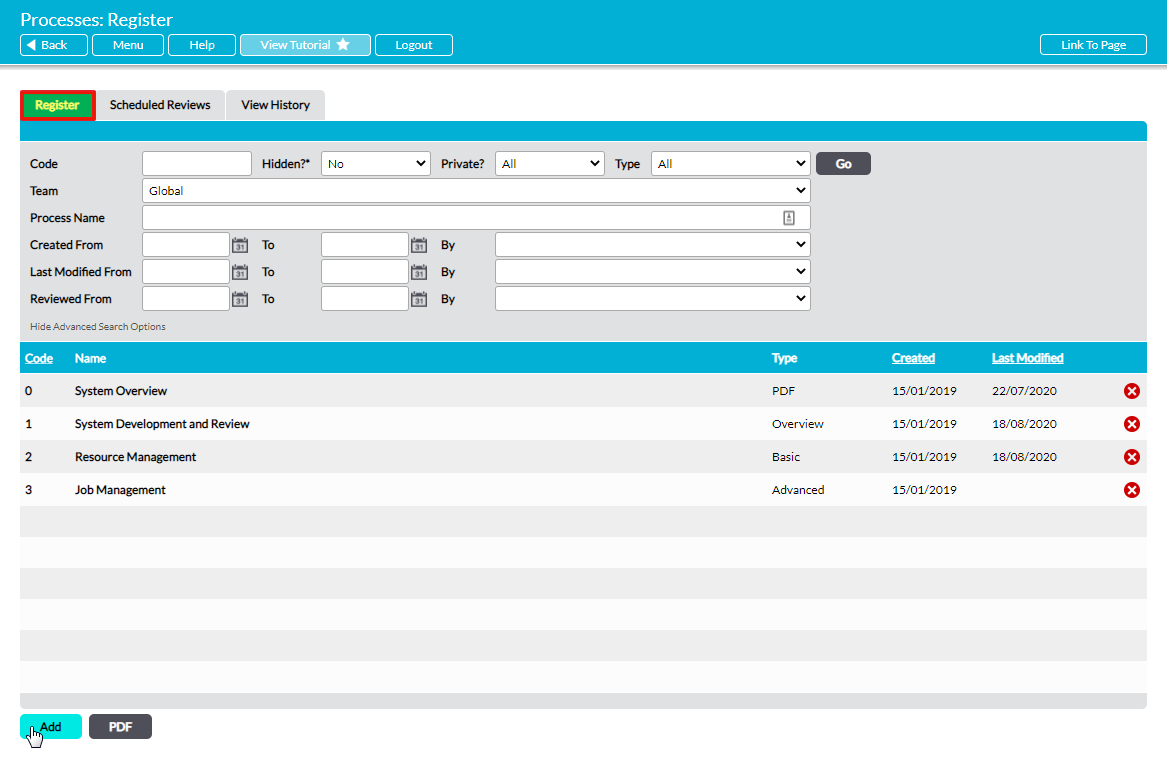
To add a new Process, open the Processes module on its Register. This will display a list of all non-Hidden Processes that are currently recorded within your system.
Click on the Add button.
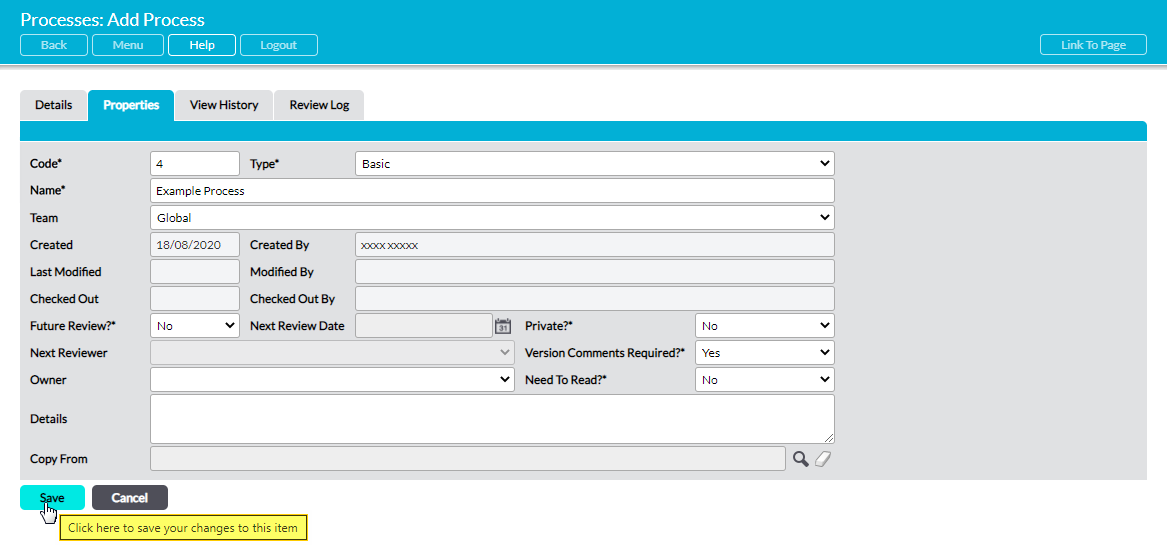
This opens a new blank Properties form for you to populate. Up to fourteen fields are available for you to complete, depending on your selections and the modules within your system. See Processes Fields Explained for a detailed explanation of each field.
Enter the necessary details, and then click Save.
The Process will be added to your Register, and you will be returned to its Properties tab. The Process’ basic properties will be displayed at the top of the sceen, and an automatically-maintained version Register will be displayed directly below.
If your new Process is of the PDF type, then the Process will automatically be displayed within the viewing panel on its Details tab and you will not need to take any further action. If it is of any other Type, then the Details tab will only show the basic Details of the Process, and the sections panel will be blank. The exception to this occurs when the Process is copied from an existing proces. In these cases, the Details tab’s sections panel will display a duplicated version of the original (see Copy a Process).
See Check Out / Check In a Process for guidance on the next step.
